
Halloween Candy Magic Bars
Some of the links in this post might be affiliate links. As an Amazon Associate I earn from qualifying purchases. This means I earn a small amount of money if you purchase something through the link, at no cost to you. I promise I only recommend items I love! You can read our full disclosure here.
If you need something to do with your leftover Halloween Candy, this is the perfect recipe for you!
If you’ve ever made magic bars before, you know that they’re super easy to make. They always have a graham cracker crust & shredded coconut but most recipes vary with the other ingredients. They usually include chocolate chips and some kind of nuts as well as either butterscoth or peanut butter chips, then everything is bound together by pouring sweetened condensed milk on top and baking it. In this recipe I’ve simply replaced the chocolate with chopped up Halloween chocolate bars. This recipe uses peanuts for the nuts because I feel like they pair well with the Halloween candy, but feel free to use any nut you like!
When choosing your Halloween candy, try to choose a variety. I like to pick something with peanut butter, something with caramel, and something with some crunch.
What do I need to make them?
Here’s your grocery list:
-Salted butter
-Graham cracker crumbs
-Unsweetened shredded coconut
-Chocolate bars of your choice
-Roasted salted peanuts
-Sweetened condensed milk
-Sea salt
OPTIONAL: Green candy melts & Halloween Sprinkles
You will also need a kitchen scale, an 8 x 8 pan, and parchment paper.
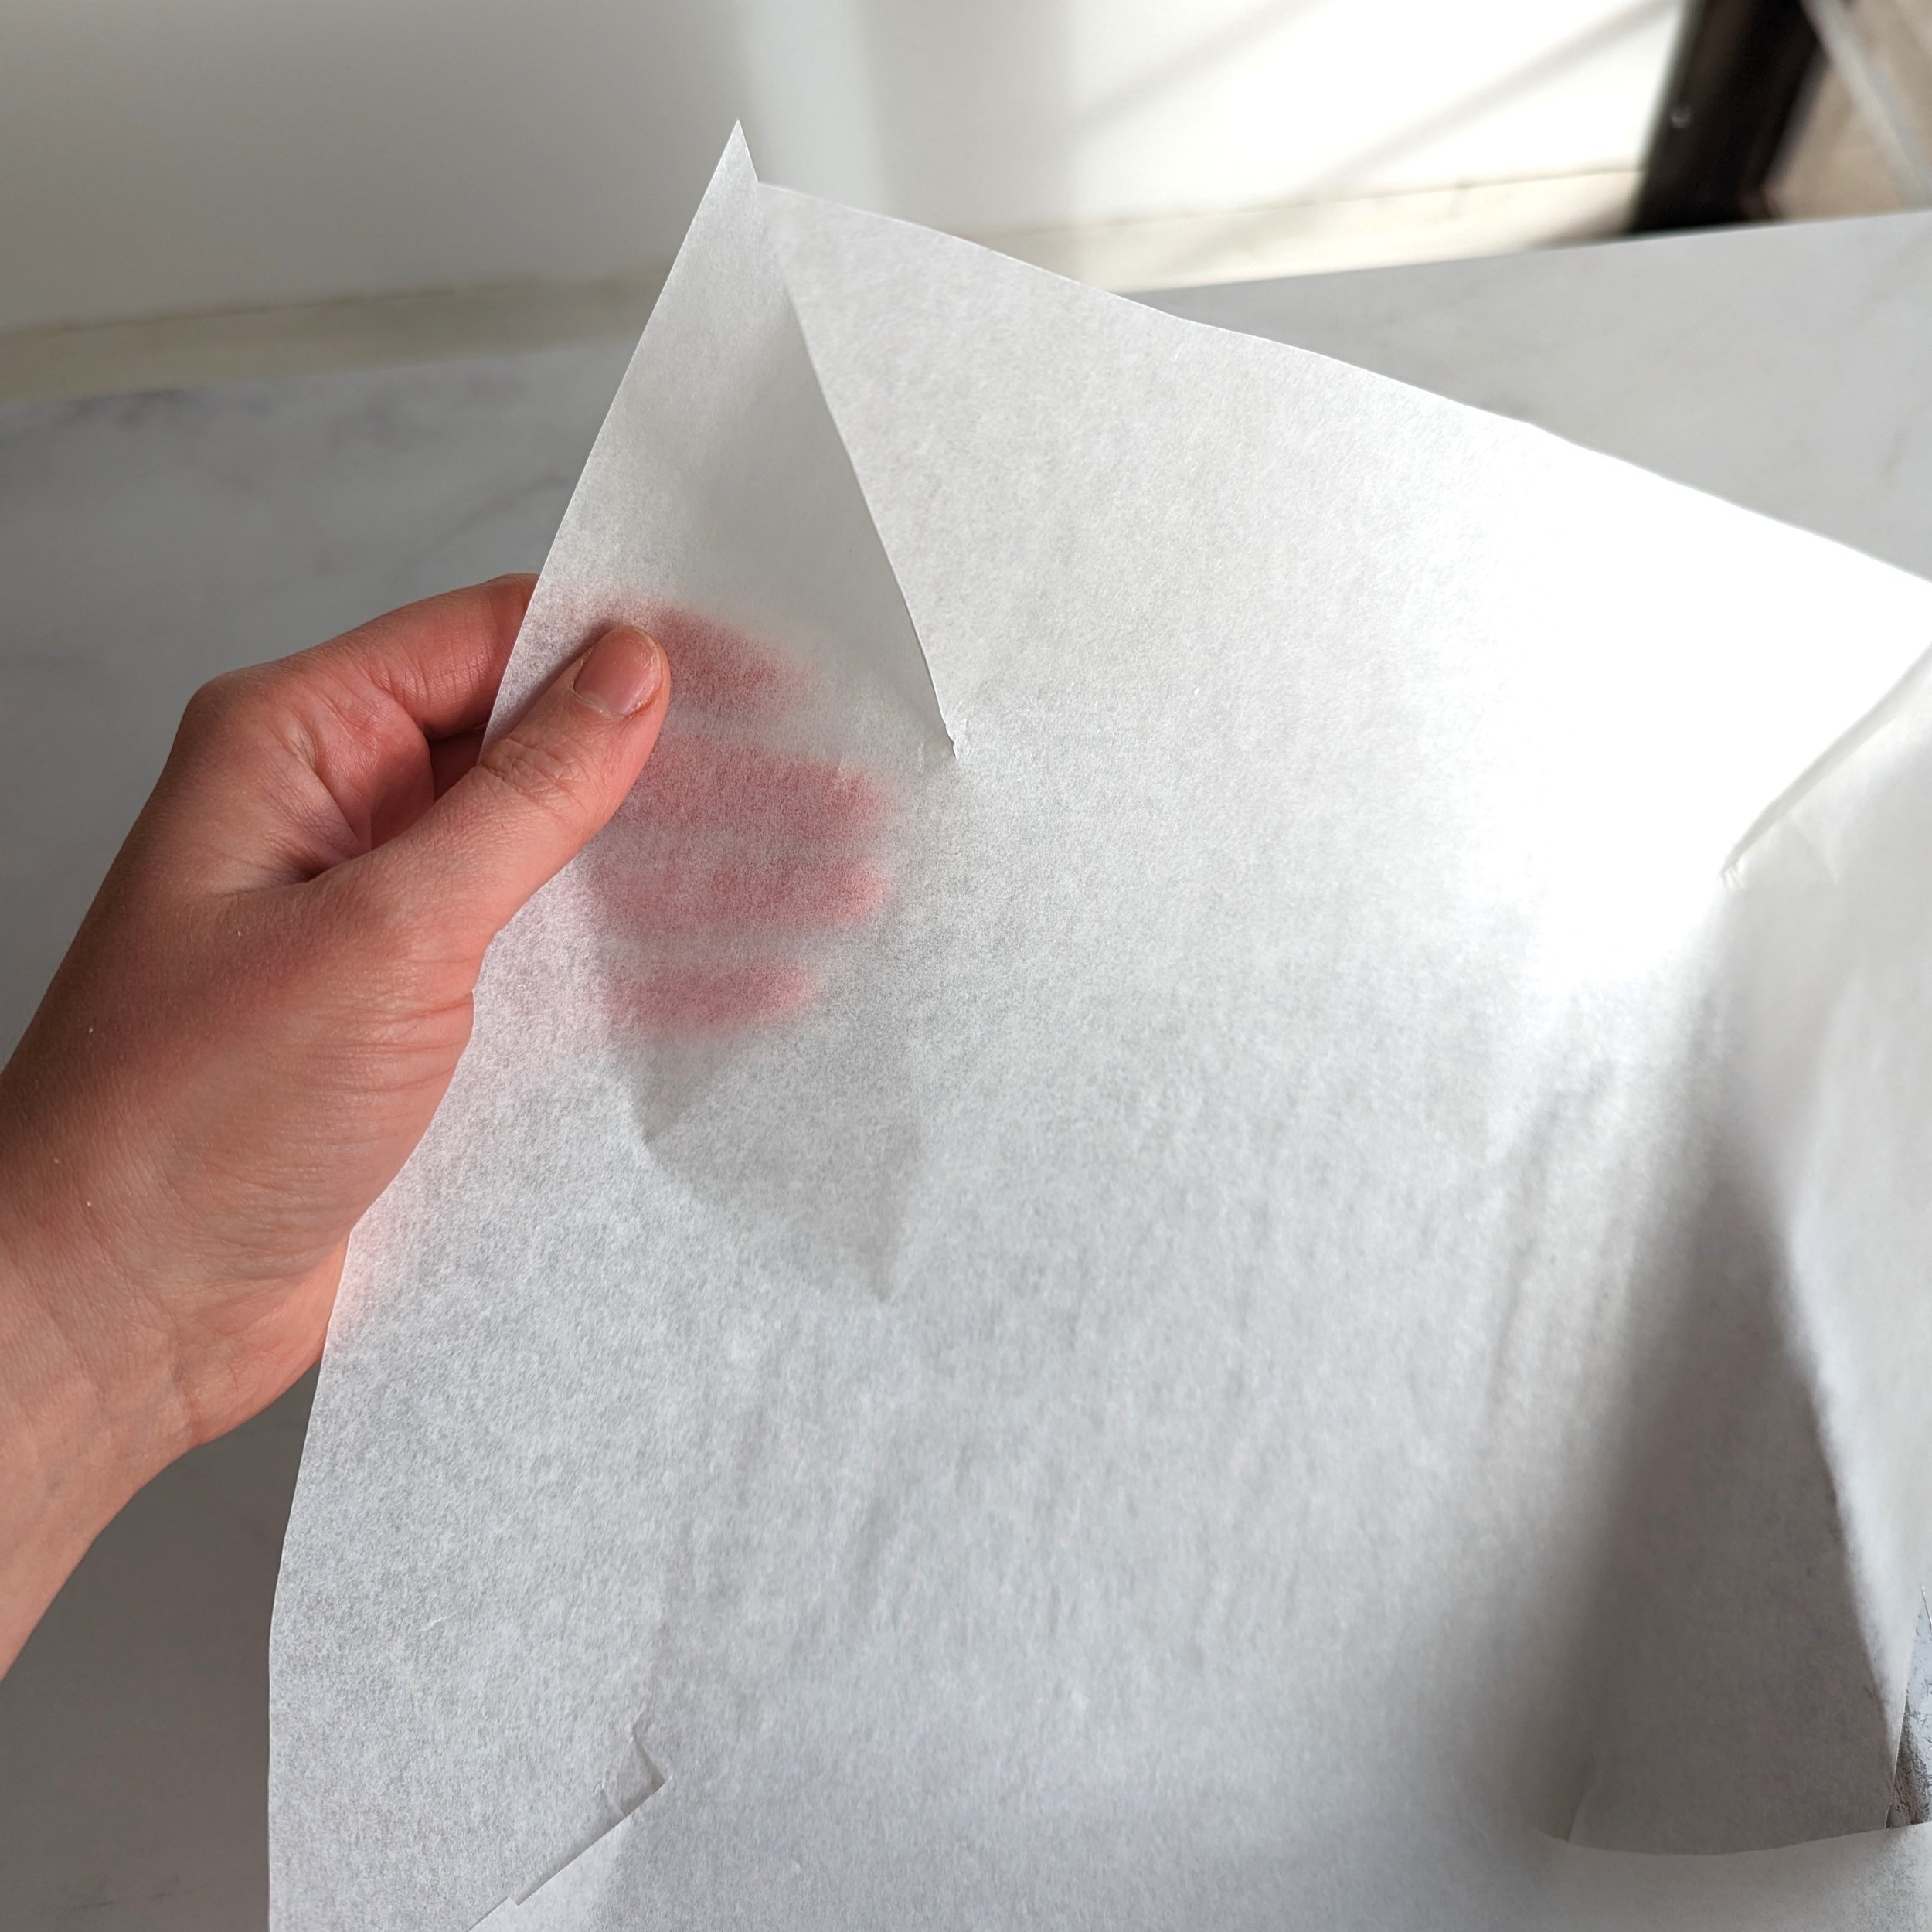
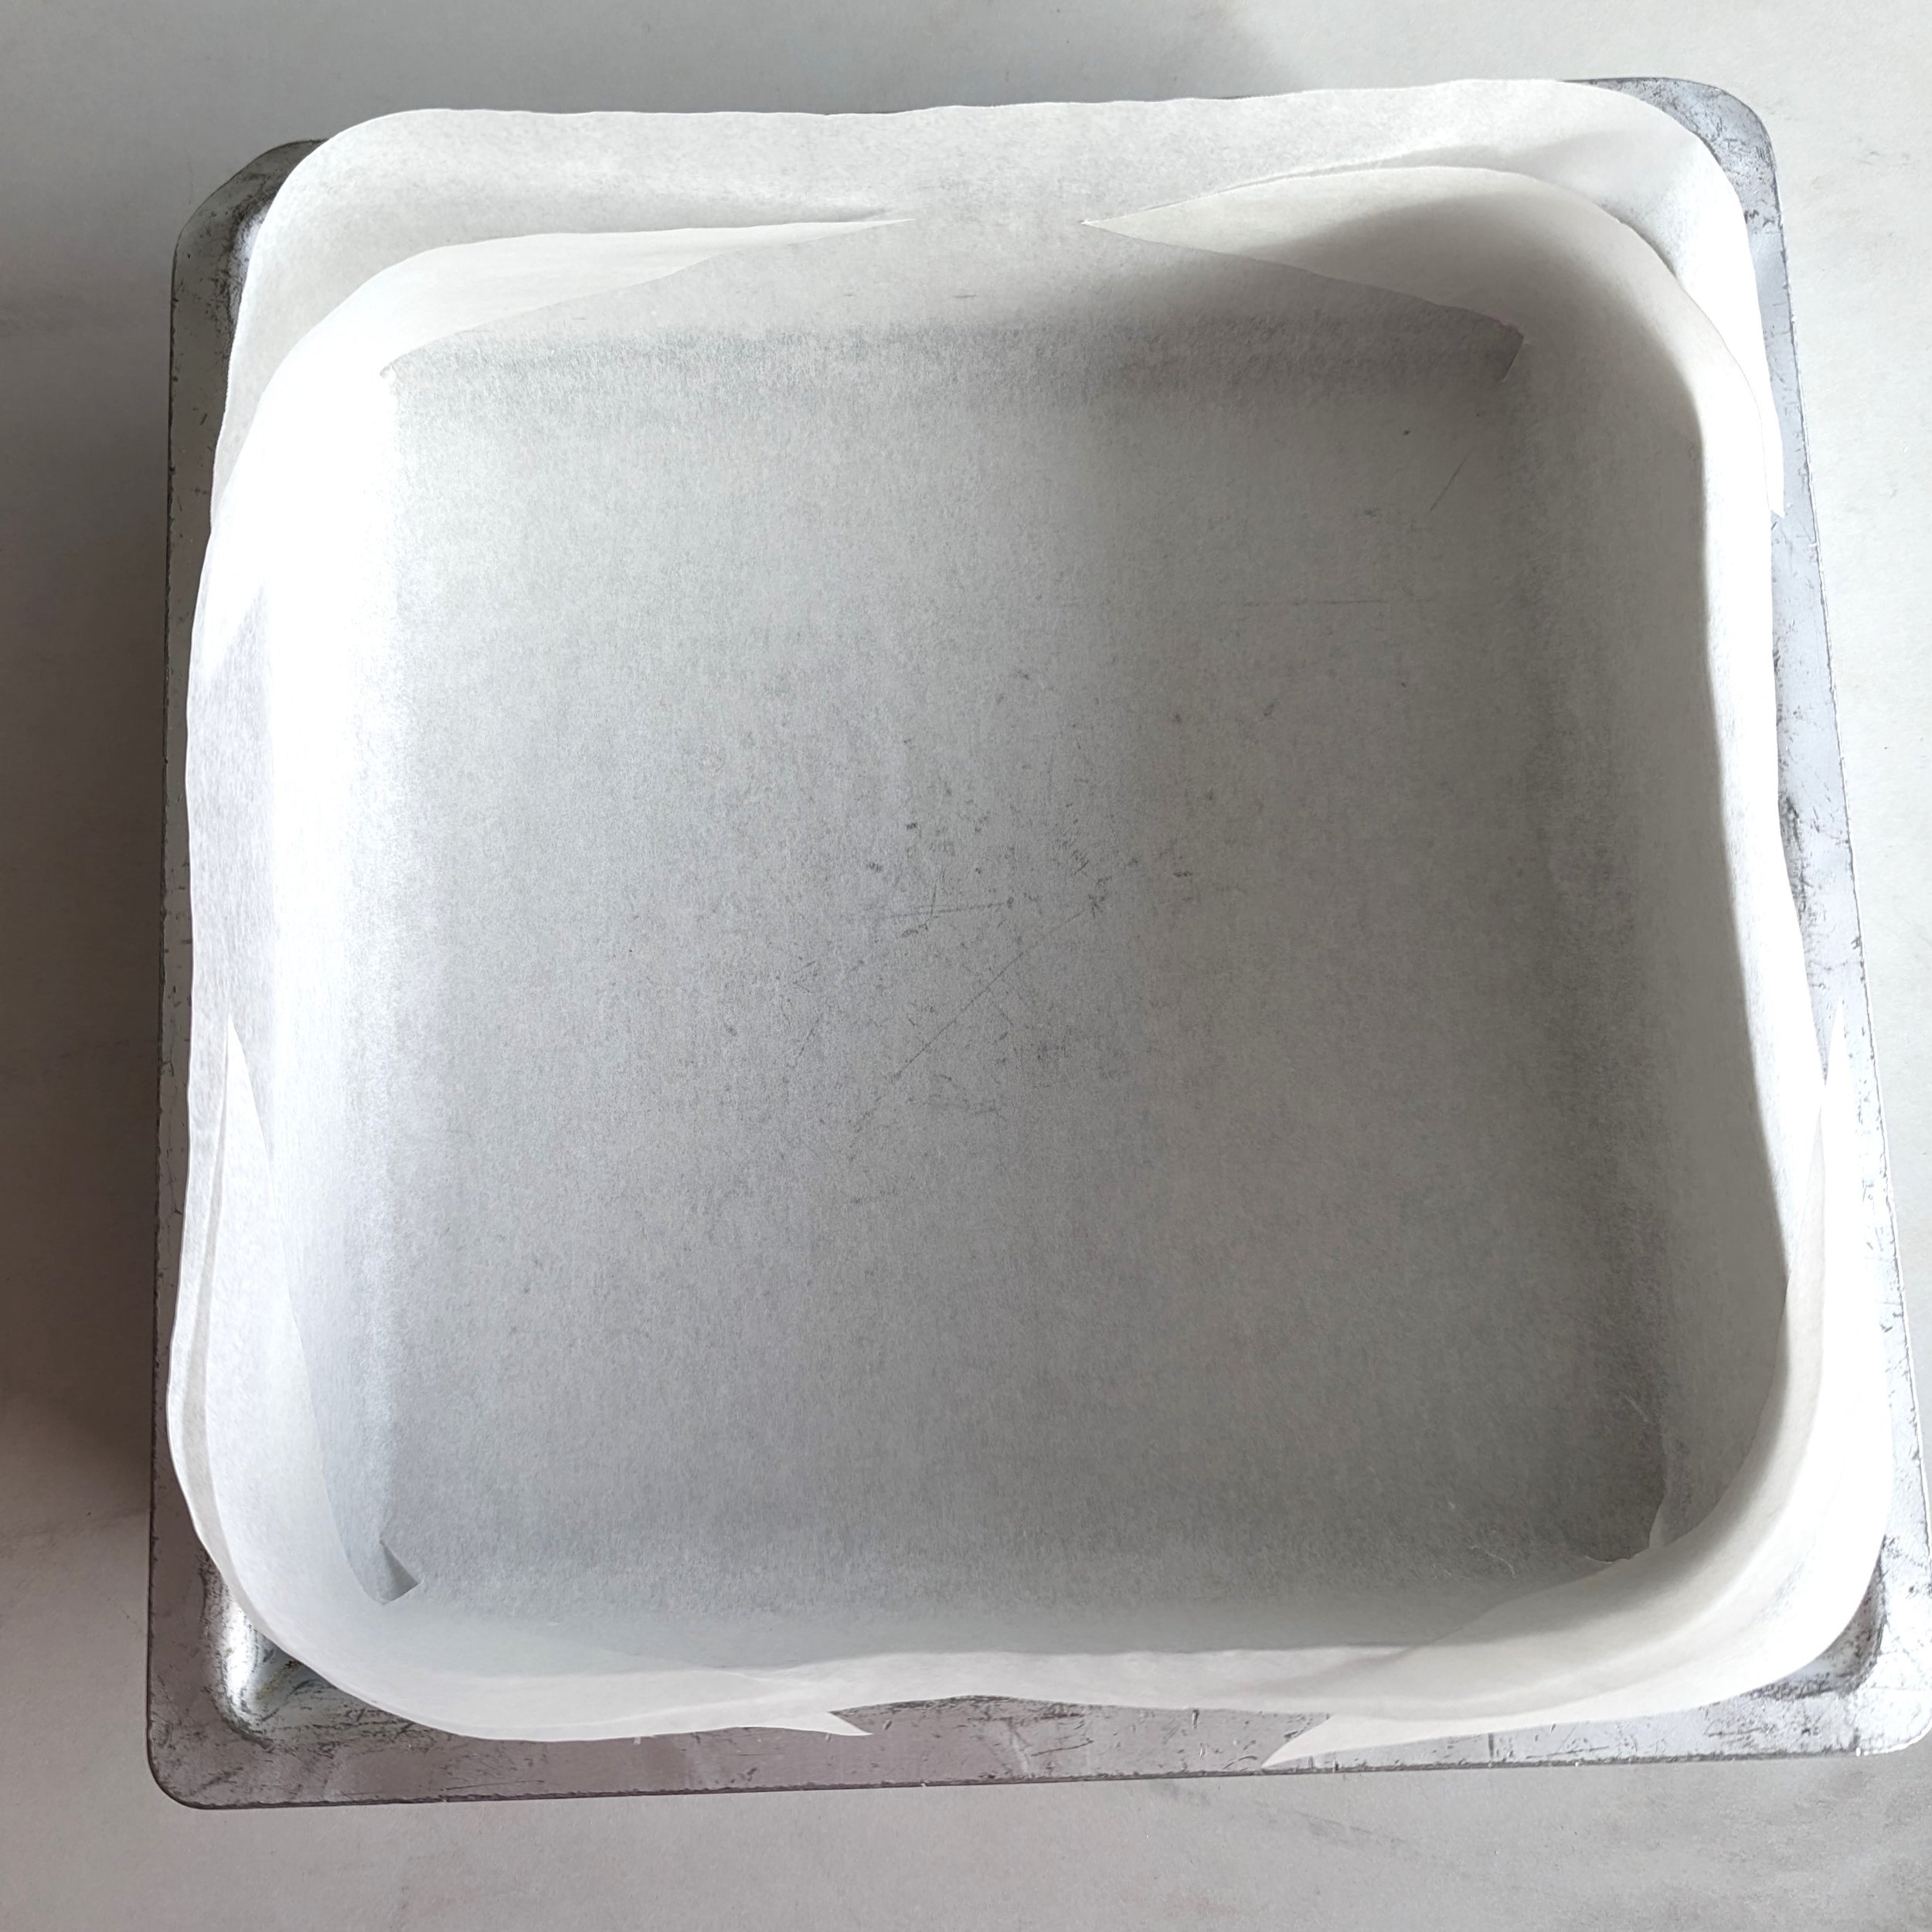
Here’s my favourite way to line a square pan with parchment paper: Cut out a square of parchment that is a few inches wider than your pan on each side, then make diagonal cuts on each corner of your parchment square. When you put the parchment in the pan, the cut corners should cross each other and nestle into the pan perfectly. See the photos above for a visual!
This recipe can be made almost completely in the 8 x 8 pan, and since it uses weight measurents, you don’t even have to dirty any cup measures, so you’ll have barely any cleanup to do after making these!
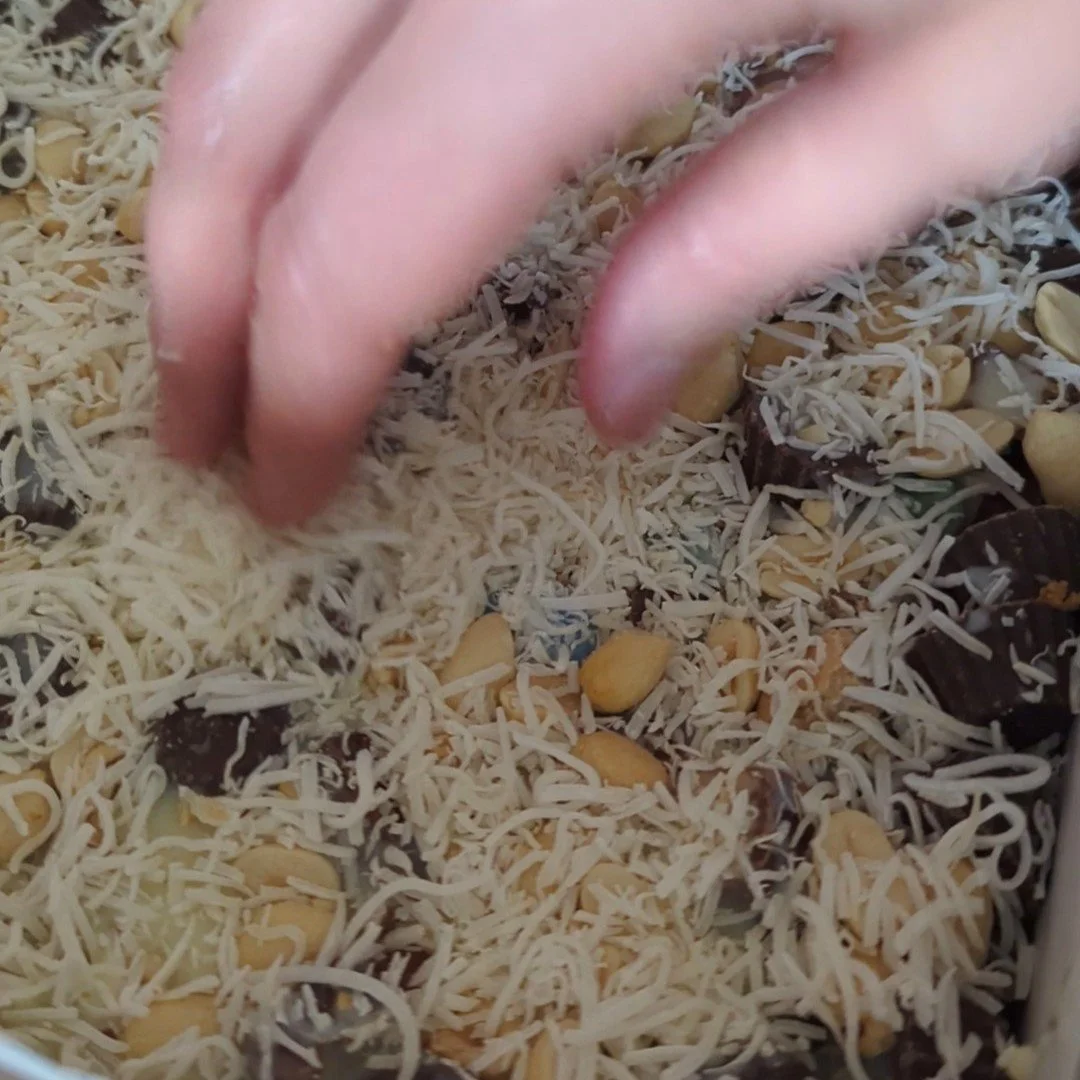
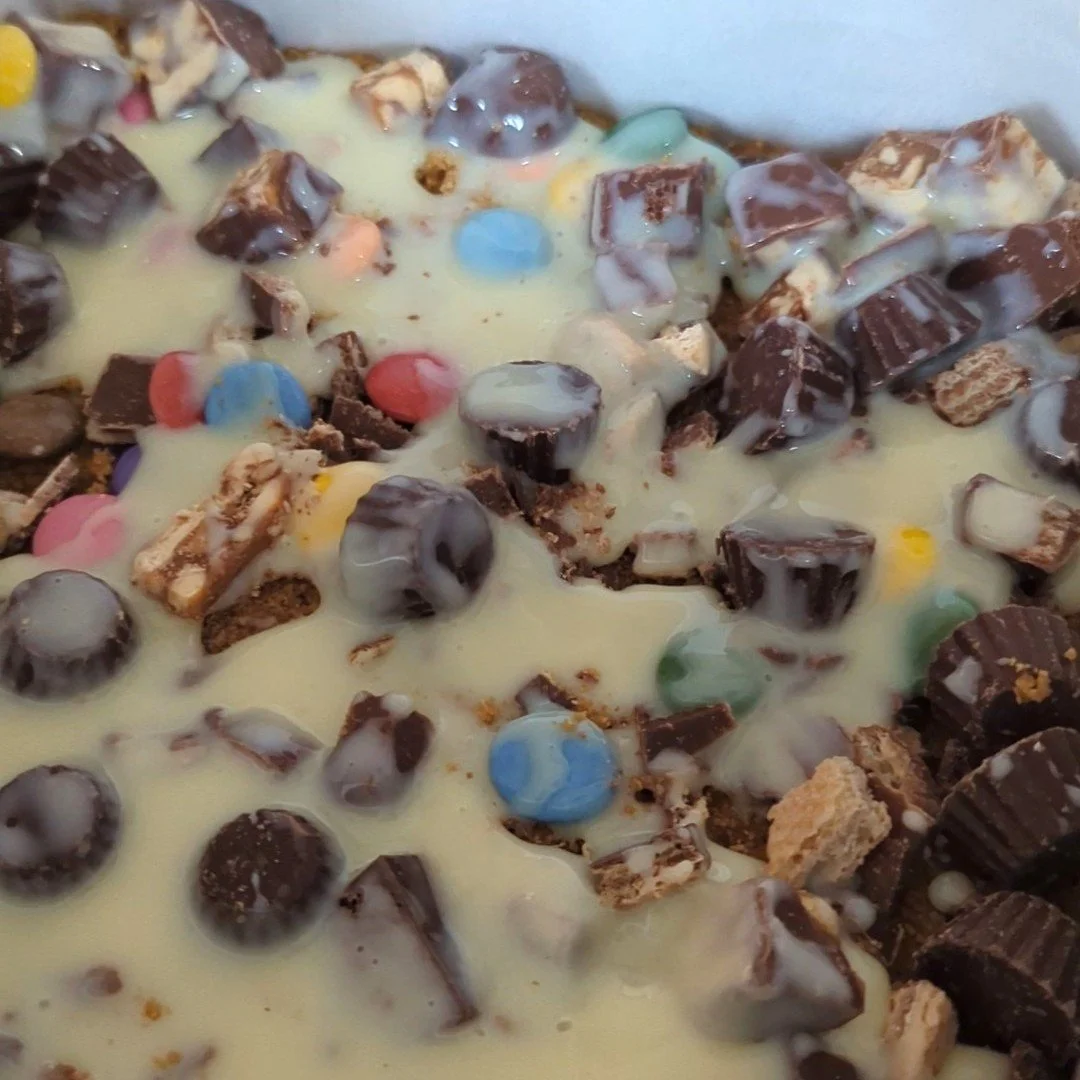
You can weigh your graham crumbs into your parchment lined pan, then pour melted butter over top and mix it up with a small spatula or your hands. Next, dump your coconut, chocolate bars, and peanuts on top & mix them up a little with your hands. Finally, drizzle your sweetened condensed milk evenly over the top. I like to sprinkle the top with some fancy sea salt to cut the sweetness a little, but that’s optional!


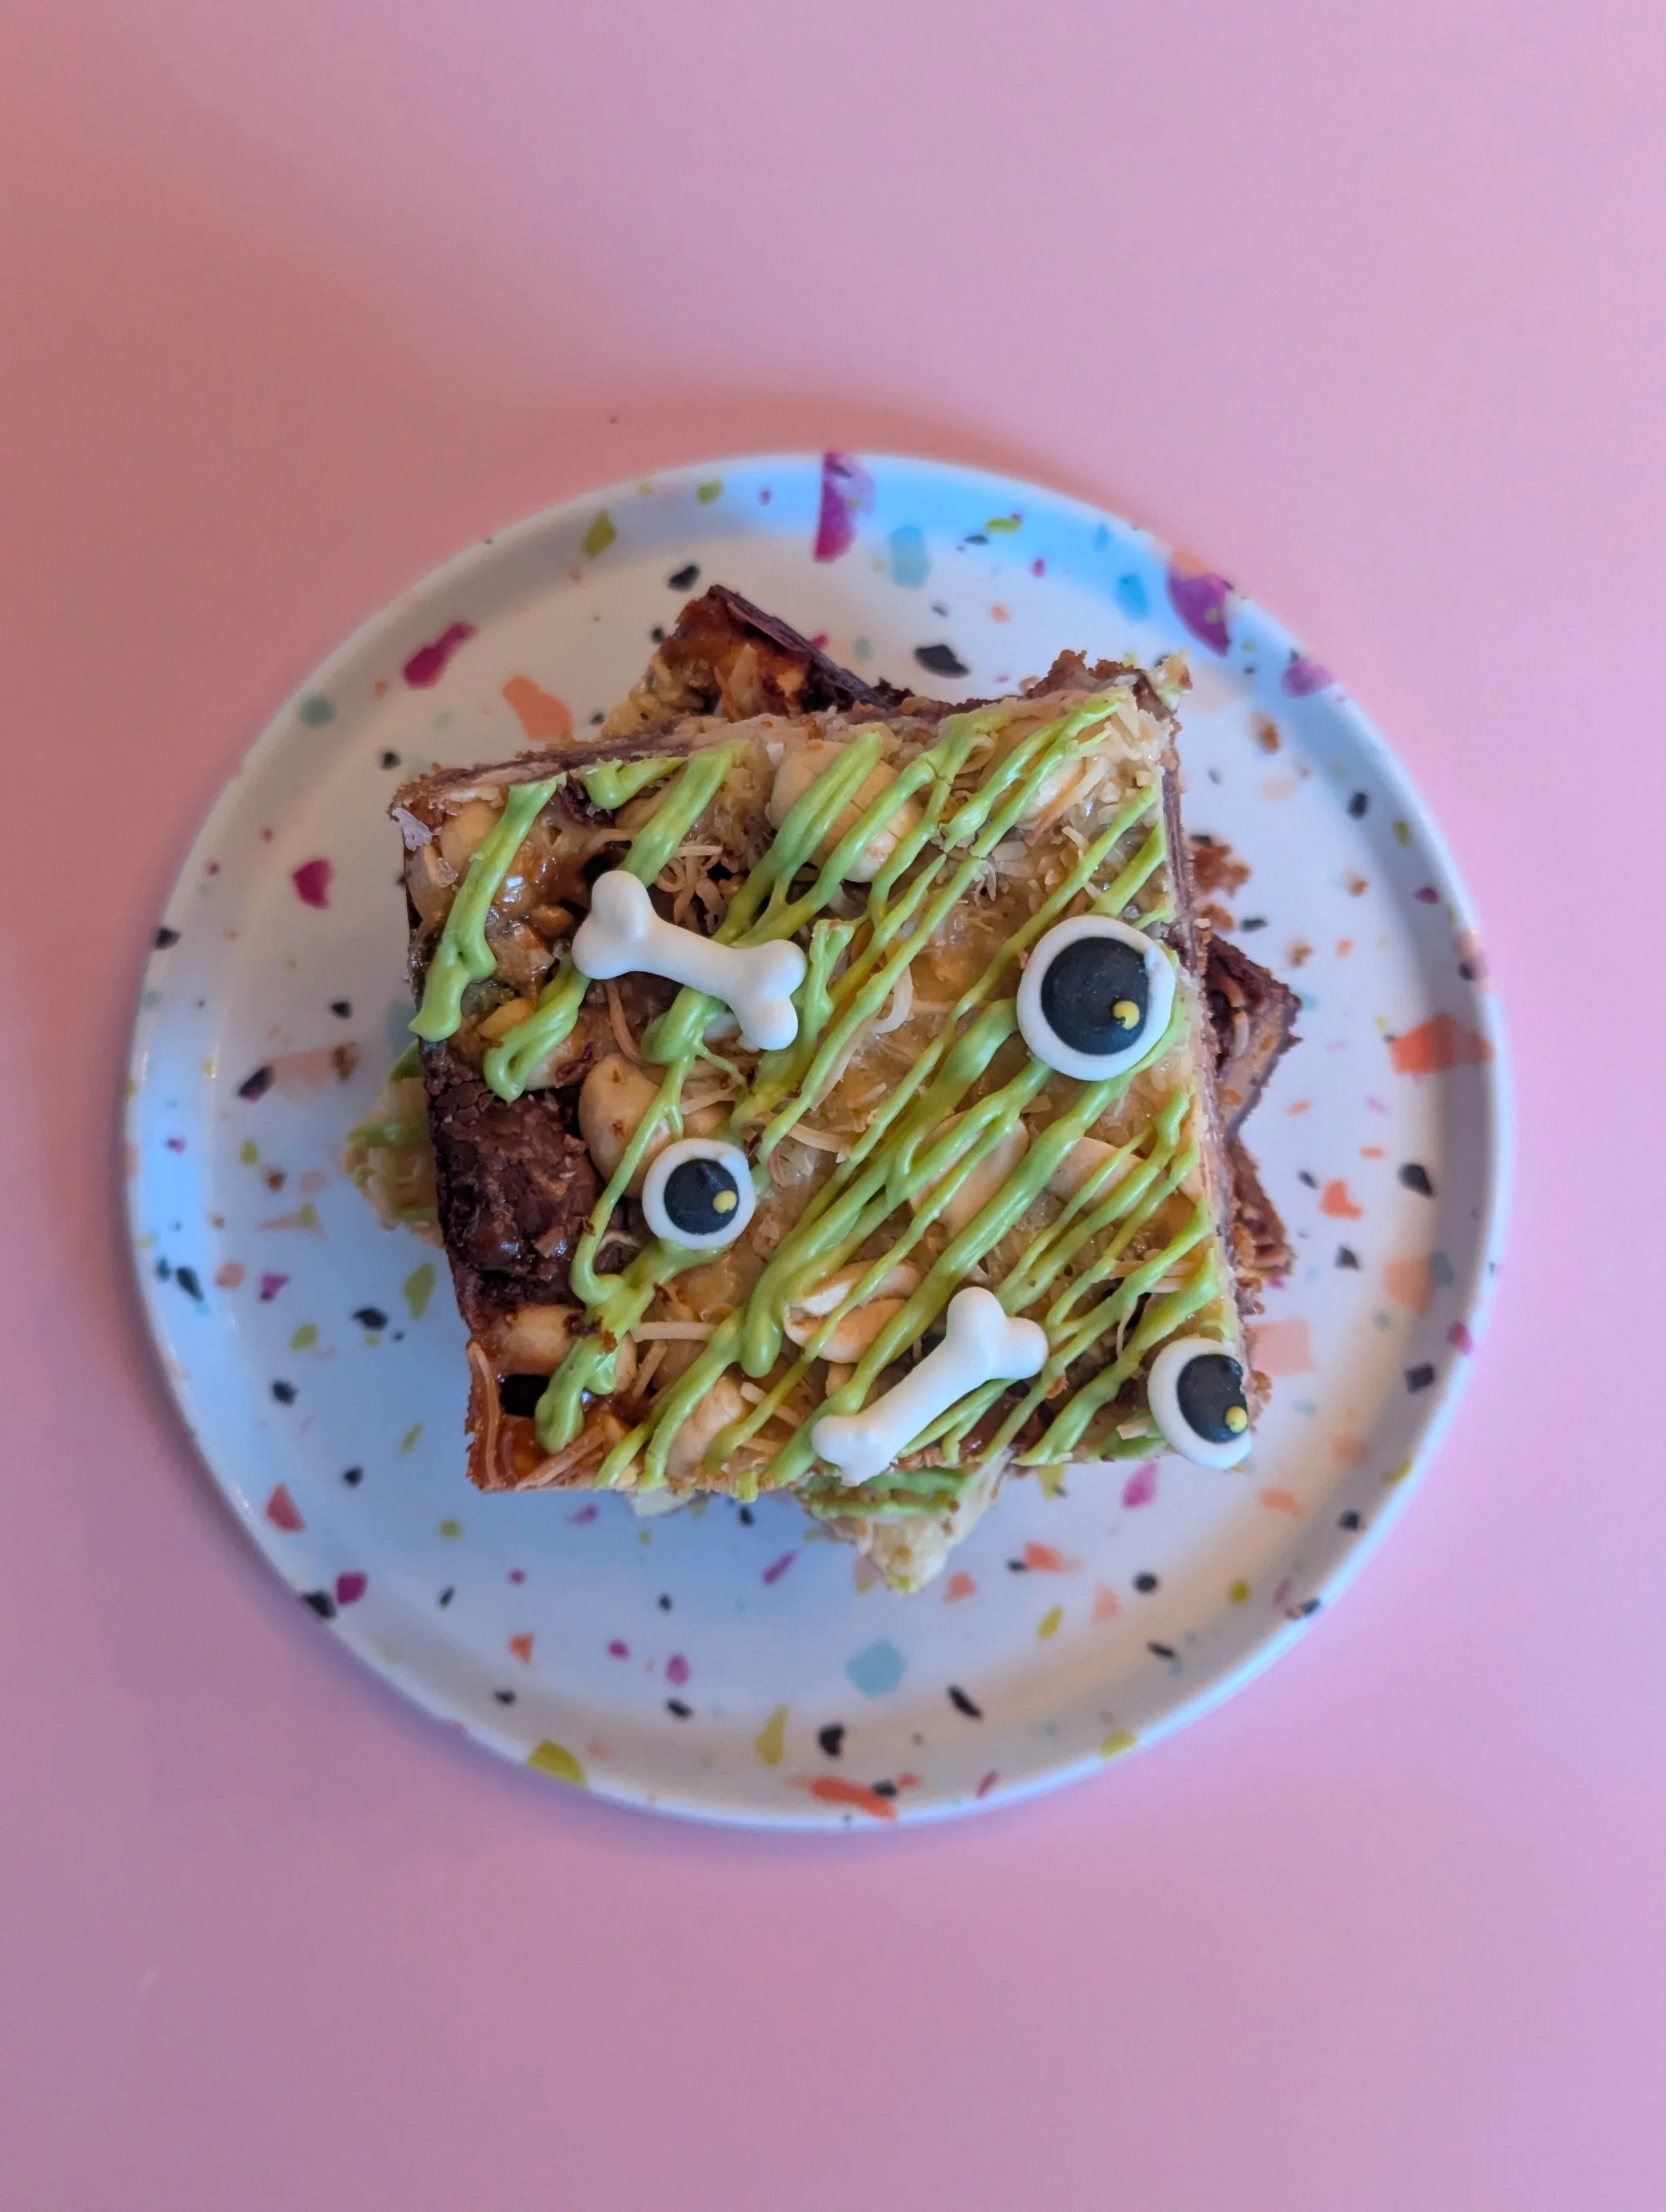
Once the bars are baked and cooled, you can add decoration if you want! I just melted some green candy melts and drizzled them over top the put some homemade Halloween sprinkles on top. This step is completely optional and only for looks.

Here's the recipe!

Halloween Candy Magic Bars
These easy bars are the perfect way to use up your leftover Halloween candy!
Ingredients
- 125g Graham Cracker Crumbs
- 56g Salted Butter, melted
- 200g Halloween Candy/ Chocolate Bars, roughly chopped
- 35g Unsweetened Shredded Coconut
- 60g Roasted Salted Peanuts
- 1/2 can (185g) Sweetened Condensed Milk
- Sea Salt
- Green Candy Melts (optional)
- Halloween Sprinkles (optional)
Instructions
- Line your 8 x 8 pan with parchment paper and preheat your oven to 350 F.
- Weigh your graham crumbs into the pan and pour the melted butter on top of them. Use your hands or a spatula to mix the butter into the graham crumbs, then spread them out and press them down with your hands or the bottom of a measuring cup.
- Add your chopped chocolate bars, coconut, and peanuts to the pan and mix them up with your hands.
- Drizzle the sweetened condensed milk evenly over the top of everything, then top with a sprinkle of sea salt (optional)
- Bake the bars for 20-25 minutes, until golden brown on top.
- Let the bars cool completely on a wire rack, then decorate by drizzling them with melted green candy melts and topping them with Halloween sprinkles if desired. Let the candy melts set then cut the bars into 9 pieces (3 x 3)
- Store the bars at room temperature in an airtight container for up to a week.
Notes
If you're wondering what to do with the rest of the can of sweetened condensed milk, try stirring a spoonful into your coffee - it's soooo good you'll have no trouble using up the rest of the can.
If you want to use the whole can of sweetened condensed milk, double the recipe & use a 9 x 13 pan!