Easy Ghost Sugar Cookie Tutorial
Some of the links in this post might be affiliate links. Some of the links in this post might be affiliate links. As an Amazon Associate I earn from qualifying purchases. This means I earn a small amount of money if you purchase something through the link, at no cost to you. I promise I only recommend items I love! You can read our full disclosure here.

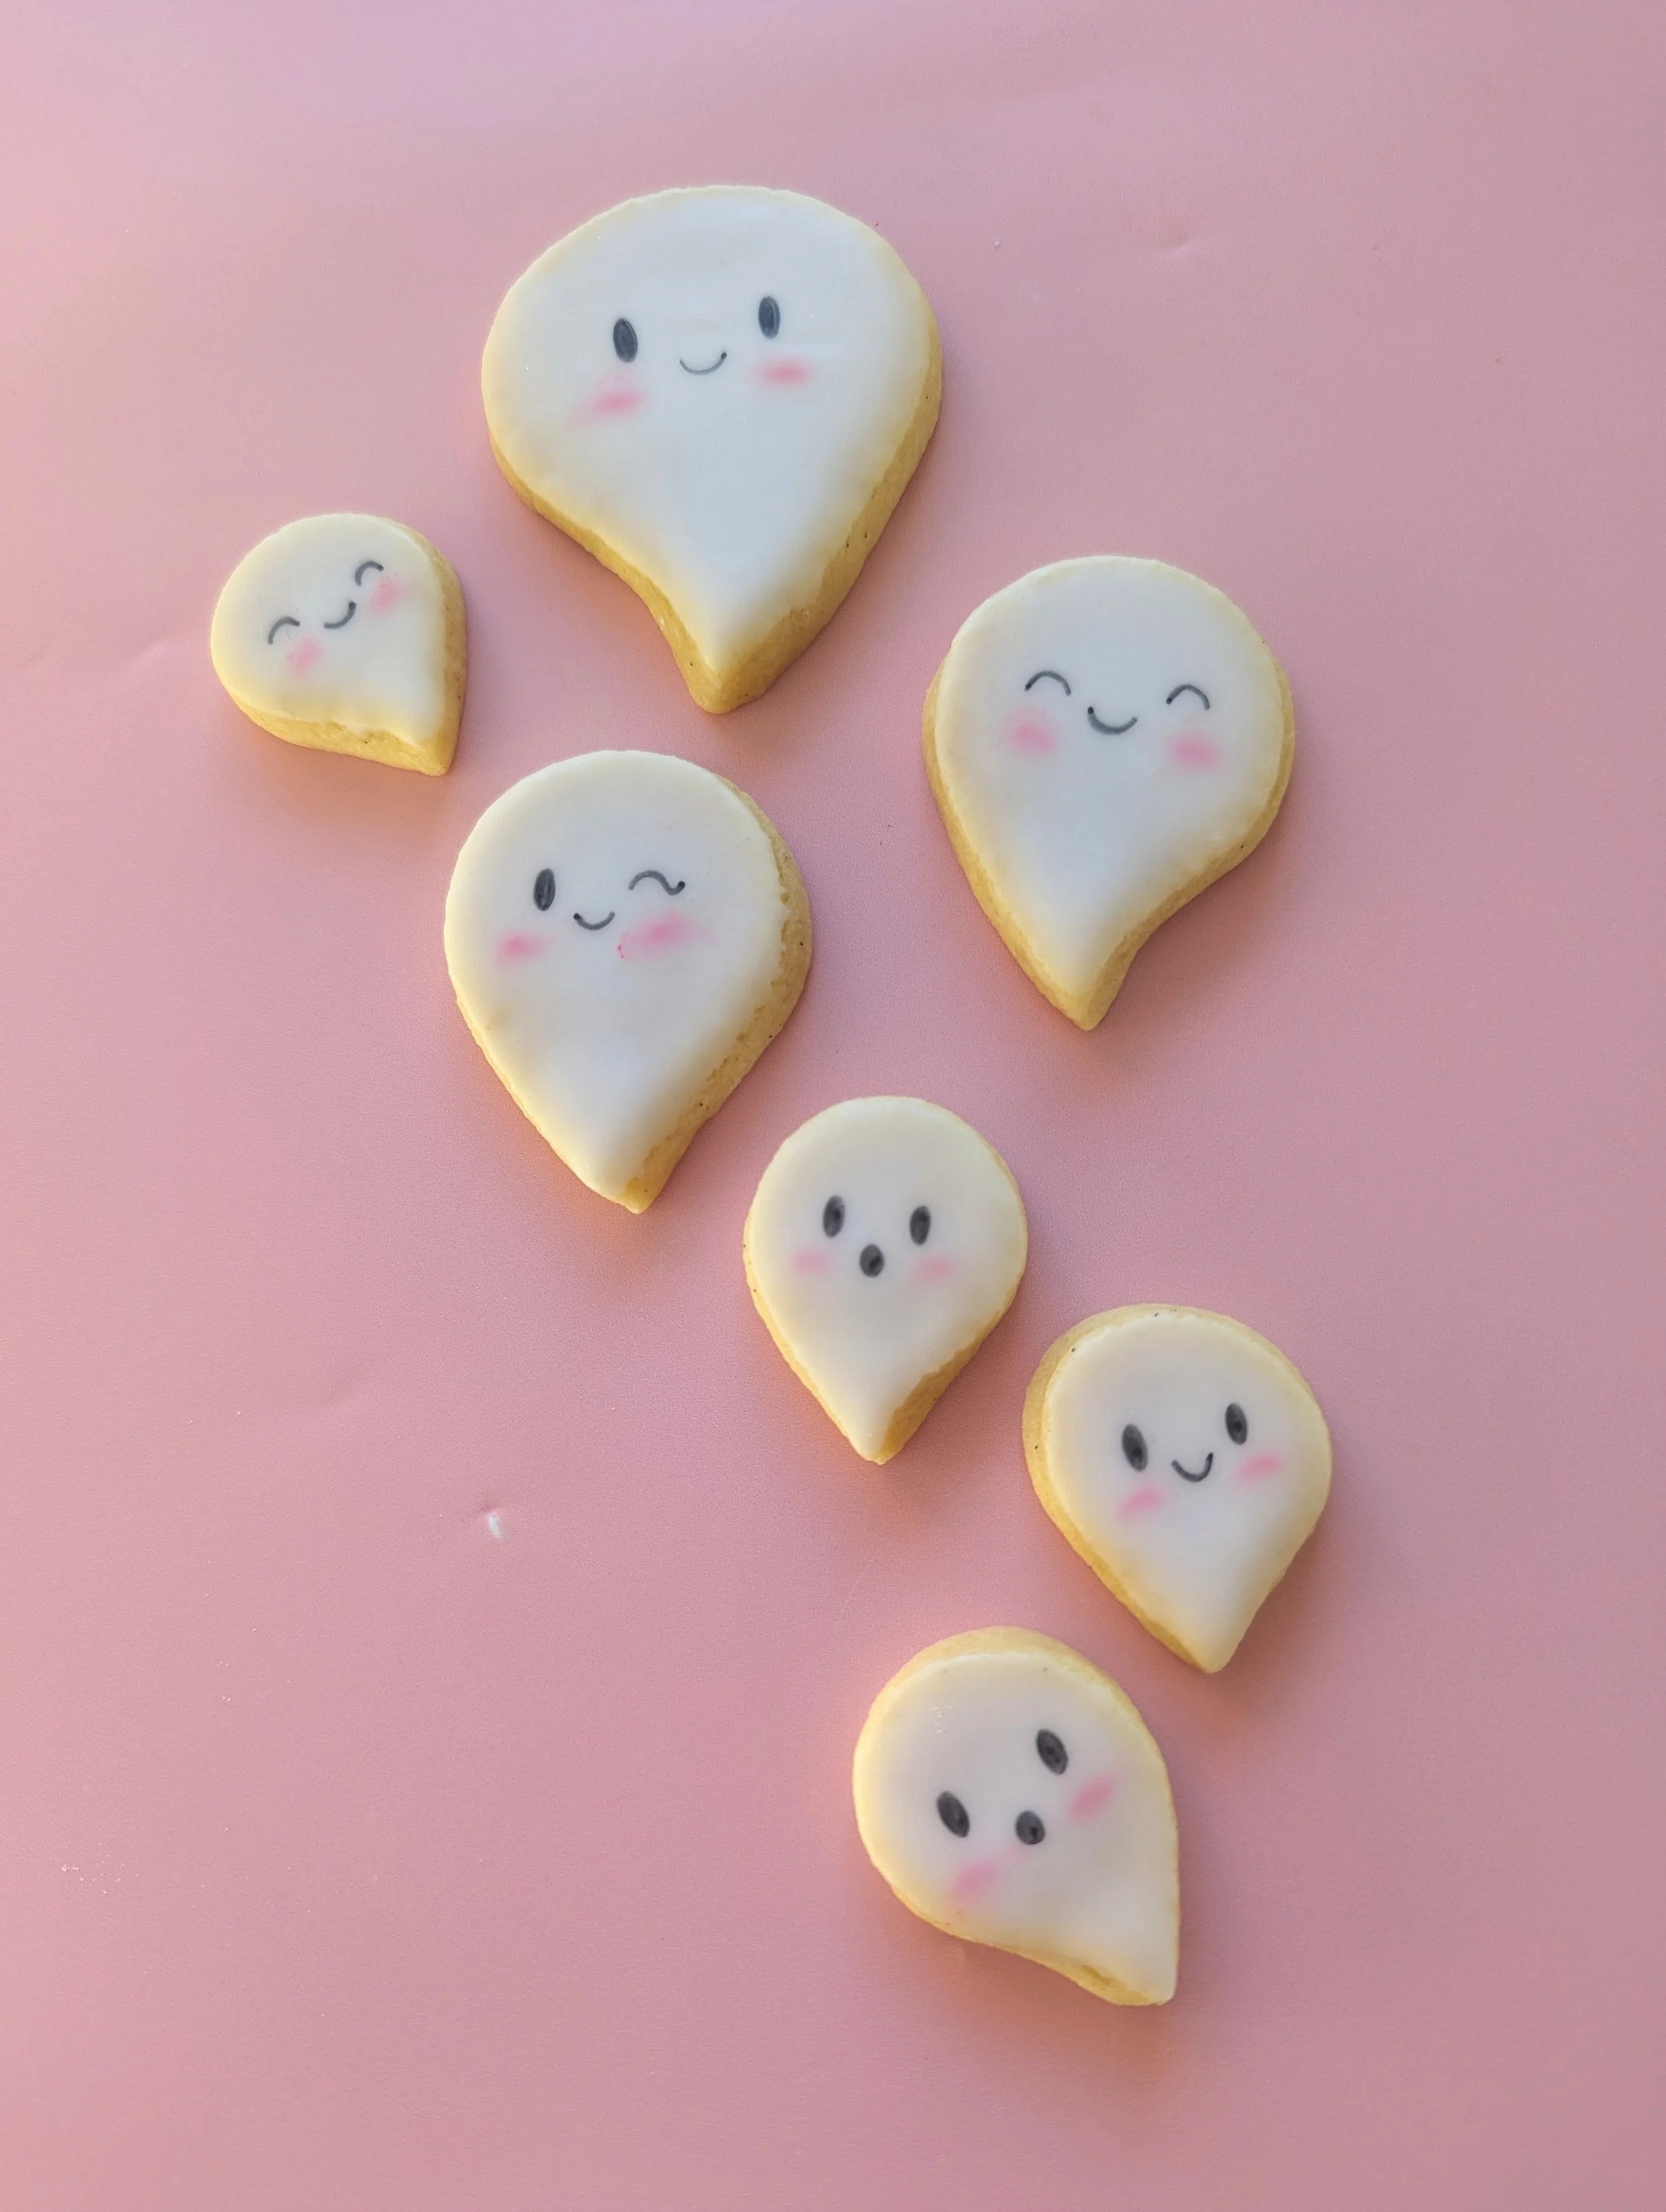
These are a perfect beginner sugar cookie decorating project!
These adorable little ghostie cookies would be super cute as part of a Halloween dessert spread. They are a low effort high reward decorated cookie, perfect for anyone who wants to dip their toes into the world of cookie decorating.
The best part? No piping bags required!
That’s right, these cookies are dipped, and then the details are added with edible marker and pink petal dust, so if you are intimidated by piping bags, these decorated cookies are for you!
Before you start:
-I used a teardrop cookie cutter set to cut out my ghosts - these are easy to find at a well stocked kitchen store or online, and the various sizes mean you can make several different sizes of ghosts, which makes for a super cute presentation.
-You will need 1/2 a batch of sugar cookie dough & 1/2 a batch of glaze icing
-The only food colouring you will need is a white gel food colour for the glaze icing
-You will need black edible markers (these ones are my absolute favourite - better than any name brand I’ve tried) and pink petal dust (optional but the blushy cheeks make the ghosts extra cute) and a small paintbrush (something with short bristles)
-Here is my sugar cookie recipe to make your own cookies,or buy pre-made dough if you prefer to make these even easier!
-Here is my go-to recipe for glaze sugar cookie icing
First, make your cookies!
Preheat your oven to 400 F & line a baking sheet or two with parchment paper.
Roll out your cookie dough to just over 1/4” thick. (I have lots of tips for rolling out cookie dough in my Sugar Cookie Recipe post if you need them!)
Cut out ghosts in any size you like using the teardrop cookie cutters, then bend the tails slightly to give them a more ghost-y look.
Place your ghosts on your baking tray, leaving about an inch between each cookie. Bake for 4-6 minutes, until the edges just barely start to brown. NOTE: Put similar-sized ghosts together on the same tray. Smaller ghosts will need less time to bake so don’t mix dramatically different sizes on the same tray.
When your cookies come out of the oven, use a fondant smoother or the bottom of a measuring cup to gently press down on each cookie so you have a perfectly flat surface to decorate on.
Let your cookies cool completely on the baking tray on top of a wire rack.


Now, let’s decorate!
Put a few spoonfuls of glaze icing in a small bowl and add a few drops of water to your icing and stir. Repeat until your icing has the consistency of liquid honey when it falls off your spoon. Let it sit for a couple minutes to let the air bubbles out.
Take one cookie and drop it upside down into your bowl of icing. Without pressing it in too much, gently grab the edges of the cookie with your fingers and pull it out of the icing. Tap the cookie onto the icing a few times to get rid of any excess icing, then flip it right side up and place the cookie back on the tray. Repeat with the remaining cookies.
Let your glaze icing dry overnight.
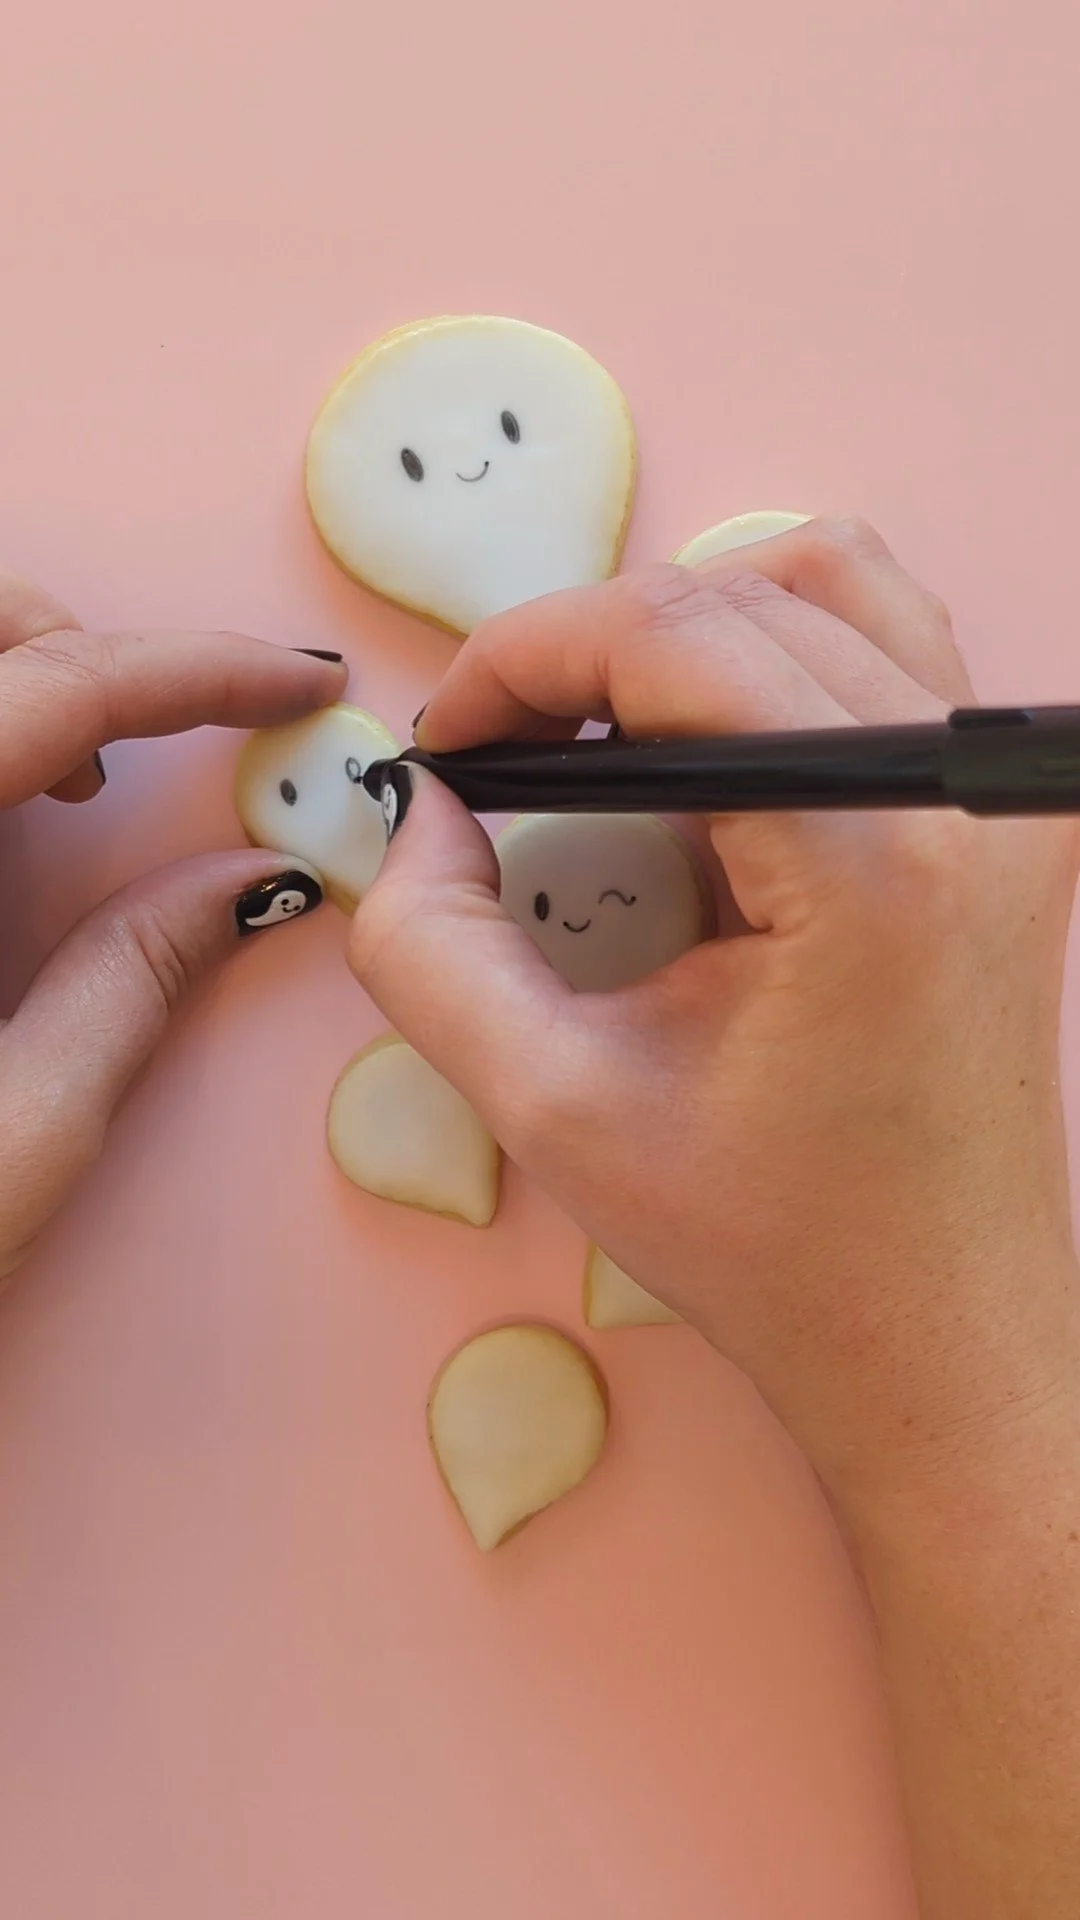
Once your cookies have dried overnight, you can add your details. Use the fine tip end of the black edible marker to add faces to your ghosts.
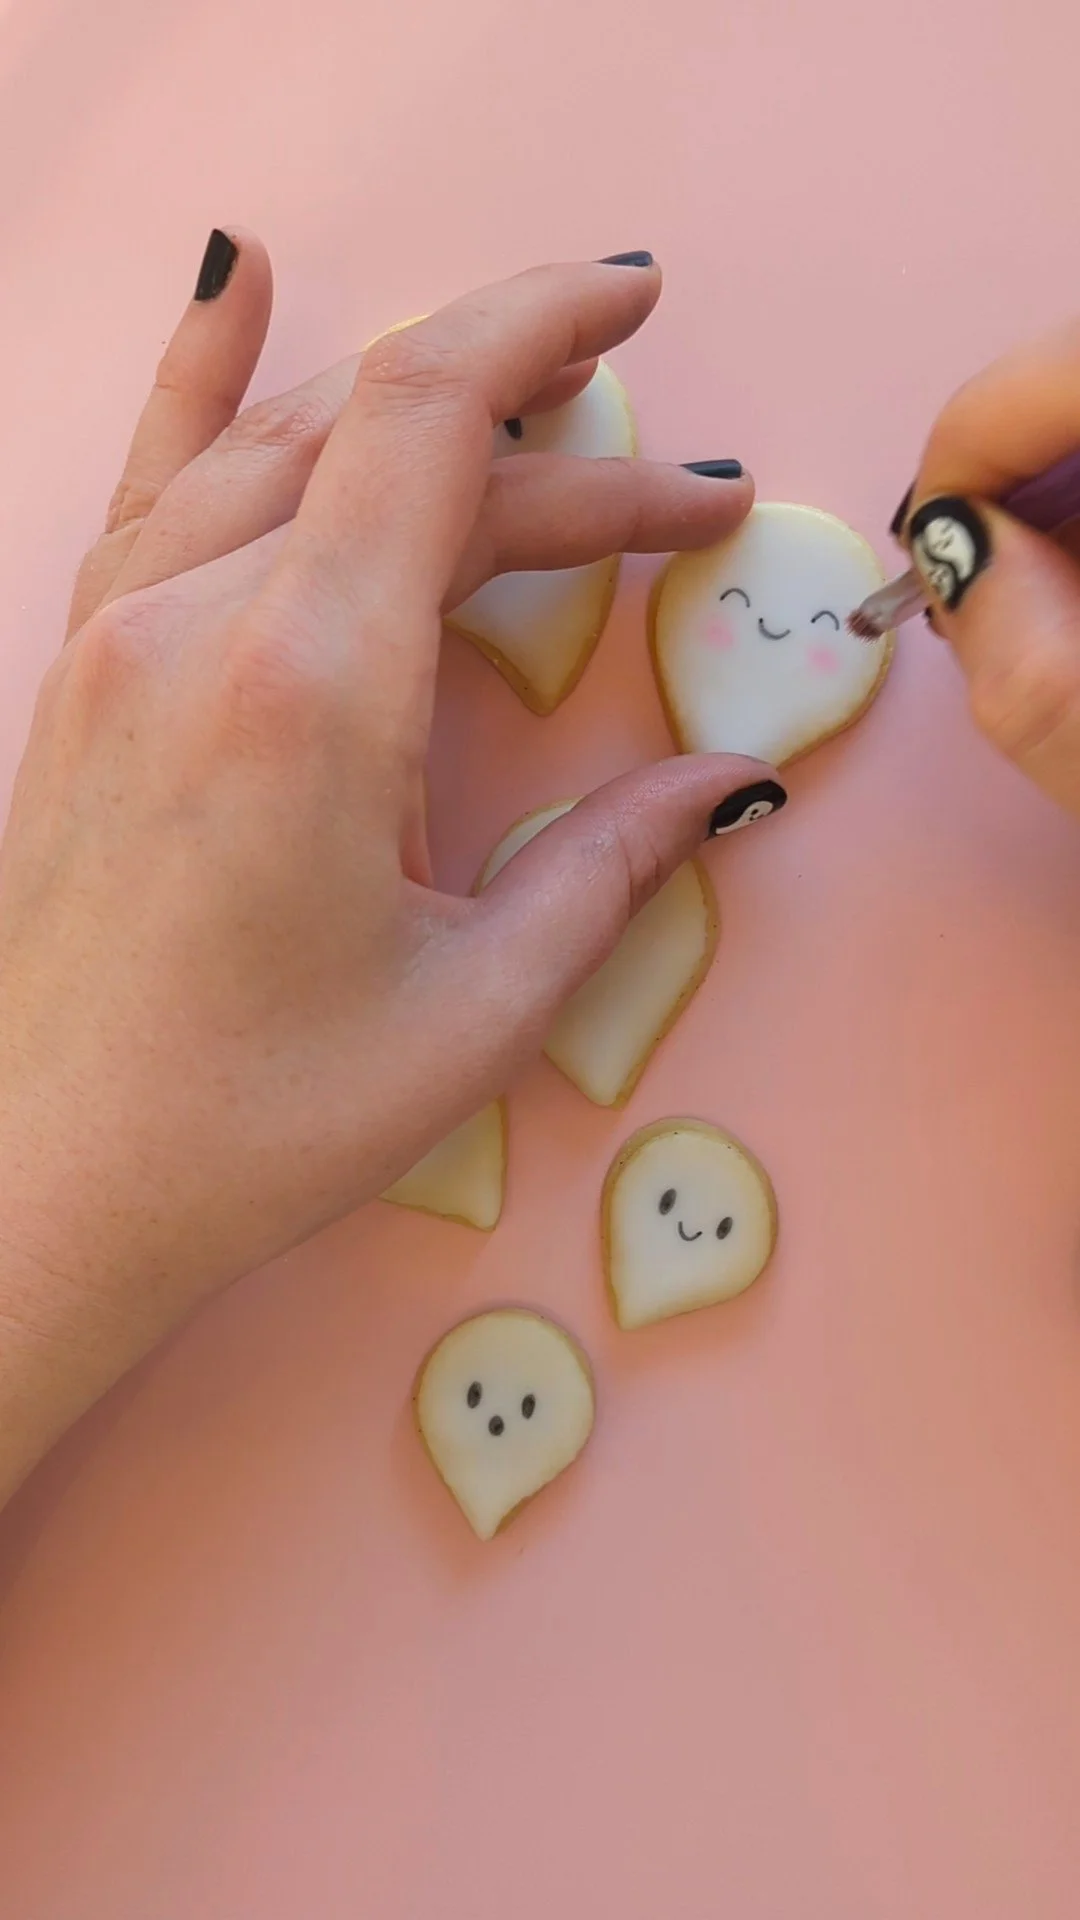
Optional: To add rosy cheeks, tap a small amount of pink petal dust onto a small plate or into the lid of your petal dust container, then dip your short bristled brush into it, tap off the excess and gently rub the brush in a circular motion onto your ghost cookie where you want the rosy cheeks to be.
Ta-dah! You made some adorable little ghostie cookies! You can store them in an airtight container at room temperature for up to 3 days or in the freezer for several months. Store them with sheets of parchment paper between each layer.


Happy decorating!