
Axolotl Bento Cake Tutorial

Some of the links in this post might be affiliate links. Some of the links in this post might be affiliate links. As an Amazon Associate I earn from qualifying purchases. This means I earn a small amount of money if you purchase something through the link, at no cost to you. I promise I only recommend items I love! You can read our full disclosure here.
If video is more your thing, you can jump to the video at the end by clicking the button below!
what’s a bento cake?
It’s a small cake meant for just one person. You can make it for any occasion, or no occasion at all! They traditionally have very minimalist designs and are packaged in small takeout boxes.
I want to do a whole series of animal bento cakes, so watch out for those in the future!
What do I need to make this cake?
First off, this tutorial is for people who at least a little cake decorating experience! I won’t be going into detail on how to get smooth icing, cut even layers, etc. That’s for another day! If you know how to cut, fill and evenly frost a cake you should be good to go!
You’re going to need the following before you start:
1 4” Layer of Funfetti Cake (see notes below)*
About 1/4 batch of Swiss Meringue Buttercream*
A small 6” cake board or flat plate to make your cake on
Some simple syrup (1 part hot water to 1 part sugar) & a Pastry Brush
Rice paper
Scissors
Parchment or wax paper
Pink, black, and purple gel food colouring (I like Americolor brand, but Wilton brand is good too and might be easier to find - I know you can find the Wilton brand at Michael’s & Bulk Barn)
Edible glitter spray (optional - this edible glitter is my favourite!)
Some cute sprinkles! (I like Sweetapolita Sprinkles - I used their “Banana Boat” sprinkles for my Axolotl)
Toothpicks
2 Piping bags (I like the re-useable ones from Wilton), with couplers
2 small round piping tips (like a Wilton #3) and one larger round piping tip (like a Wilton #12)
*My funfetti cake recipe makes 2 6” layers, or 4 4” layers. You can cut the recipe in half to get only 2 4” layers, but I wouldn’t reduce the recipe any more than that or it will be almost impossible to achieve a fluffy cake! I suggest making the full recipe and just stashing the extra layers in your freezer for the next time you want to make a tiny cake! The same goes for the swiss meringue buttercream - make a full batch and stash the rest in your freezer. Bring it up to room temperature then rewhip it when you want to use it again!
Ok, let’s start!
STEP 1:
First, we’re going to make the fins. THESE NEED TO DRY OVERNIGHT SO PLAN ACCORDINGLY!!!
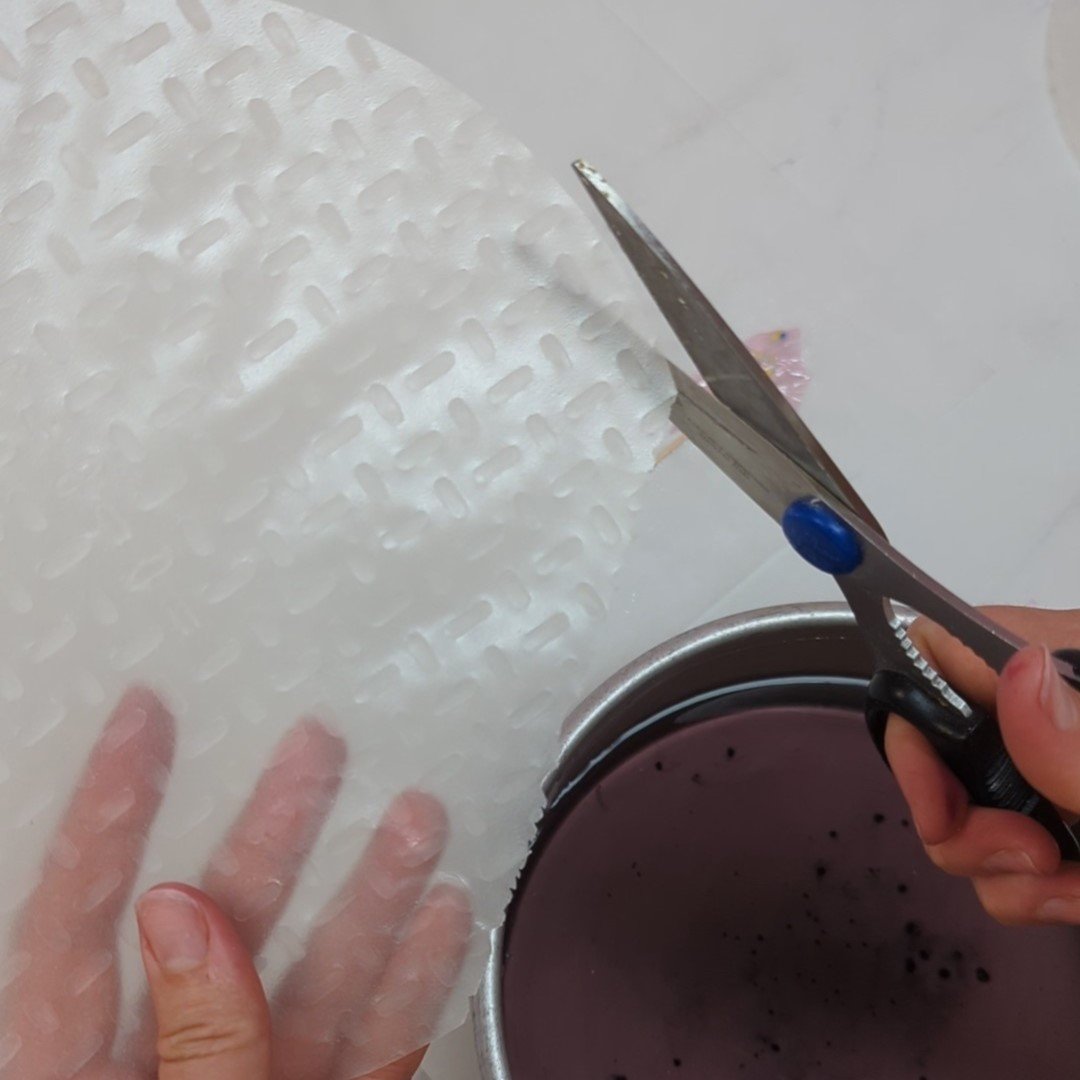
Take your rice paper and cut out 12 fins that are approximately the same size. They should be about 2.5” long and about 1” wide at the base, with the base being a straight edge and the other end coming to a point.
Once you have your fins cut out, take a shallow bowl and put some water in it. Then, add some purple food colouring and mix it in. It likely won’t mix in completely, but that’s ok.
Gather your toothpicks and sprinkles, you need them for this next part!
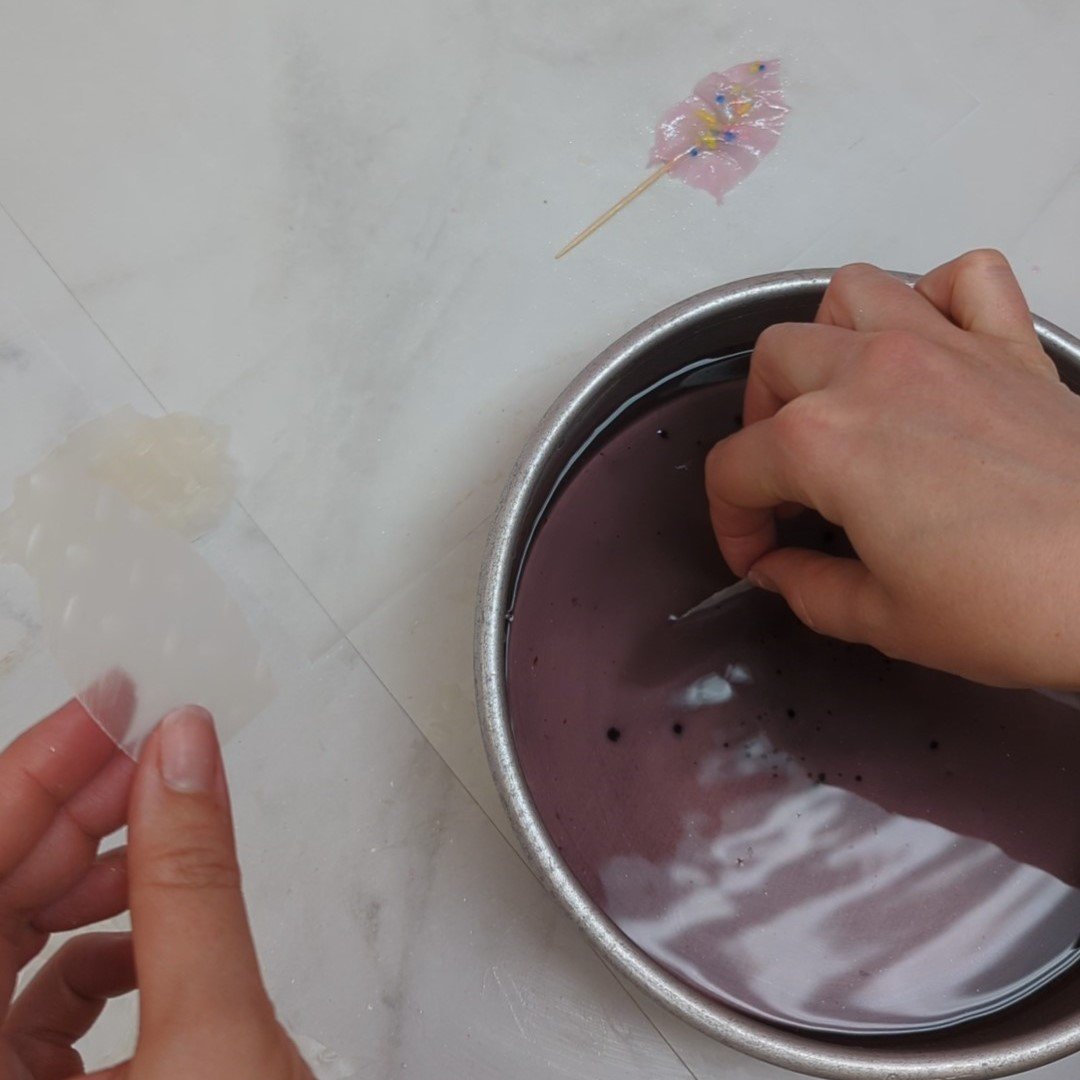
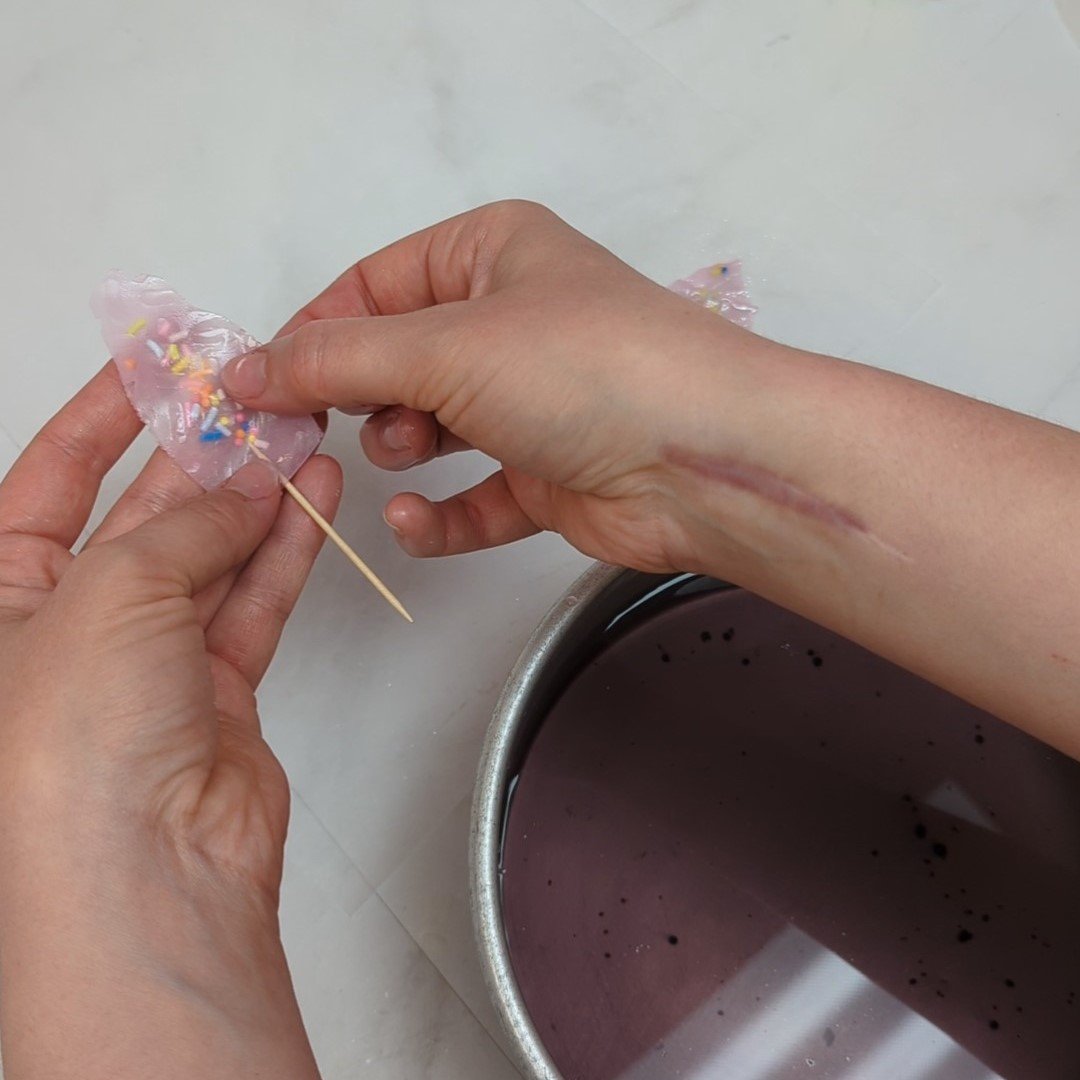
Place one of your rice paper fins in the water for a few seconds, then pull it out, place it on a sheet of parchment or wax paper and lay a toothpick on it, with the toothpick sticking out about halfway from the straight edge. Then, sprinkle a few sprinkles in the very centre of the fin, dip a second fin in the water and place it on top of the toothpick and sprinkles. Wait a few seconds for the second fin to soften, then press the edges together (especially around the toothpick at the bottom) and crinkle the fin up a little to give it some movement. Repeat with your other 10 pieces of rice paper to get a total of 6 fins.
Optional: Spray your fins with some edible glitter.
Let these dry overnight.
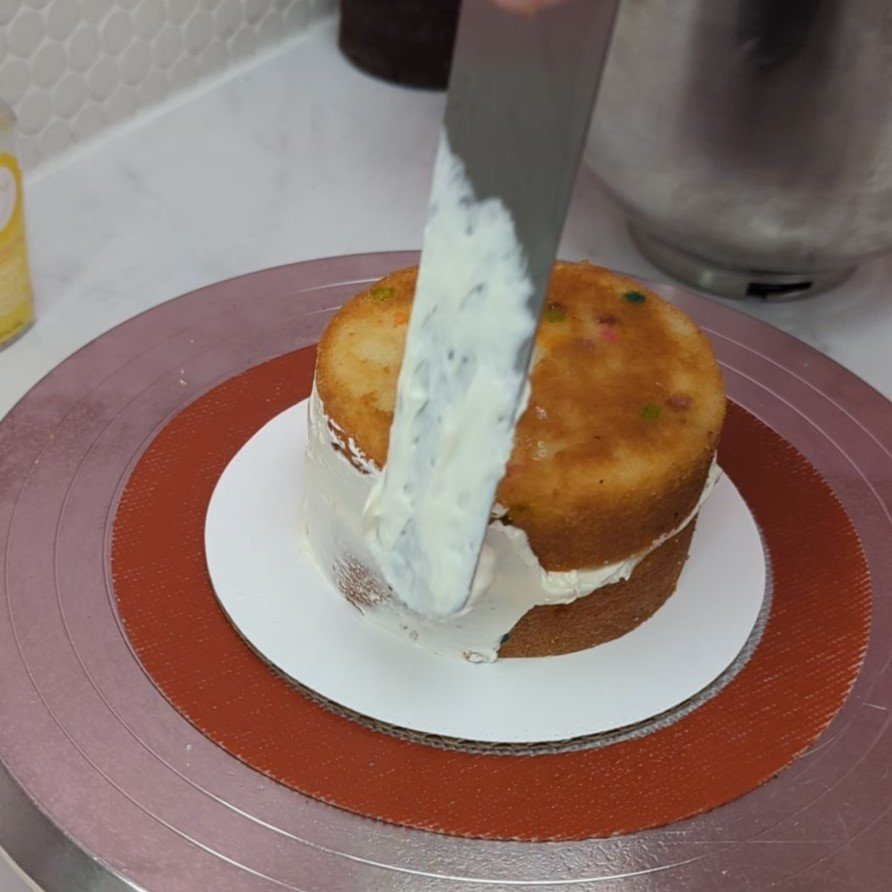
STEP 2:
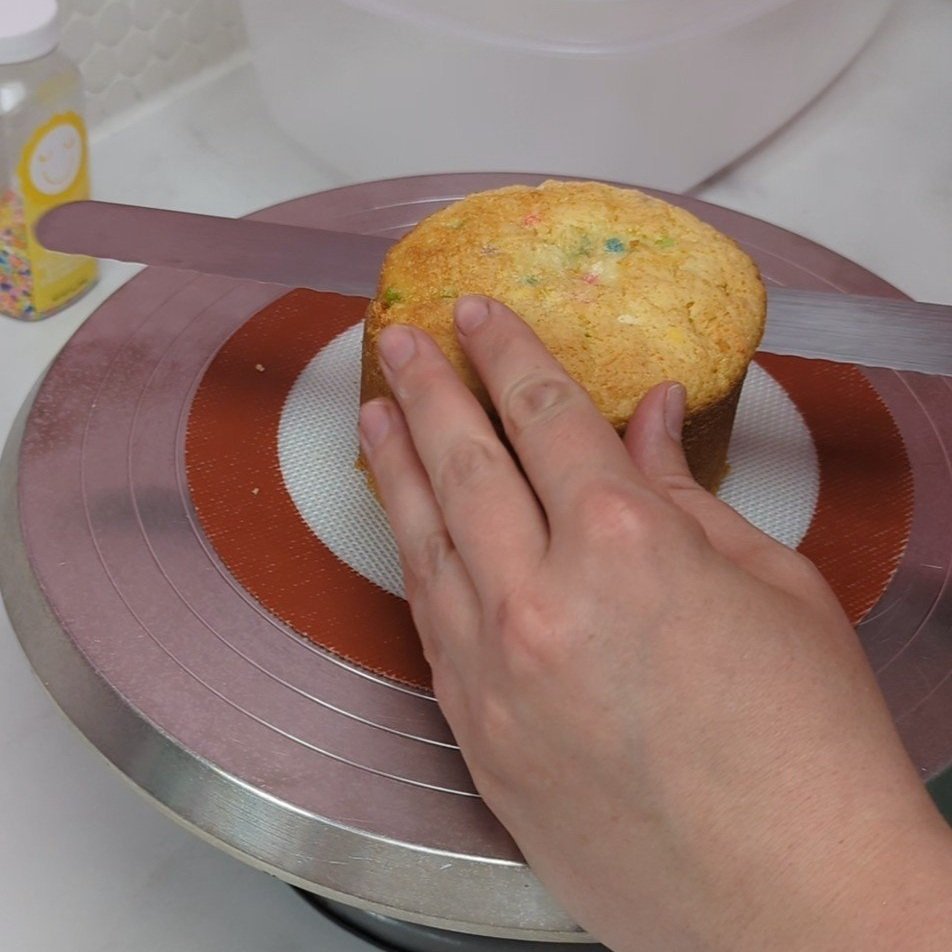
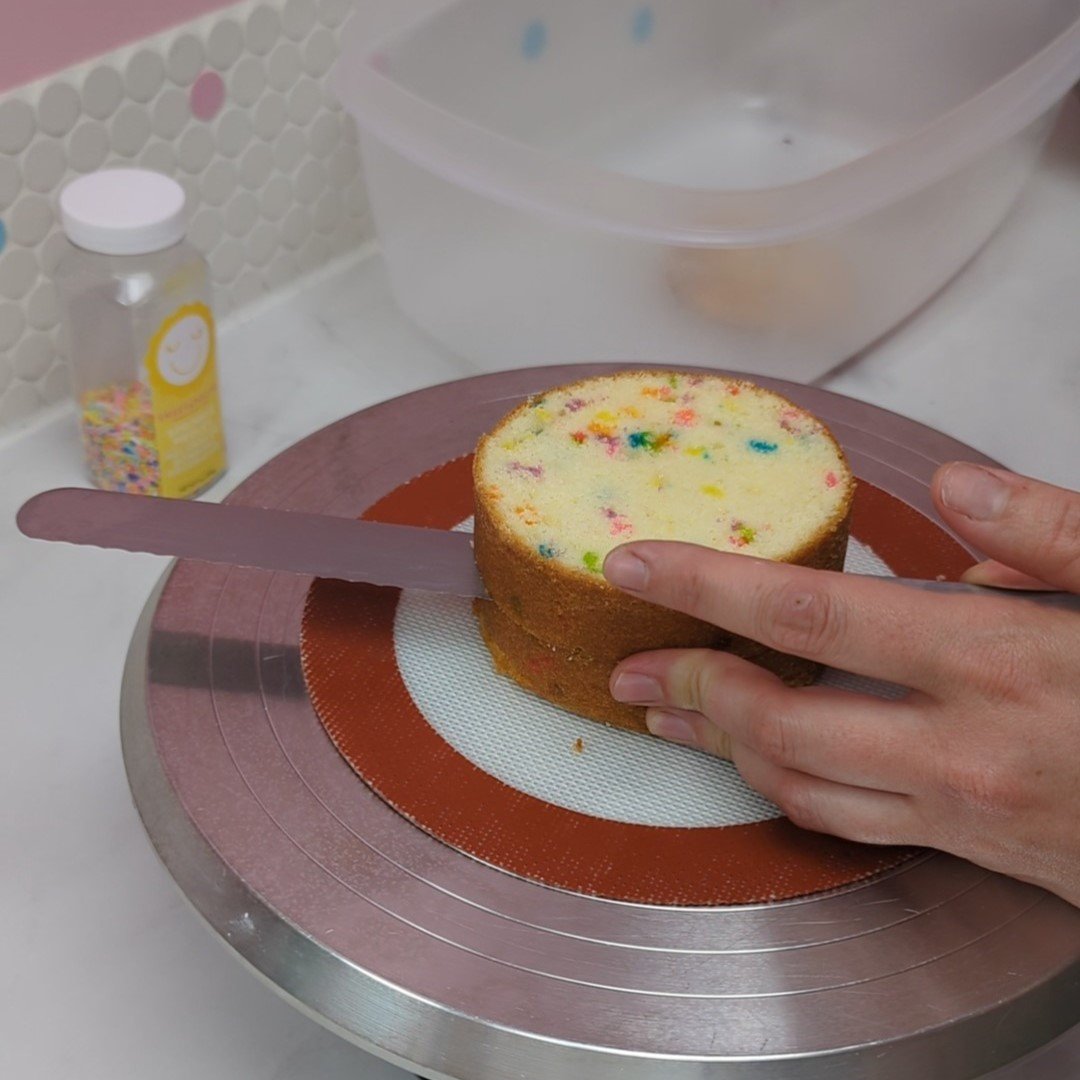
Put your cake on your turntable and trim the top of your cake with your bread knife to make it flat, then cut it into two layers.
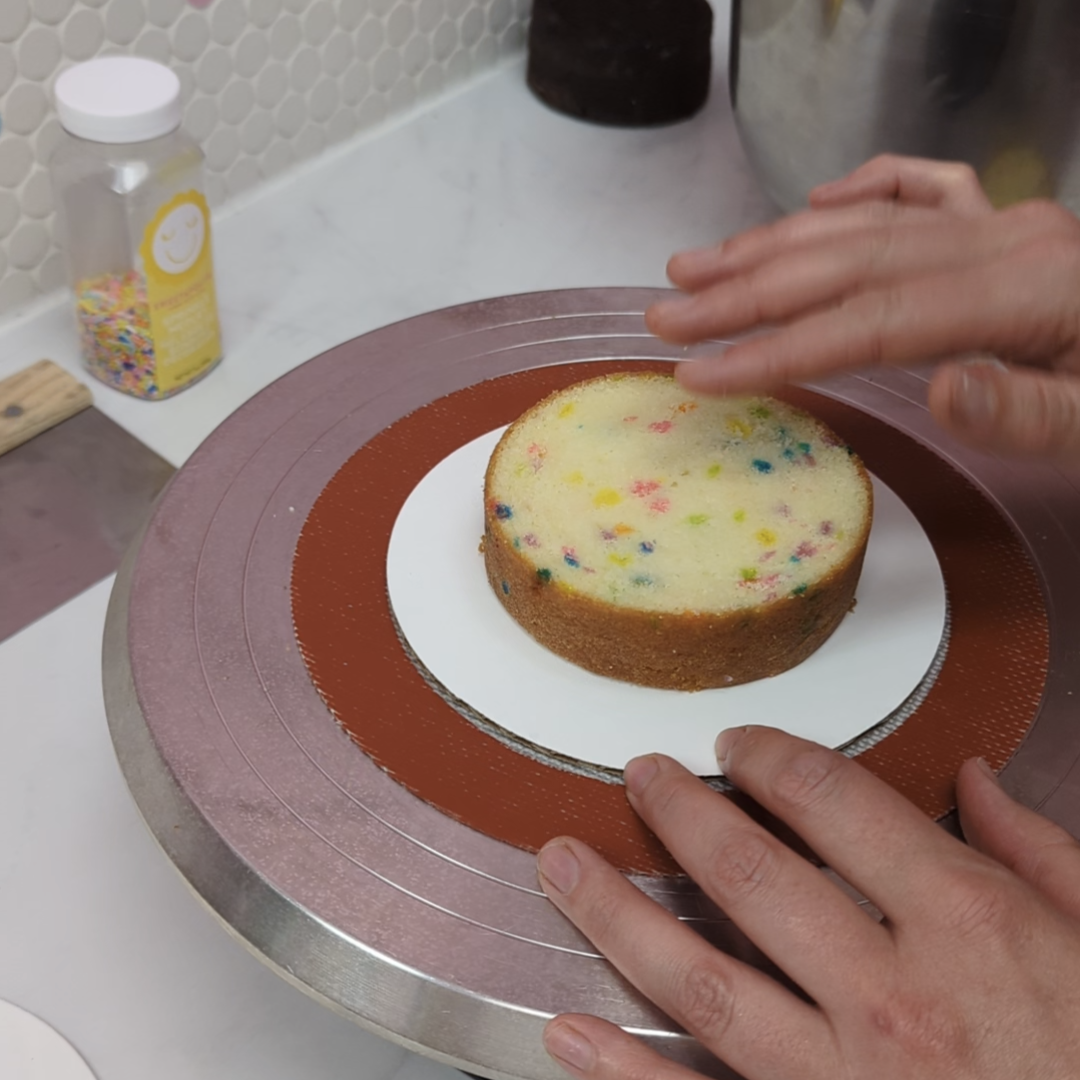
Secure the bottom layer of your cake to your cake board with a small dollop of buttercream.
Optional: brush the insides of both layers with some simple syrup to keep your cake really moist.
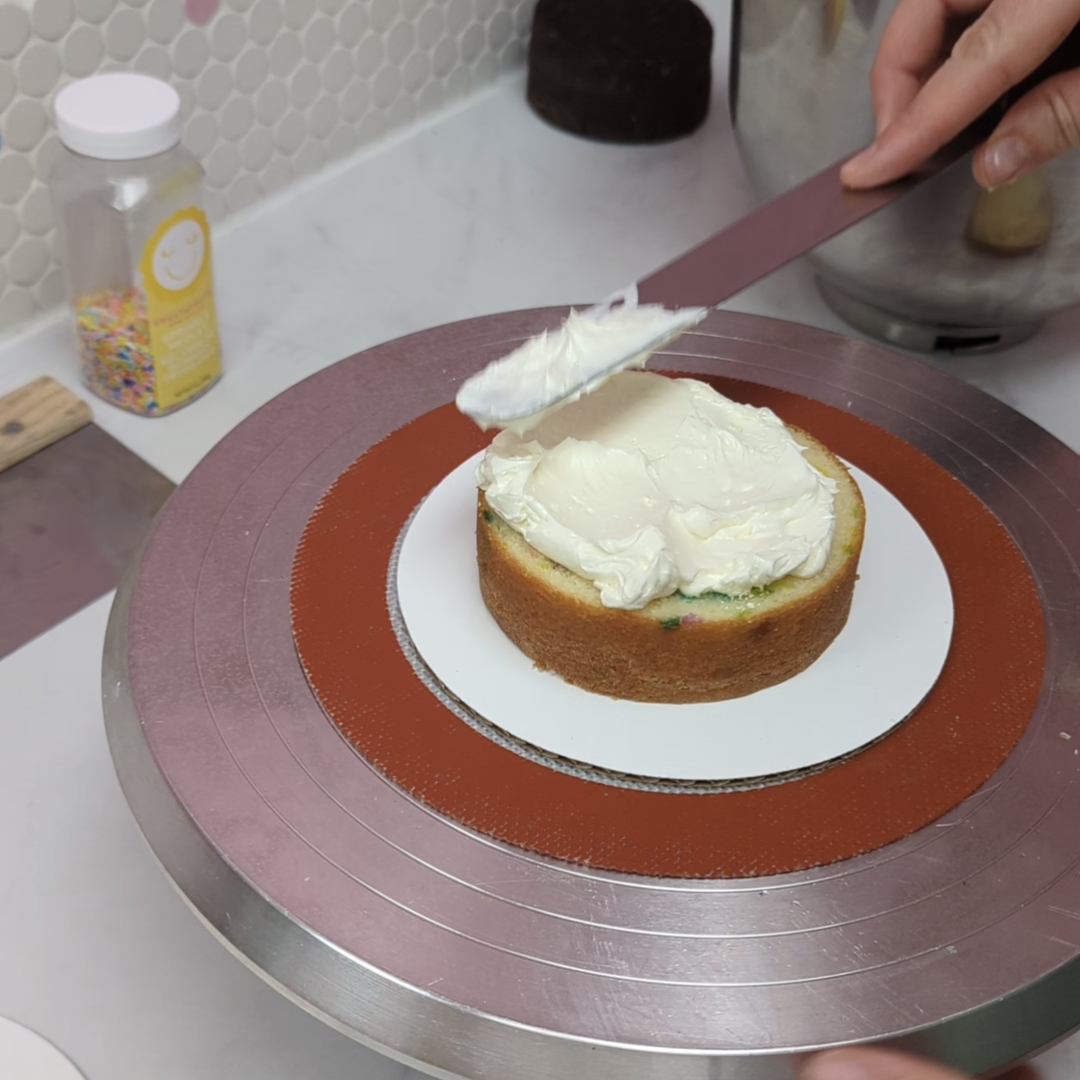
Spread a small amount of buttercream on your bottom layer with your icing spatula .
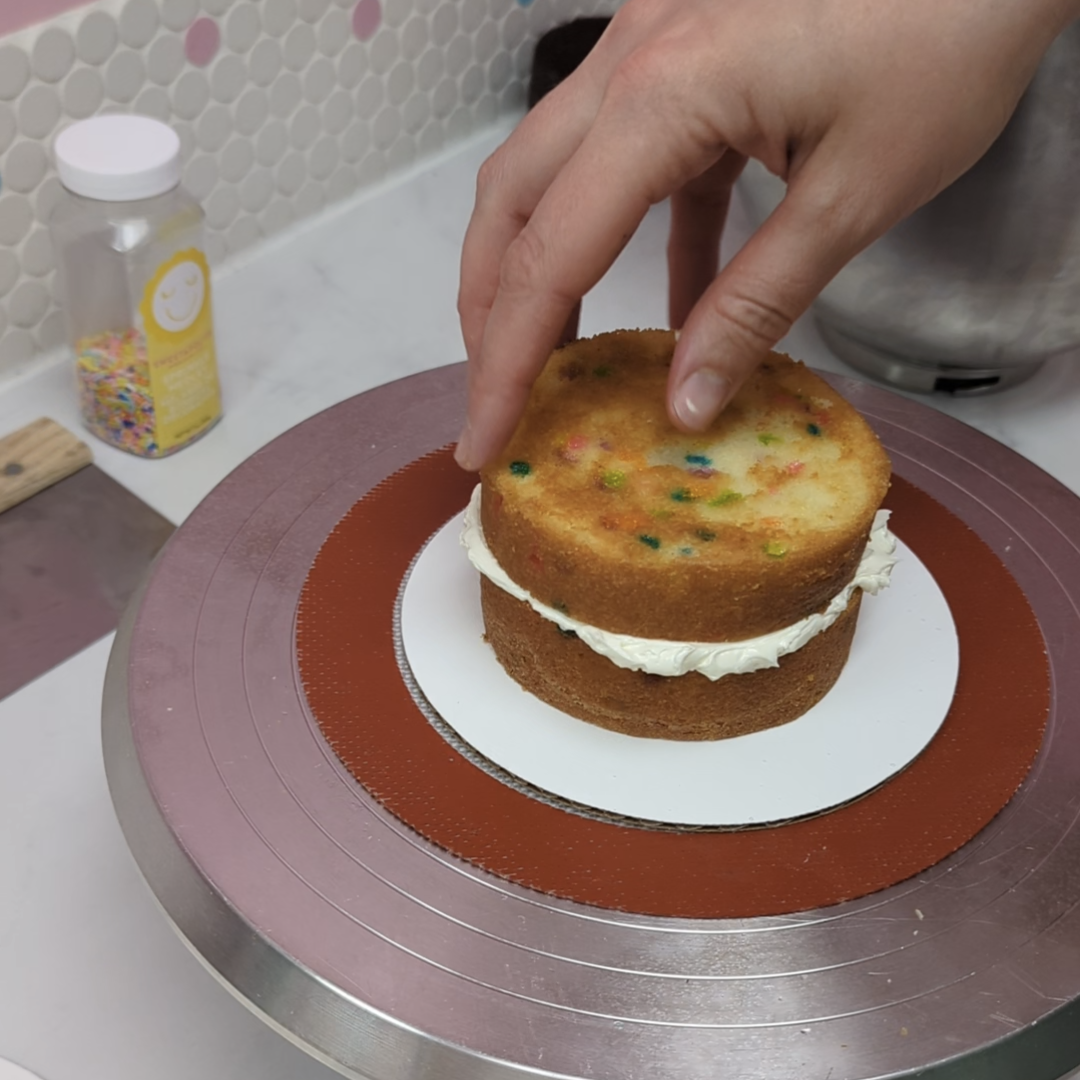
Place your top layer on top of the buttercream and push down gently to make it flat.
Do a crumb coat, and place your cake in the fridge for about 20 minutes to set.
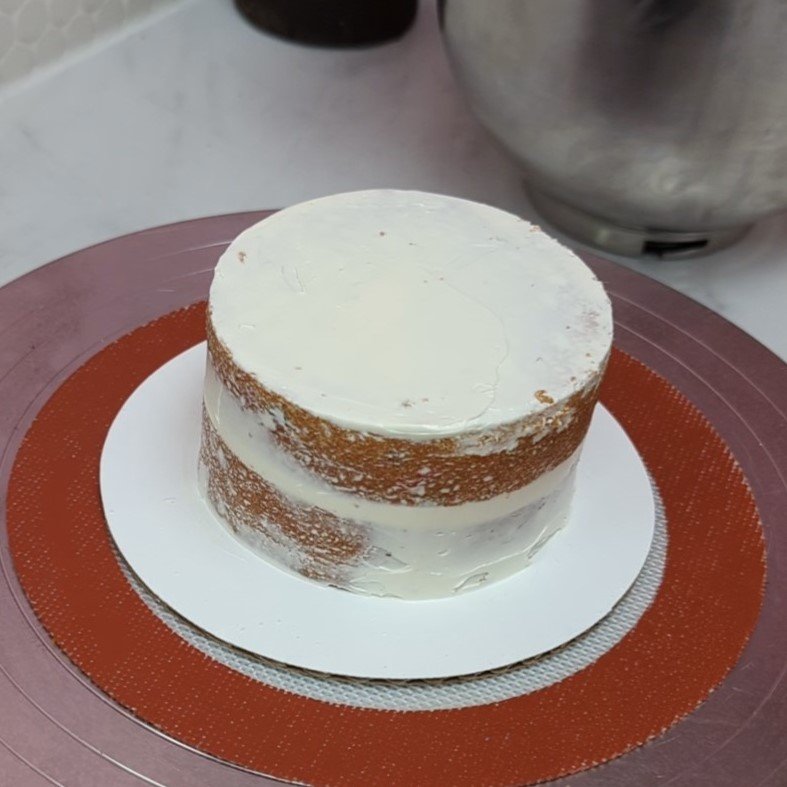
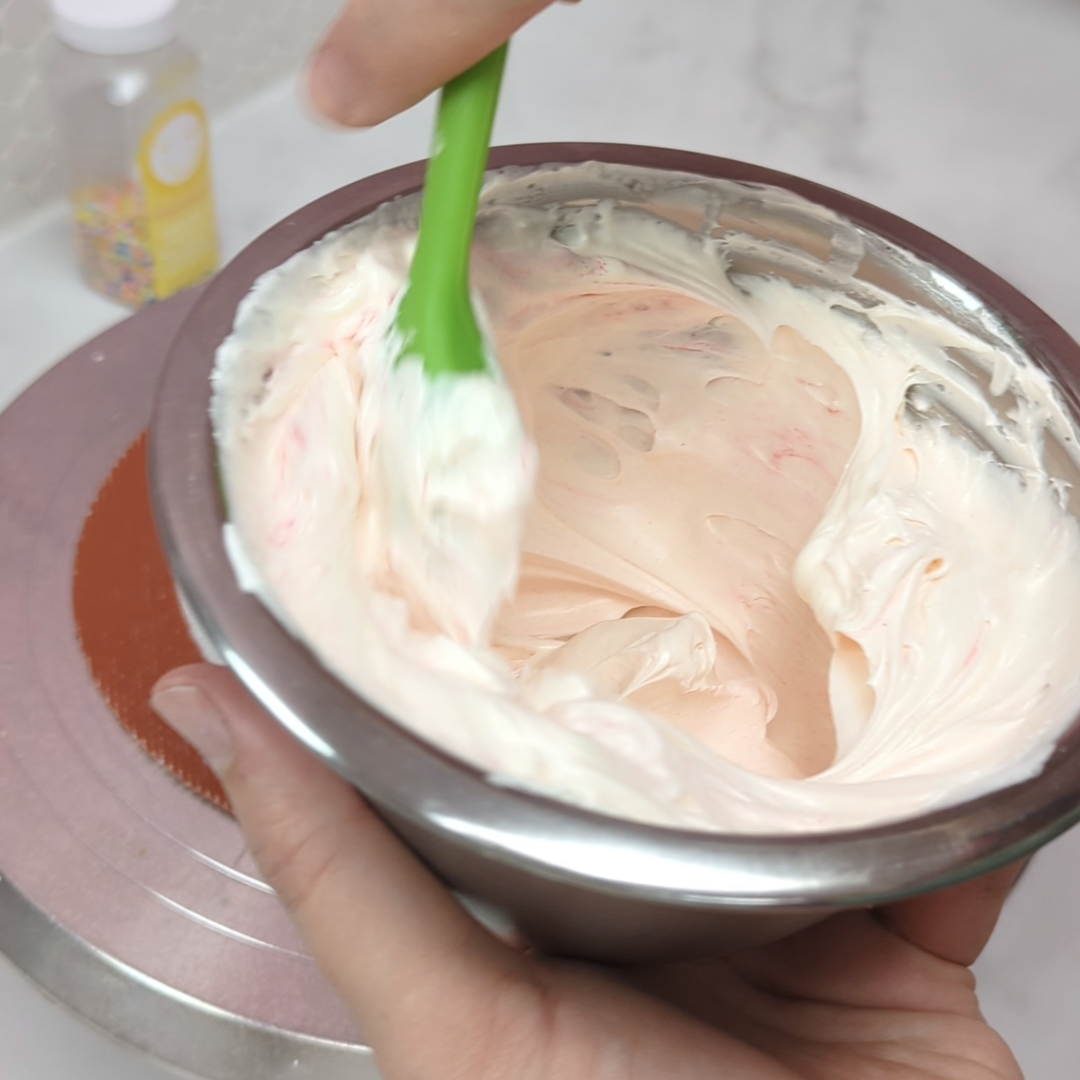
step 3
While your cake is in the fridge, mix your pink buttercream. You’ll need about 175g of buttercream. You want a pale pink, so mix a very small amount of gel colour into your frosting until you achive the shade you want.
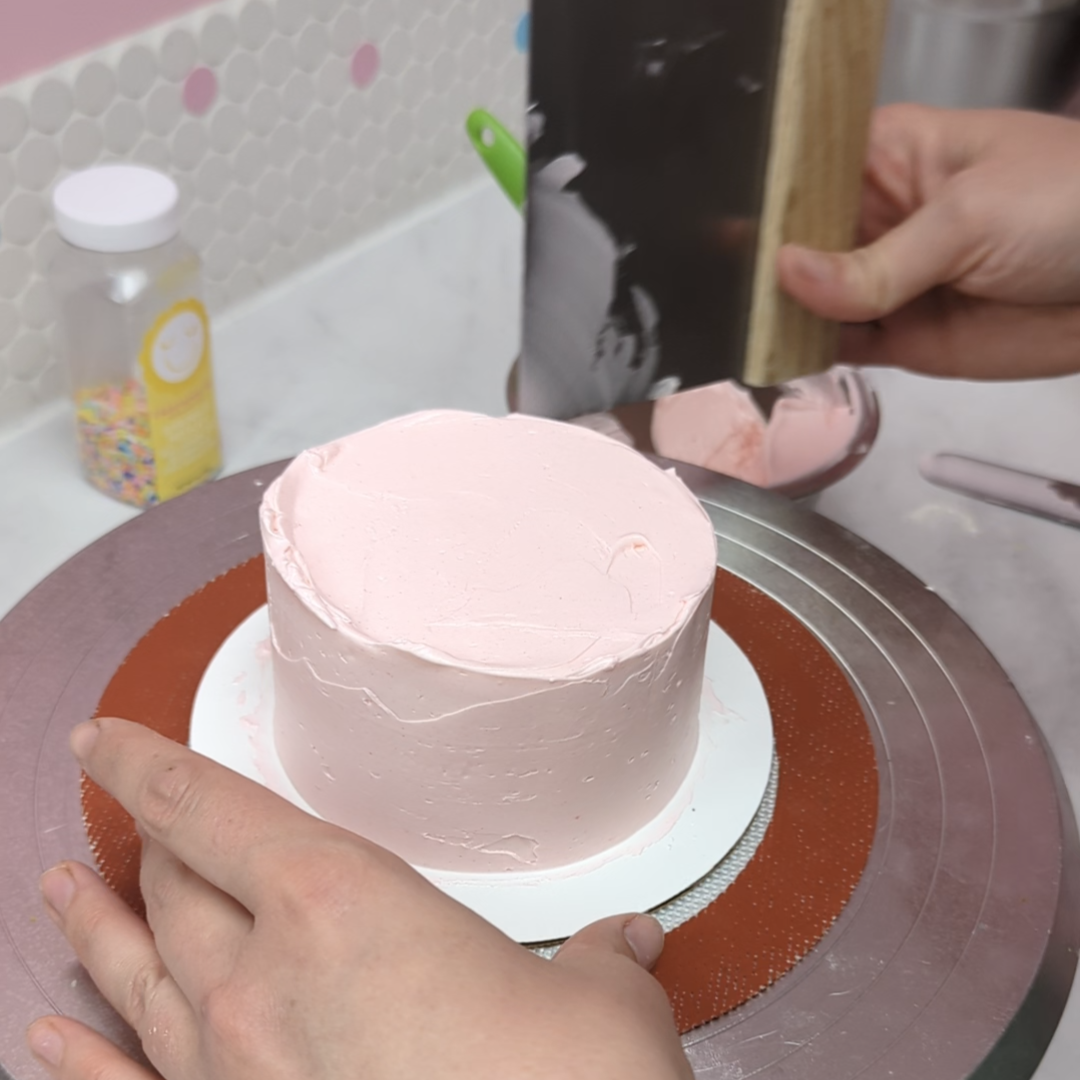
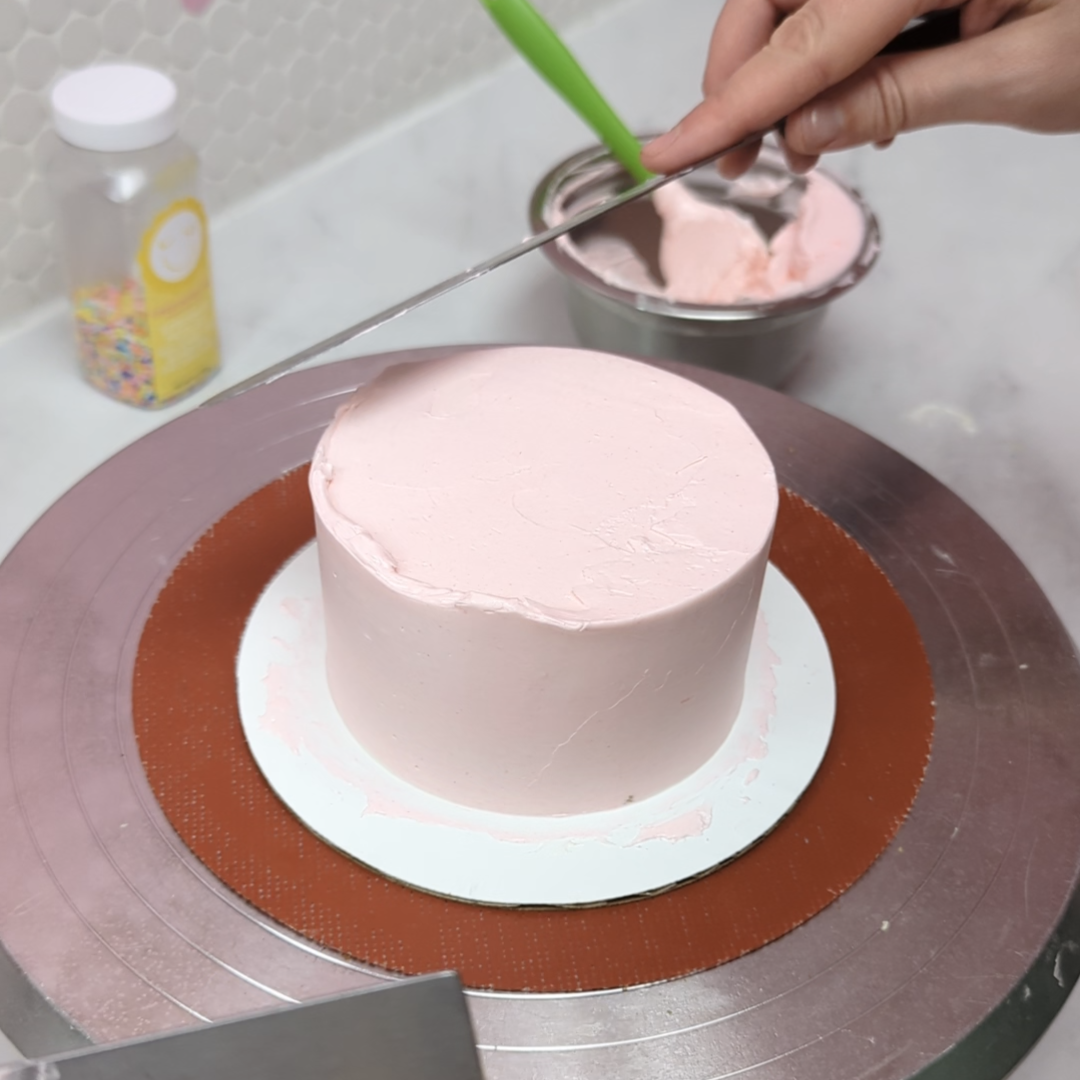
Once your crumb coat has set, pull your cake out of the fridge and put it back on your turntable. Use your icing spatula to frost your cake with a thick layer of the pink buttercream. Scrape the sides with your icing scraper until you have smooth, even, straight sides, then use your icing spatula to smooth out the top.
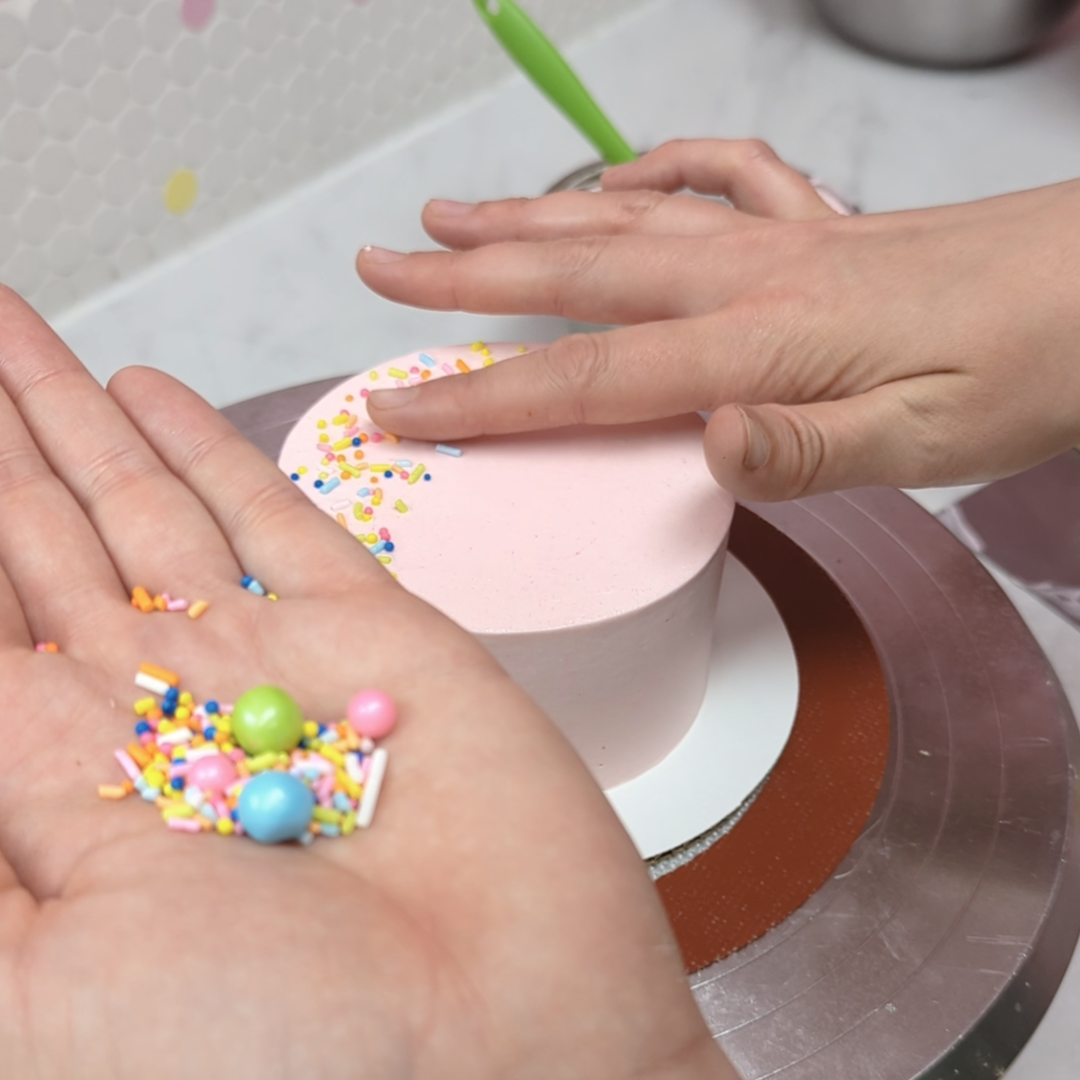
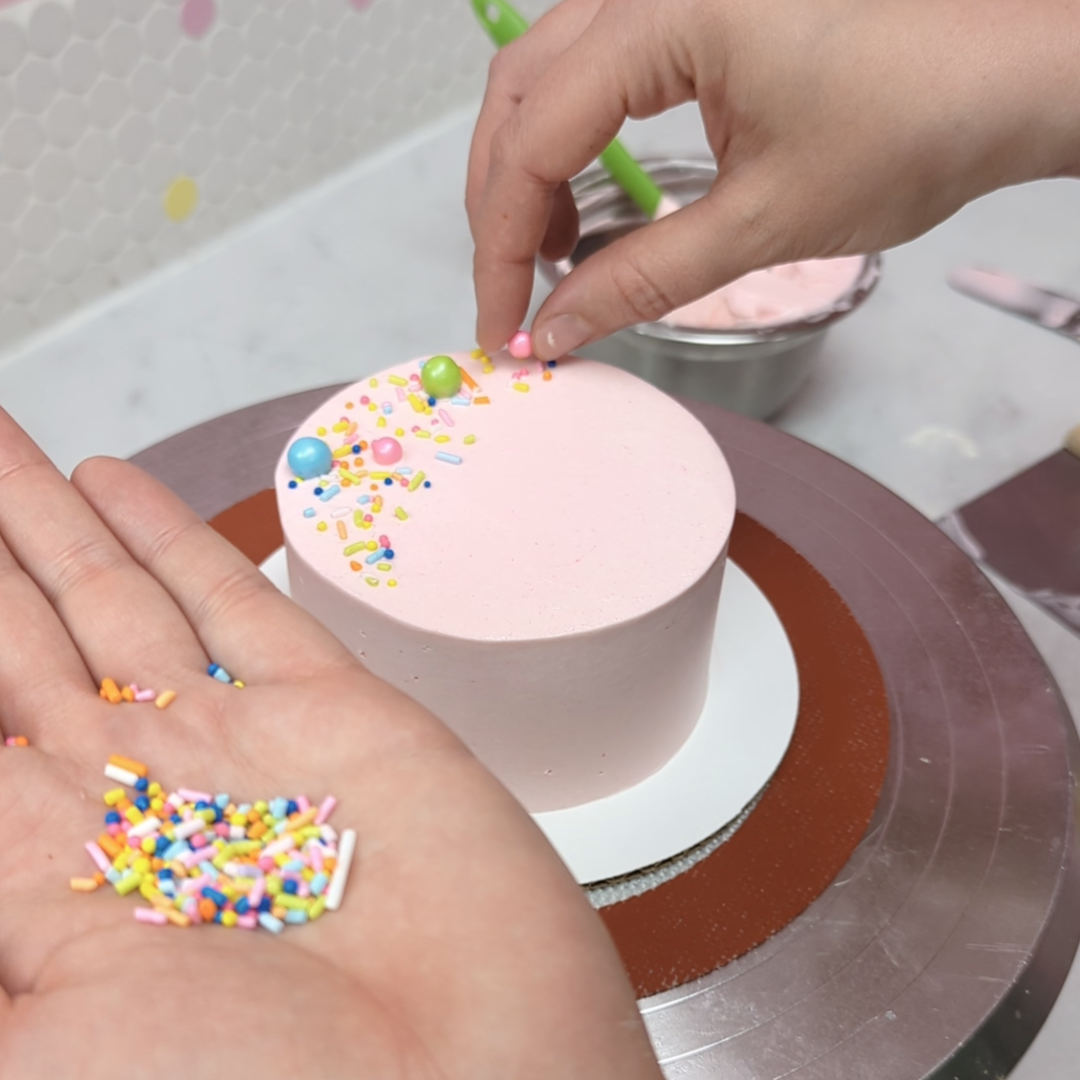
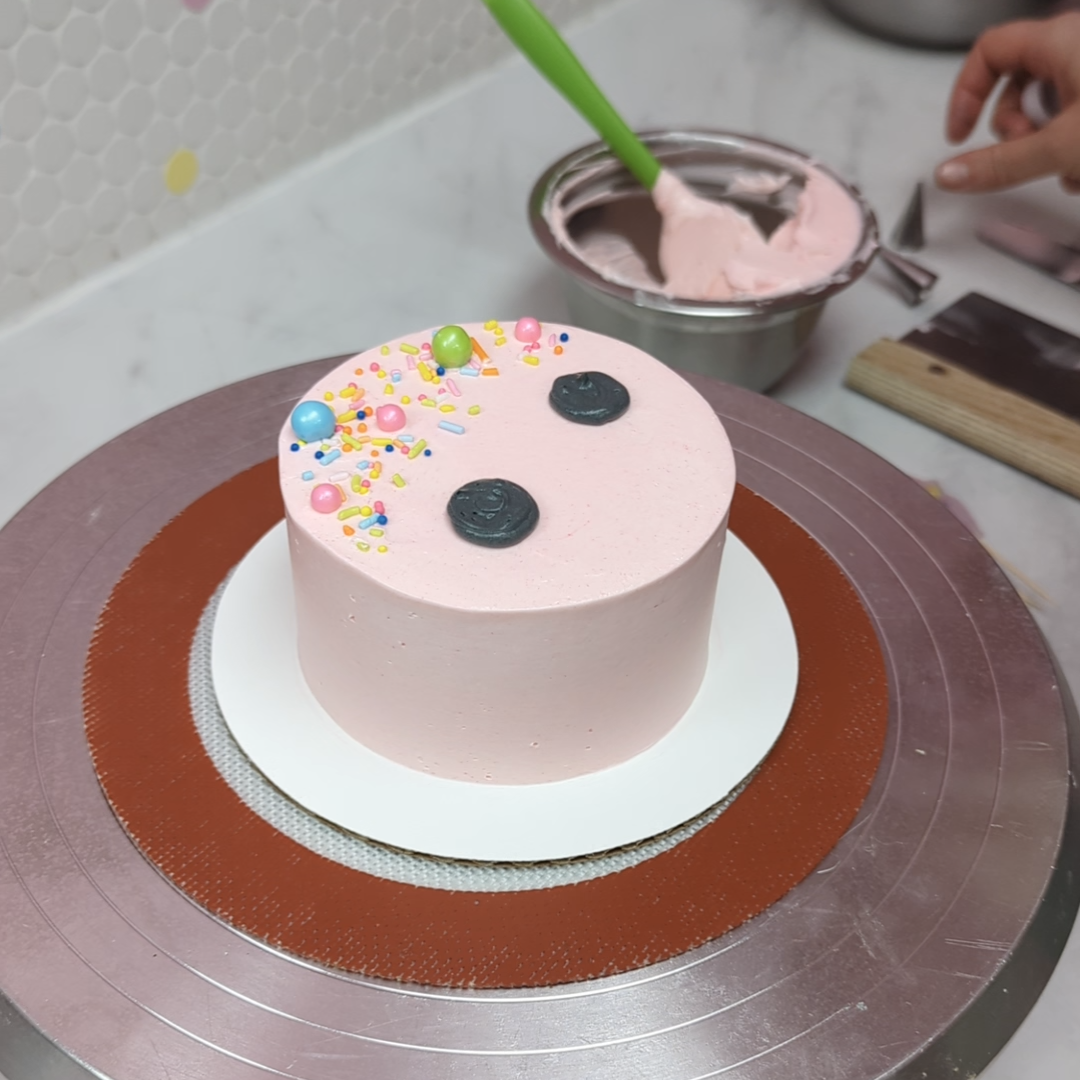
Get a handful of sprinkles and separate out any large ones and set them aside for now. Sprinkle some sprinkles along the top curve of your cake (where the axolotl’s forehead would be), making sure not to go too low or they will be in the way of your eyes. Pick a few large sprinkles and hand-place them where you want them.
Then grab your fins and stick the toothpicks into the sides of your cake, 3 fins on each side. They will be touching each other or slightly overlapping. Make sure to push the rice paper into the icing a little bit to get a really solid hold and make sure no toothpick is showing.
Note: In the video, I do this after the icing has set, but it’s better to do it before your icing has set so that you can push the ends of the fins into the icing and the get a good hold.
Put your cake back in the fridge to set for another 20 minutes or so.

step 4
While your cake is setting, mix some black icing - you just need a tiny bit. Put the black icing in a pastry bag with a coupler. You’ll need a small round tip (like a Wilton #3) and a larger one (like a Wilton #12) - put the bigger one on first. Grab a second pastry bag with a small round tip and put a small amount of white icing in it.
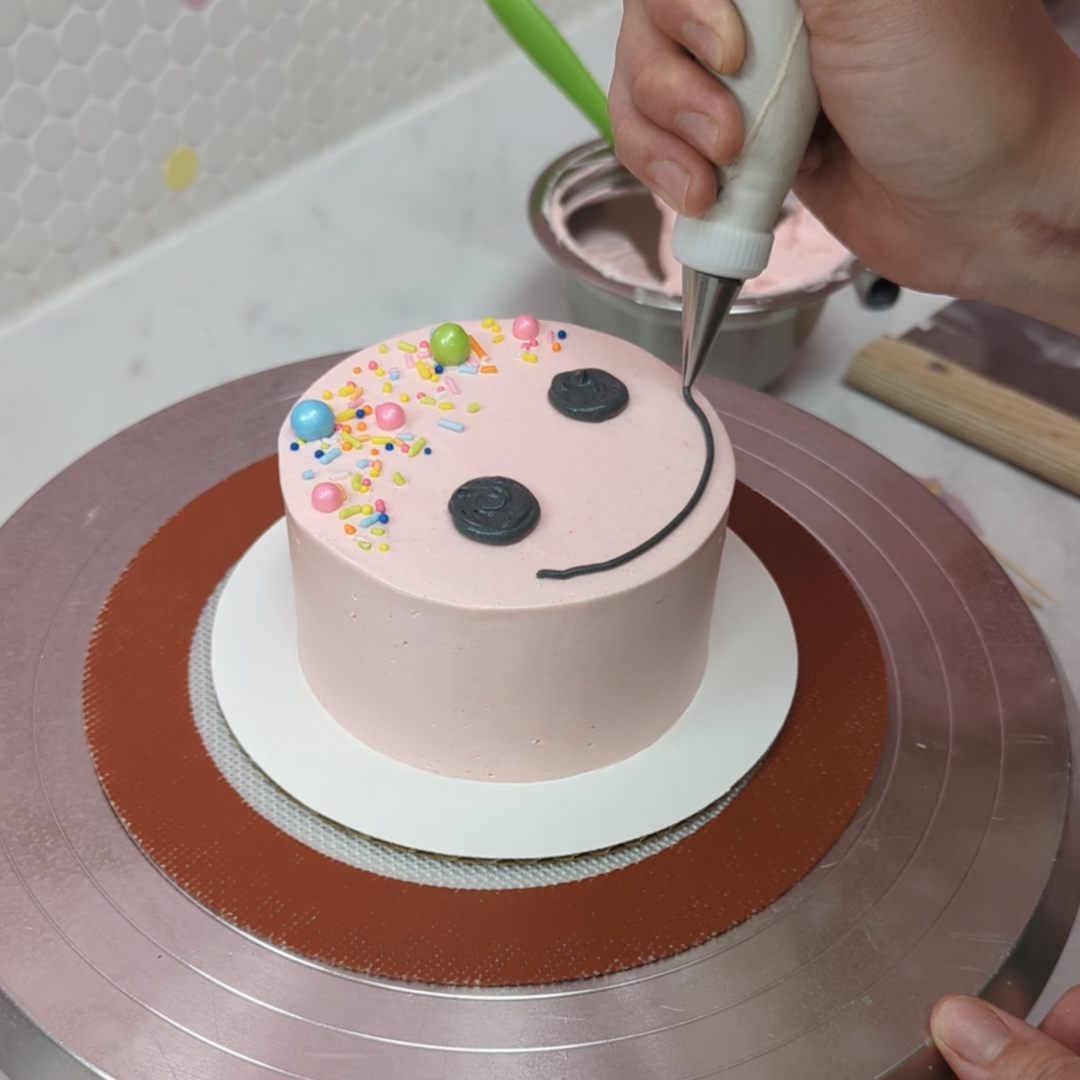
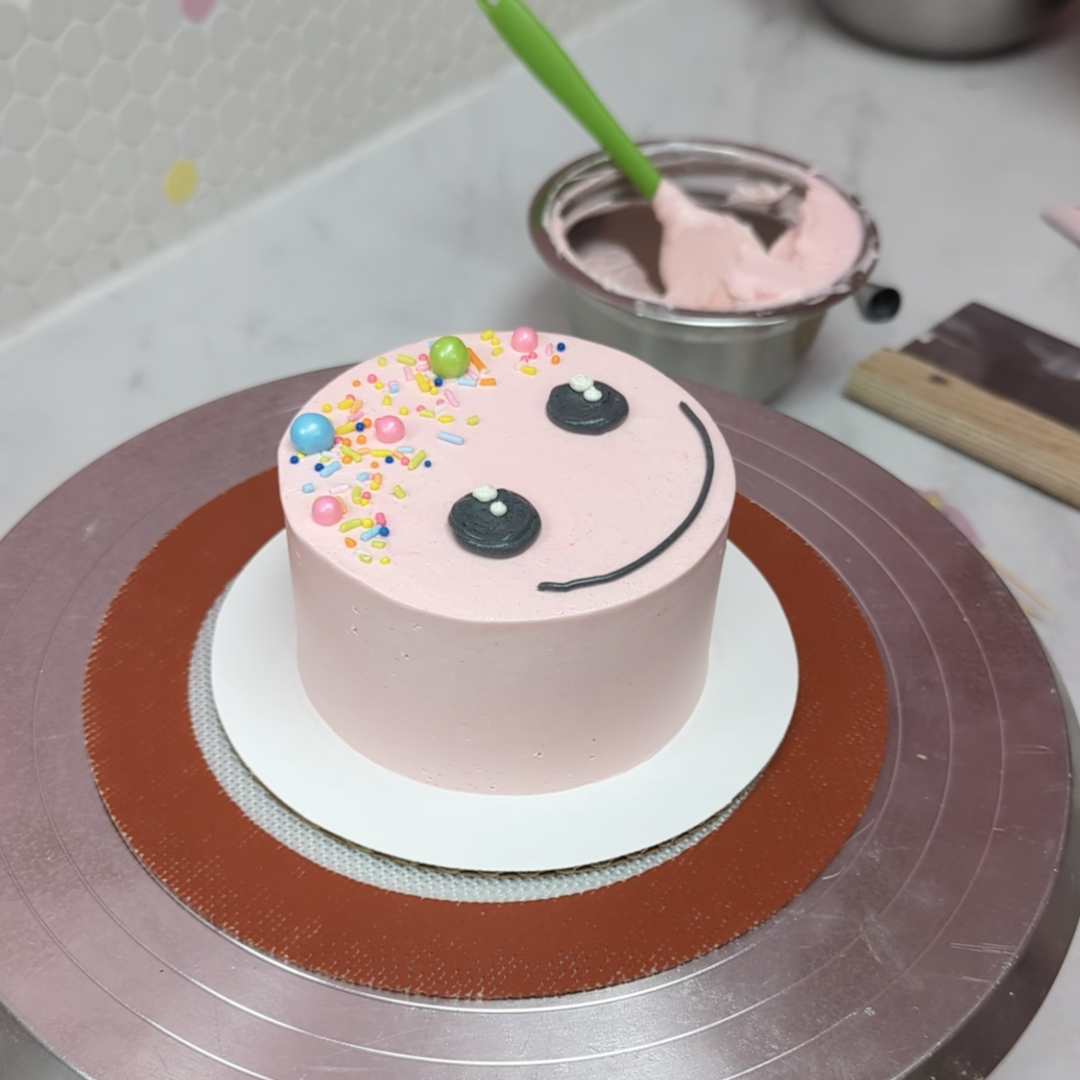
Once your cake has set in the fridge, pull it out and use a toothpick to mark where you want the eyes and the smile. Use the black icing in the bag with the larger round tip on it to make the eyes. You can smooth them out by using a small offset spatula or a wet fingertip. Add two small white dots to the top right corner of each eye then smooth out the points on those with a wet fingertip as well.
Last, switch the piping tip on your black icing bag to the smaller one and draw the smile.
Ta-Dah! Now you have the cutest little Axolotl cake to share with somebody or to eat all yourself!
Here's the video!
Axolotl bento cake tutorial video.