
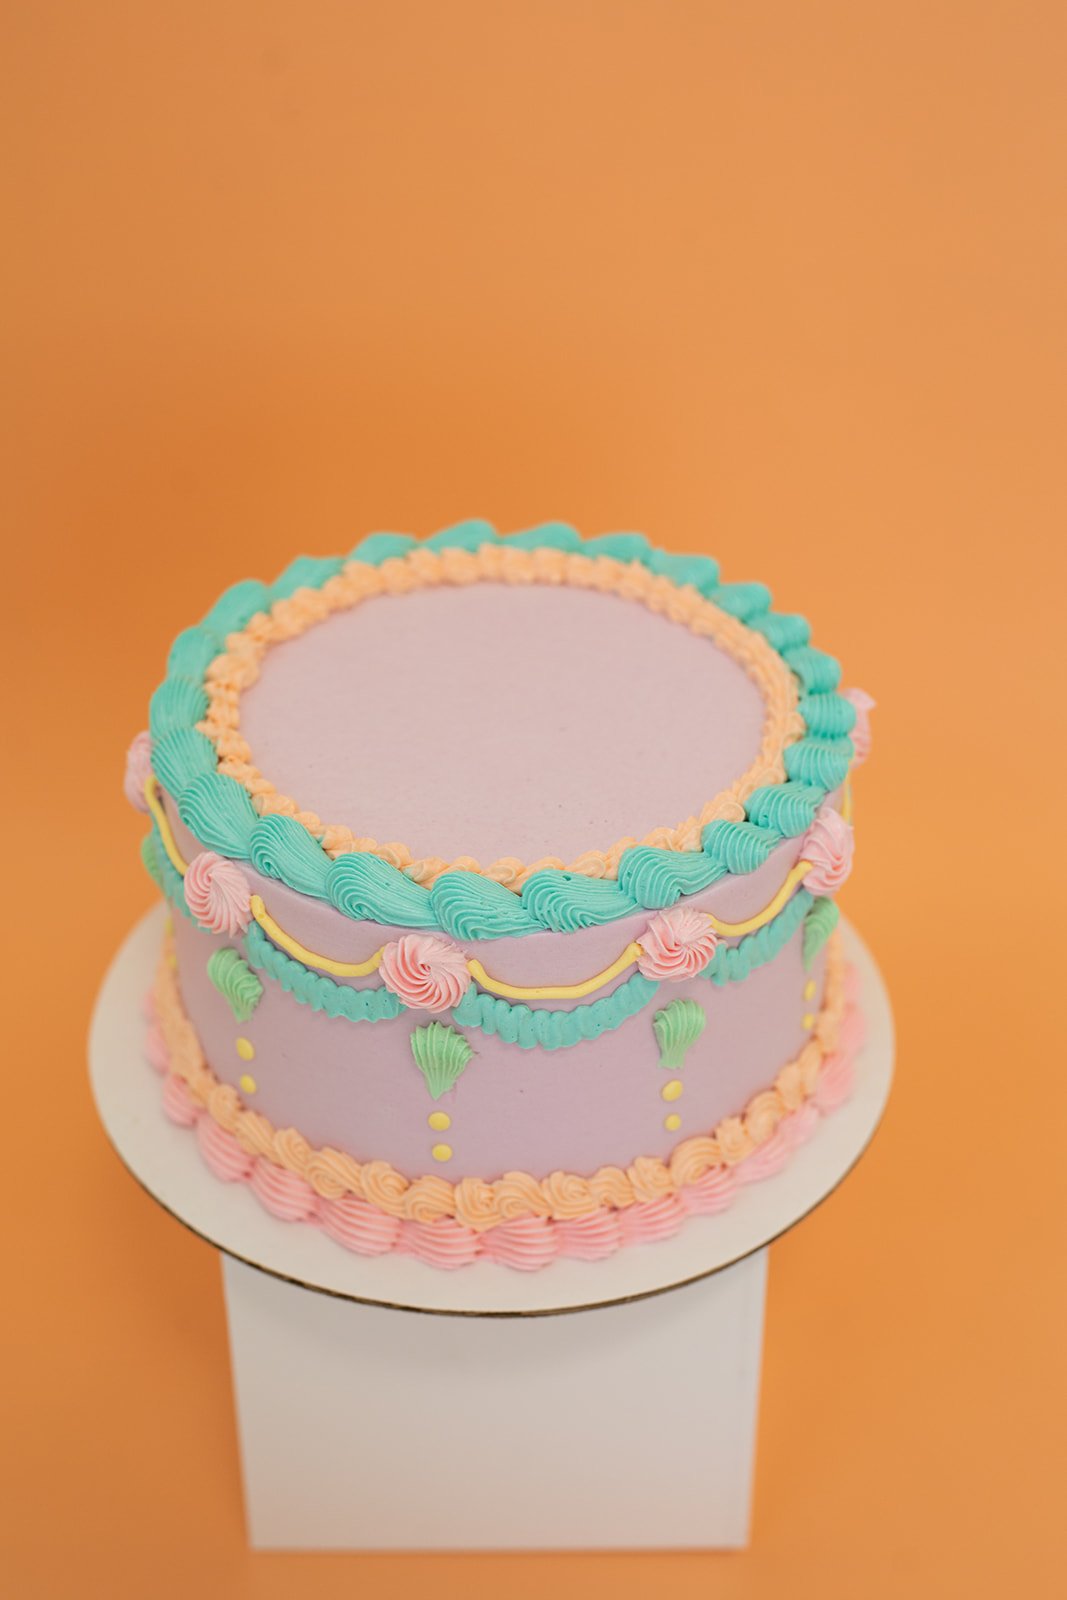
Swiss Meringue Buttercream

Some of the links in this post might be affiliate links. As an Amazon Associate I earn from qualifying purchases. This means I earn a small amount of money if you purchase something through the link, at no cost to you. I promise I only recommend items I love! You can read our full disclosure here.
What is Swiss Meringue Buttercream?
If you’ve never heard of Swiss meringue buttercream, you are missing out! If you’re looking for a buttercream that is easy to make and not too sweet, you’re in the right place!
Swiss meringue buttercream is a European style buttercream. Other European buttercreams include Italian buttercream, German buttercream, and French buttercream. Each of these buttercreams are slightly different from one another, but in my opinion, Swiss Meringue buttercream provides the perfect combo of being smooth and easy to use for decorating, while being not too sweet and being fairly easy to make.
When I had my storefront, I used Swiss meringue buttercream for all our cakes & cupcakes, and I always had customers comment on how good our buttercream was!
Most European buttercreams use eggs in some form. Swiss meringue buttercream uses egg whites. If you don’t want to separate eggs to get egg whites, this recipe works well with egg whites from a carton, they just won’t whip up quite as fluffy. If you are separating your eggs, make sure that no yolk gets into your whites, or they won’t whip up properly. Also, save those yolks to make some lemon curd later!
What can Swiss Meringue Buttercream be Used For?
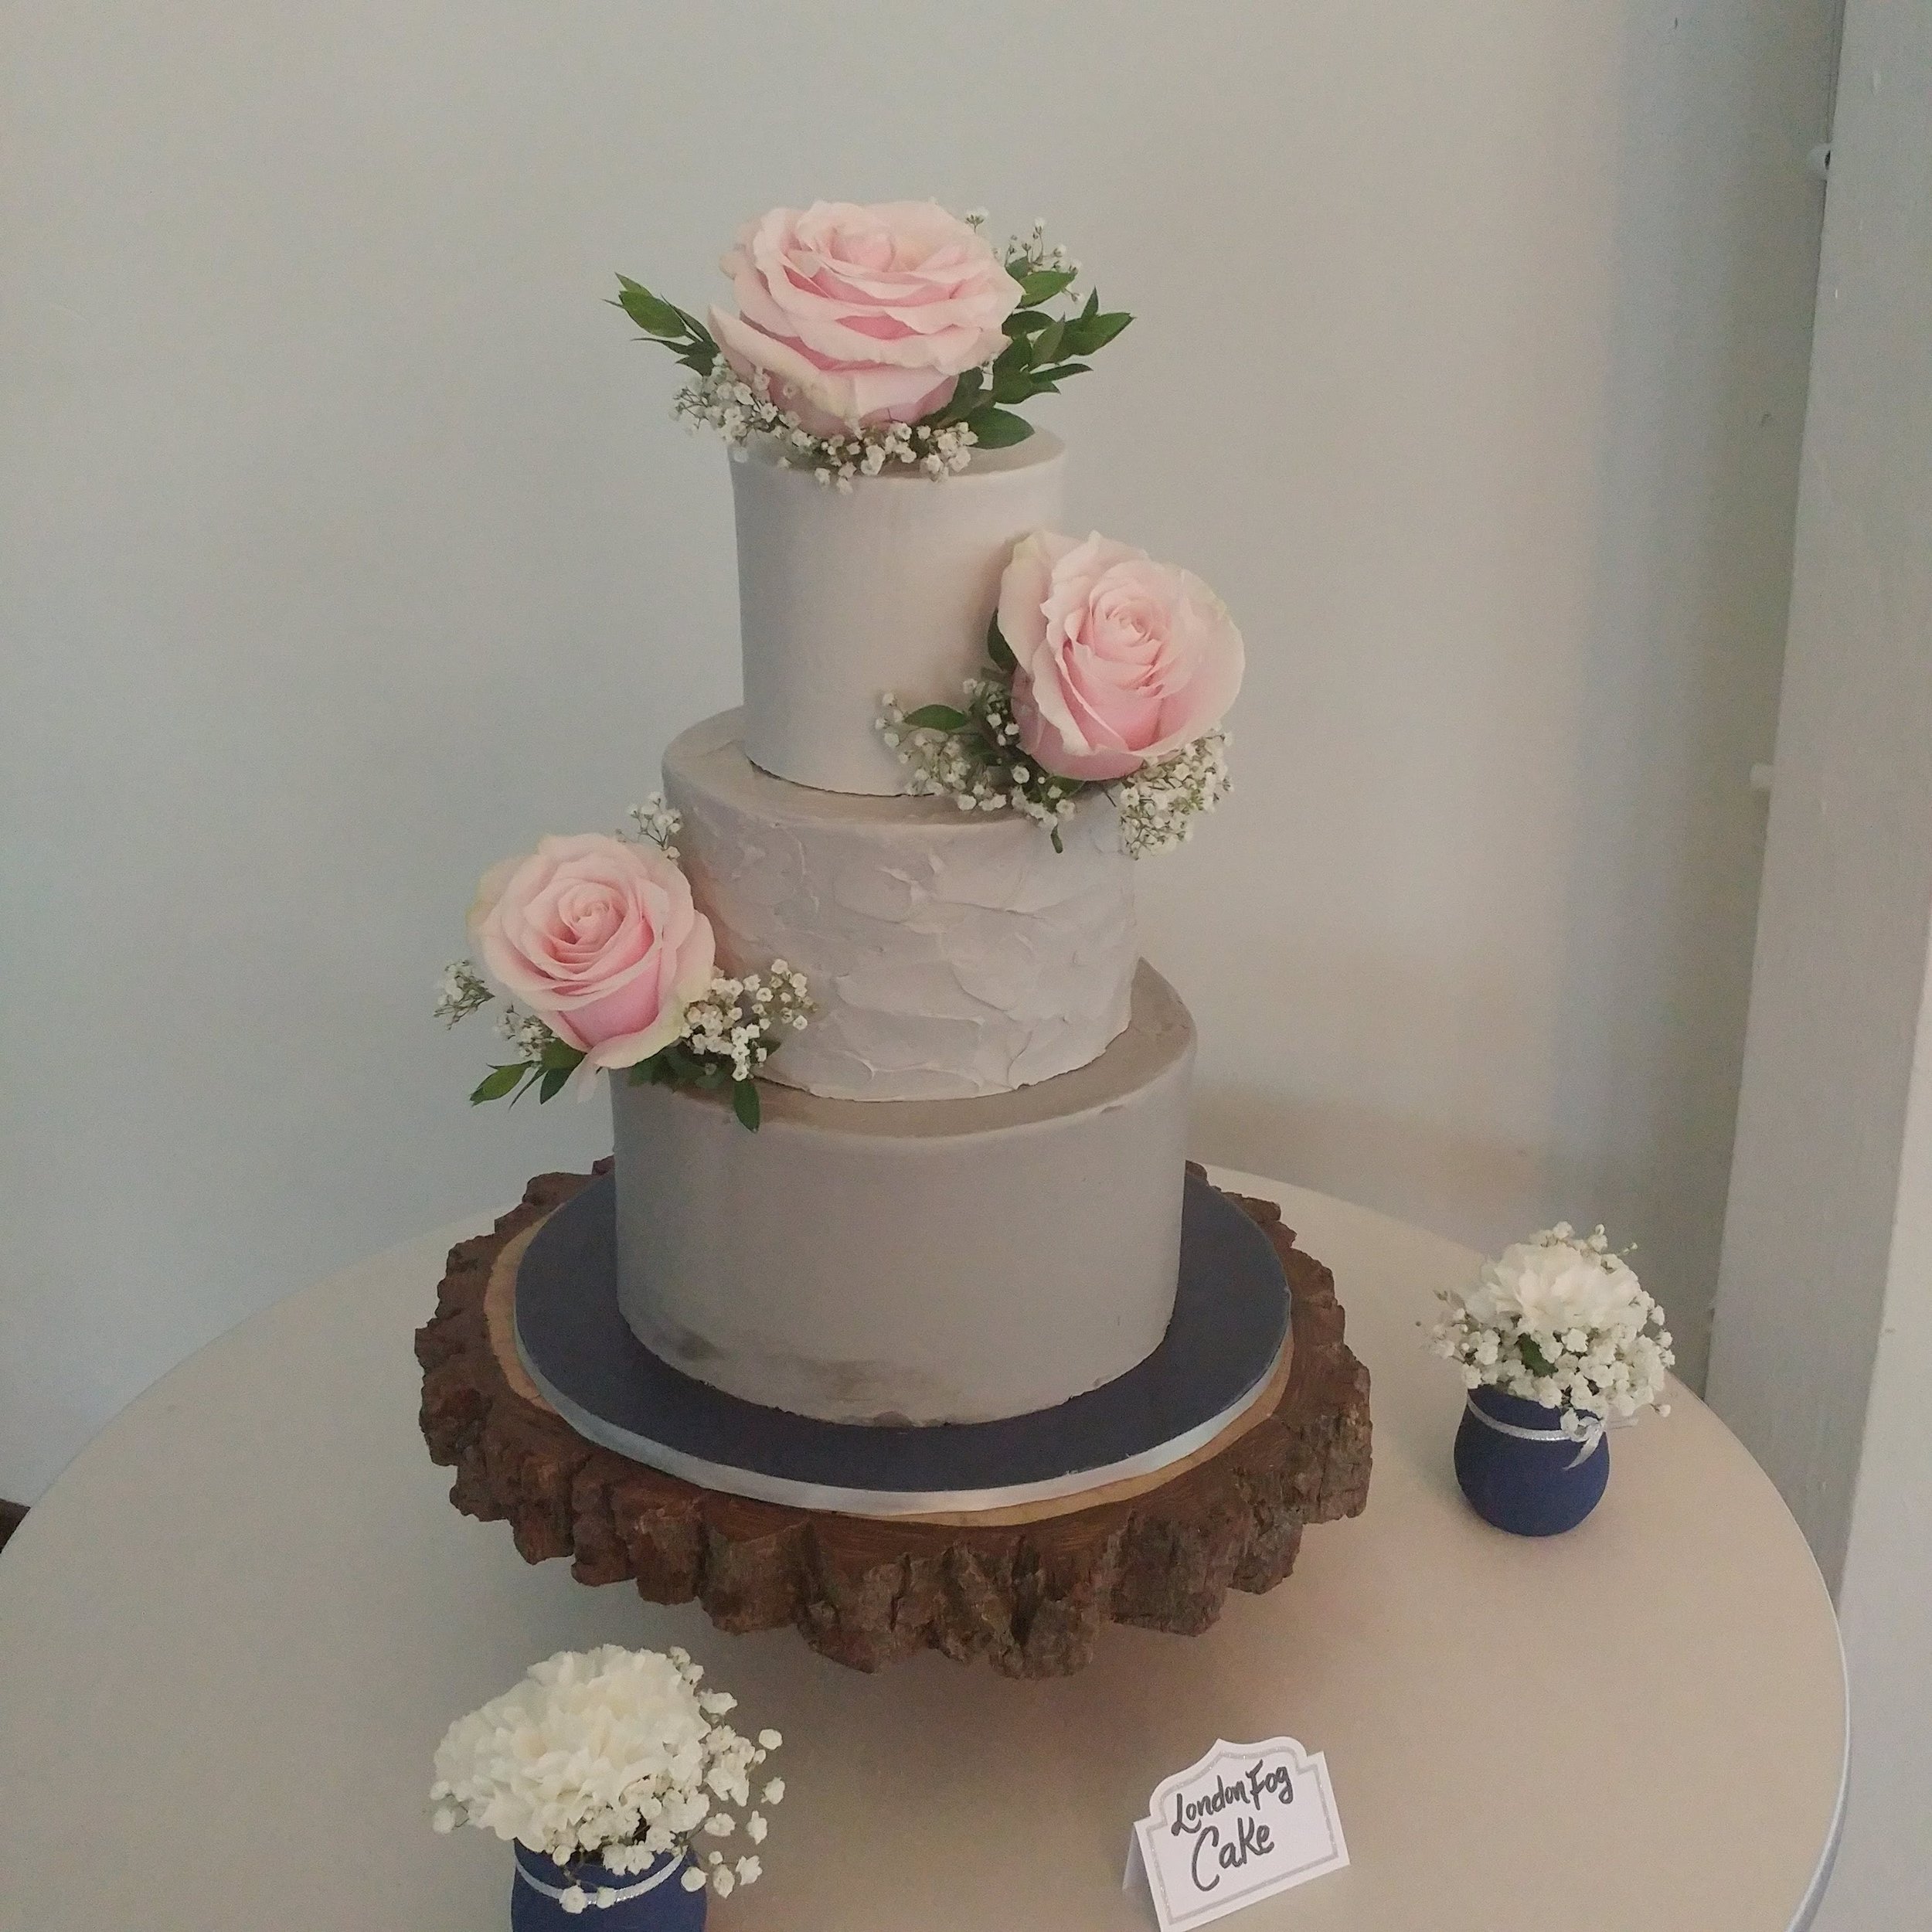
Filling and covering cakes
Frosting cupcakes
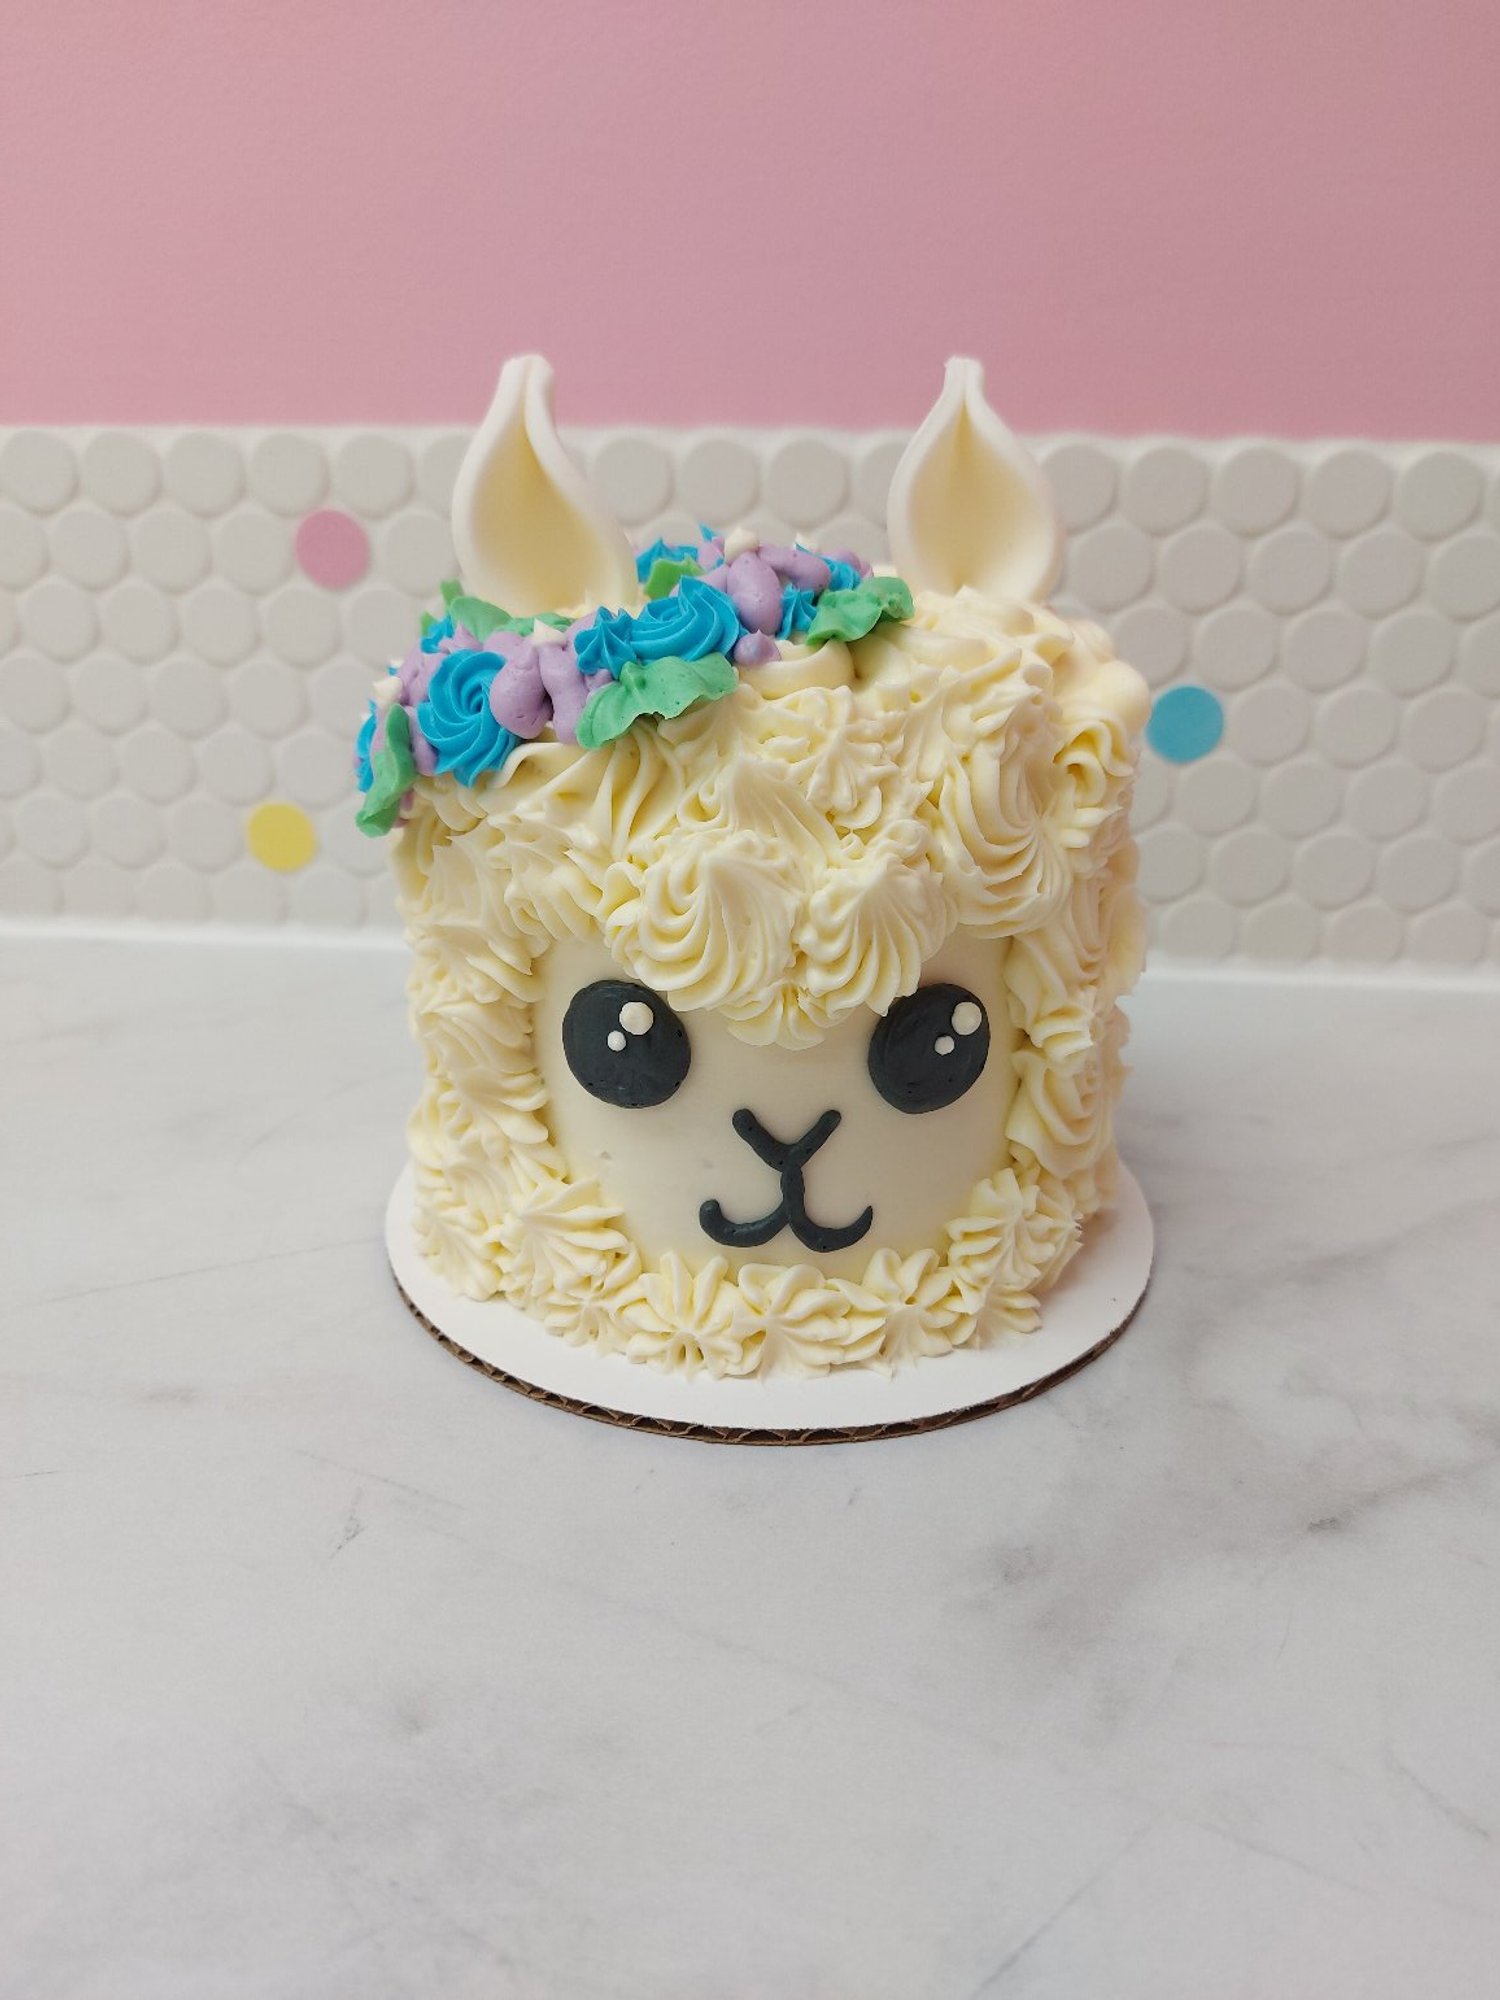
Making simple buttercream flowers or other buttercream decorations
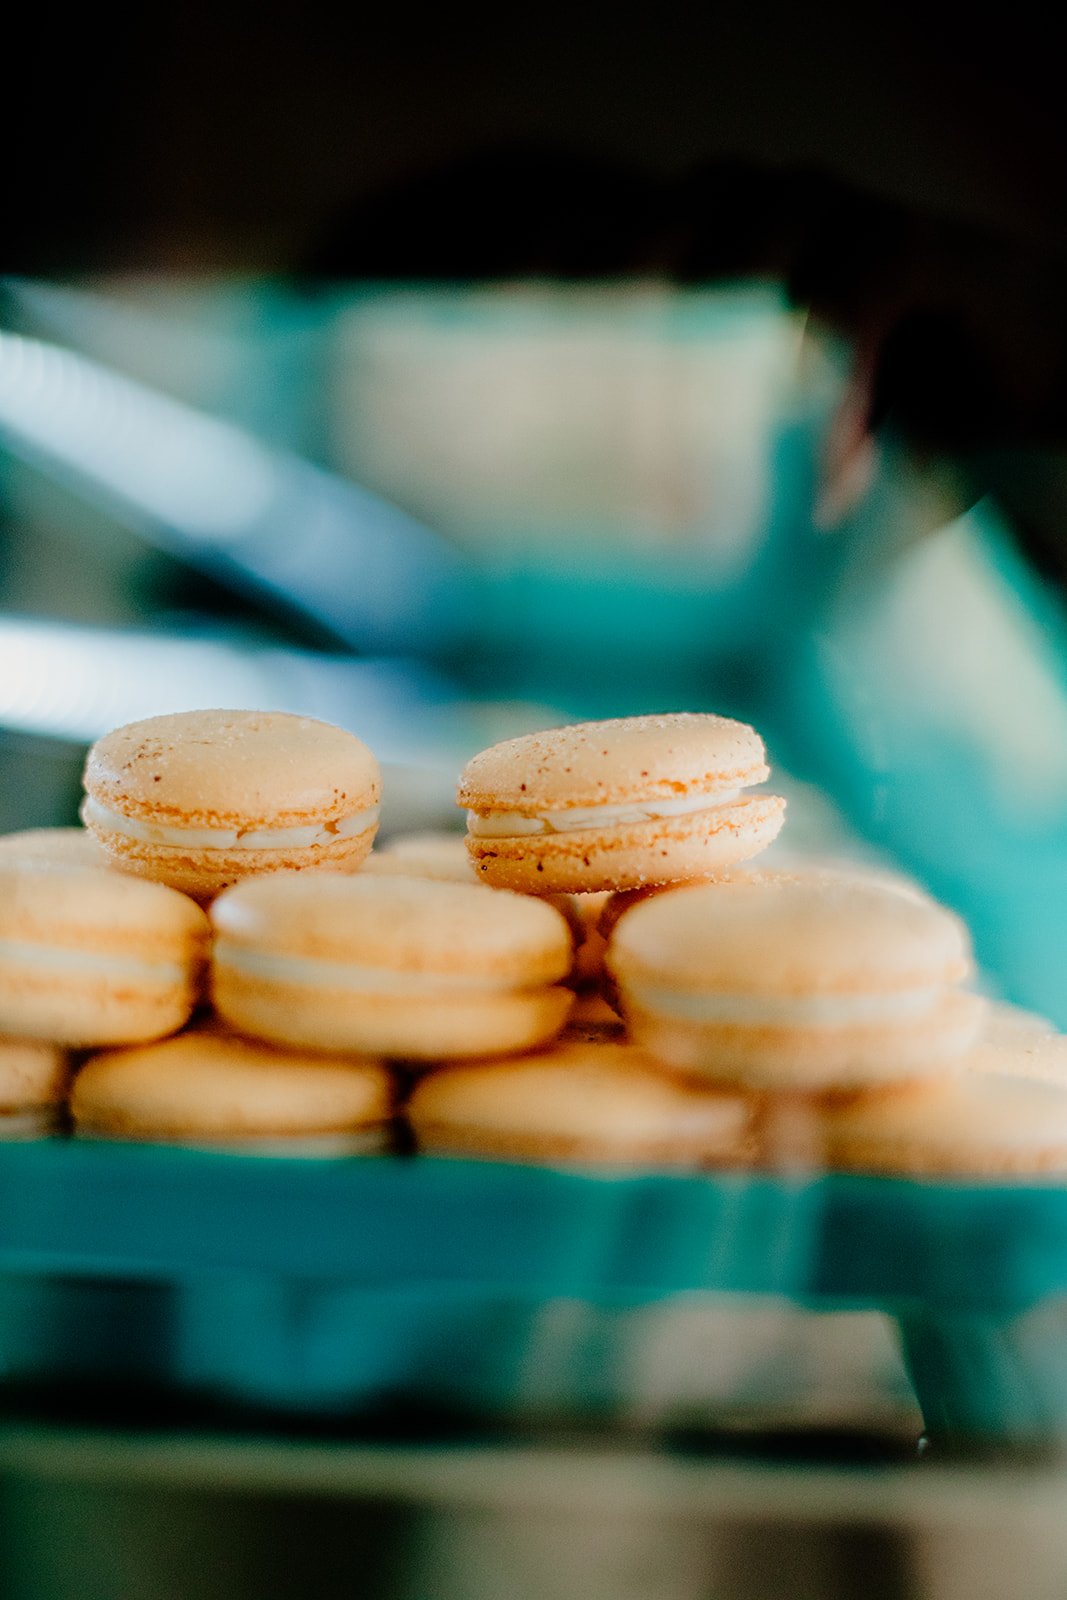
Filling macarons

How to Make Swiss Meringue Buttercream:
To make this buttercream, you’re going to want your butter to be really soft. So, try to leave your butter out overnight if you can, but if not, you can soften your butter in the microwave in 15 second bursts until it dents easily when you poke it.
You’re also going to need a stand mixer with a whisk attachment.
Make sure your mixer bowl and your whisk attachment are super clean before you start. I like to give mine an extra scrub with dish soap and really hot water before I start even if it’s already clean. Make sure you also dry it really well.
Put a pot filled about halfway with water on your stove and bring to a boil. (Make sure the pot is small enough so your mixer bowl can sit on top of it without the bottom of it touching the water.
Weigh your egg whites and sugar directly into the mixer bowl, then add your salt. Whisk together.
Place your mixer bowl with the egg whites, sugar, and salt inside on the boiling pot of water, creating a double boiler.
You don’t need to whisk the mixture constantly but you should whisk frequently! If you don’t whisk it often enough, you might get scrambled eggs.
While you’re waiting for your egg/sugar mixture to heat up, measure your vanilla into a small bowl and cut your butter up into cubes.
Periodically check on your egg/sugar mixture. We want the sugar to dissolve and the mixture to become hot. Stick your finger in there periodically (did you wash your hands???) to check the temperature and rub the mixture between your fingers to see if you can feel any sugar grains. If it’s hot and the sugar is dissolved, it’s ready to whip!
Transfer your egg/sugar mixture to your stand mixer and whisk on high speed until the mixture is fluffy and white and the sides of the mixer bowl are neutral to the touch.
Turn the mixer down to low speed to add your vanilla (if you don’t, it will splash you and you will smell like vanilla all day, which isn’t a bad thing, but vanilla is expensive, so we don’t want to waste it), then back up to high and start adding your butter one cube at a time (each cube should be about a tablespoon in size).
Your mixture might split while you’re adding the butter. DON’T PANIC. Just keep whipping!
Once all your butter is in, stop your mixer and scrape down the sides with a rubber spatula (this one is my favourite!), then turn back on to high and let it whip until everything comes together and your buttercream is shiny. This will take about 10 minutes, maybe less if it’s really warm where you live.
That’s it! Now you have beautiful, shiny, yummy buttercream to use on all kinds of treats!
Any leftover buttercream can be stored in the fridge for a week or two, or in the freezer for several months. Bring it up to room temperature, then re-whip until shiny. Or, if it’s just a small amount of buttercream, you can warm it up in the microwave in 5 second bursts, stirring after each, until it’s smooth and shiny again.
I’ll do another post soon on how to create different flavours of this buttercream!
Here's the full recipe!

Swiss Meringue Buttercream
Ingredients
- 320g (1 2/3 cups) Granulated Sugar
- 235g Egg Whites (1 cup) (fresh or from a carton)
- 1/2 tsp Salt
- 10g (2 tsp) Vanilla Extract
- 565g (2 1/2 cups) Unsalted Butter (softened)
Instructions
- Fill a pot with water about halfway and bring to a boil. Make sure your mixer bowl will sit on top of the pot without the bottom touching the water.
- Add your sugar, egg whites, and salt to the bowl of a stand mixer.
- Place bowl over the pot of boiling water and whisk frequently until mixture is hot to the touch and sugar is dissolved.
- While your sugar/egg white mixture is heating, measure vanilla into a small bowl and set aside. Cut up your butter into small pieces that are approximately 1 tablespoon in size.
- Place bowl on mixer and whip on high speed until fluffy and white and the bowl is neutral to the touch.
- With mixer running on low, add your vanilla, then turn back up to high and start adding your butter one chunk at a time.
- Buttercream will most likely separate, but keep whipping and it will come back together.
- After all of your butter is added, stop the mixer and scrape down the sides of the bowl, then continue to whip until buttercream is fluffy and white and shiny, about 5-15 minutes, depending on the temperature of the room.
- Store any leftover buttercream in an airtight container in the fridge for up to two weeks, or in the freezer for several months. Bring up to room temperature an re-whip to use again. If it is too small an amount to re-whip, warm up the buttercream in the microwave in 5 second bursts, stirring after each one, until smooth and shiny.
