
Peanut Butter Bars

Some of the links in this post might be affiliate links. As an Amazon Associate I earn from qualifying purchases. This means I earn a small amount of money if you purchase something through the link, at no cost to you. I promise I only recommend items I love! You can read our full disclosure here.
These bars had a little bit of a cult following in the bakery, and the recipe has been requested many times. Today, I’m finally sharing it!
We used to make these bars every day for the bakery, and quite often a customer would come in and buy most or all of the days batch. I think these bars often got overlooked in the pastry display cooler, but any customer who did spot them and try them always came back for more.
These bars have a peanut butter cup vibe with a cookie crust, and they are vegan as the recipe is written. They can also easily be made gluten free which makes them perfect for anybody with allergies or intolerances to eggs, dairy, or gluten!
These are also no-bake, so they are perfect for days when you don’t feel like turning on your oven.
Note that you will need to pop a can of coconut milk in the fridge overnight for this recipe, so plan accordingly!
What do I need to make them?
Here’s your grocery list:
-Chocolate cookie crumbs (Oreo crumbs or you can put your favourite chocolate sandwich cookie through the food processor to make your own crumbs!)
-Vegan butter or Refined Coconut Oil
-Natural Peanut Butter
-Coconut Milk (full fat - I like the Aroy-D brand the best. It has no additives & stays smooth & seems to work the best for this recipe)
-Vanilla Extract
-Fine Sea Salt
-Semi-Sweet Chocolate Chips (Make sure they’re vegan if you want to keep this recipe vegan!)
You will also need a kitchen scale an 8 x 8 square baking pan (I like this one because it comes with a lid!) , a hand mixer (a stand mixer will work too!), some bowls and spatulas, a small piping bag (or a plastic sandwich bag with a small hole cut in the corner), and parchment paper.
Here’s how to make them:
Before you start: Place your can of coconut milk in the fridge overnight. Don’t shake it - you want it to separate!
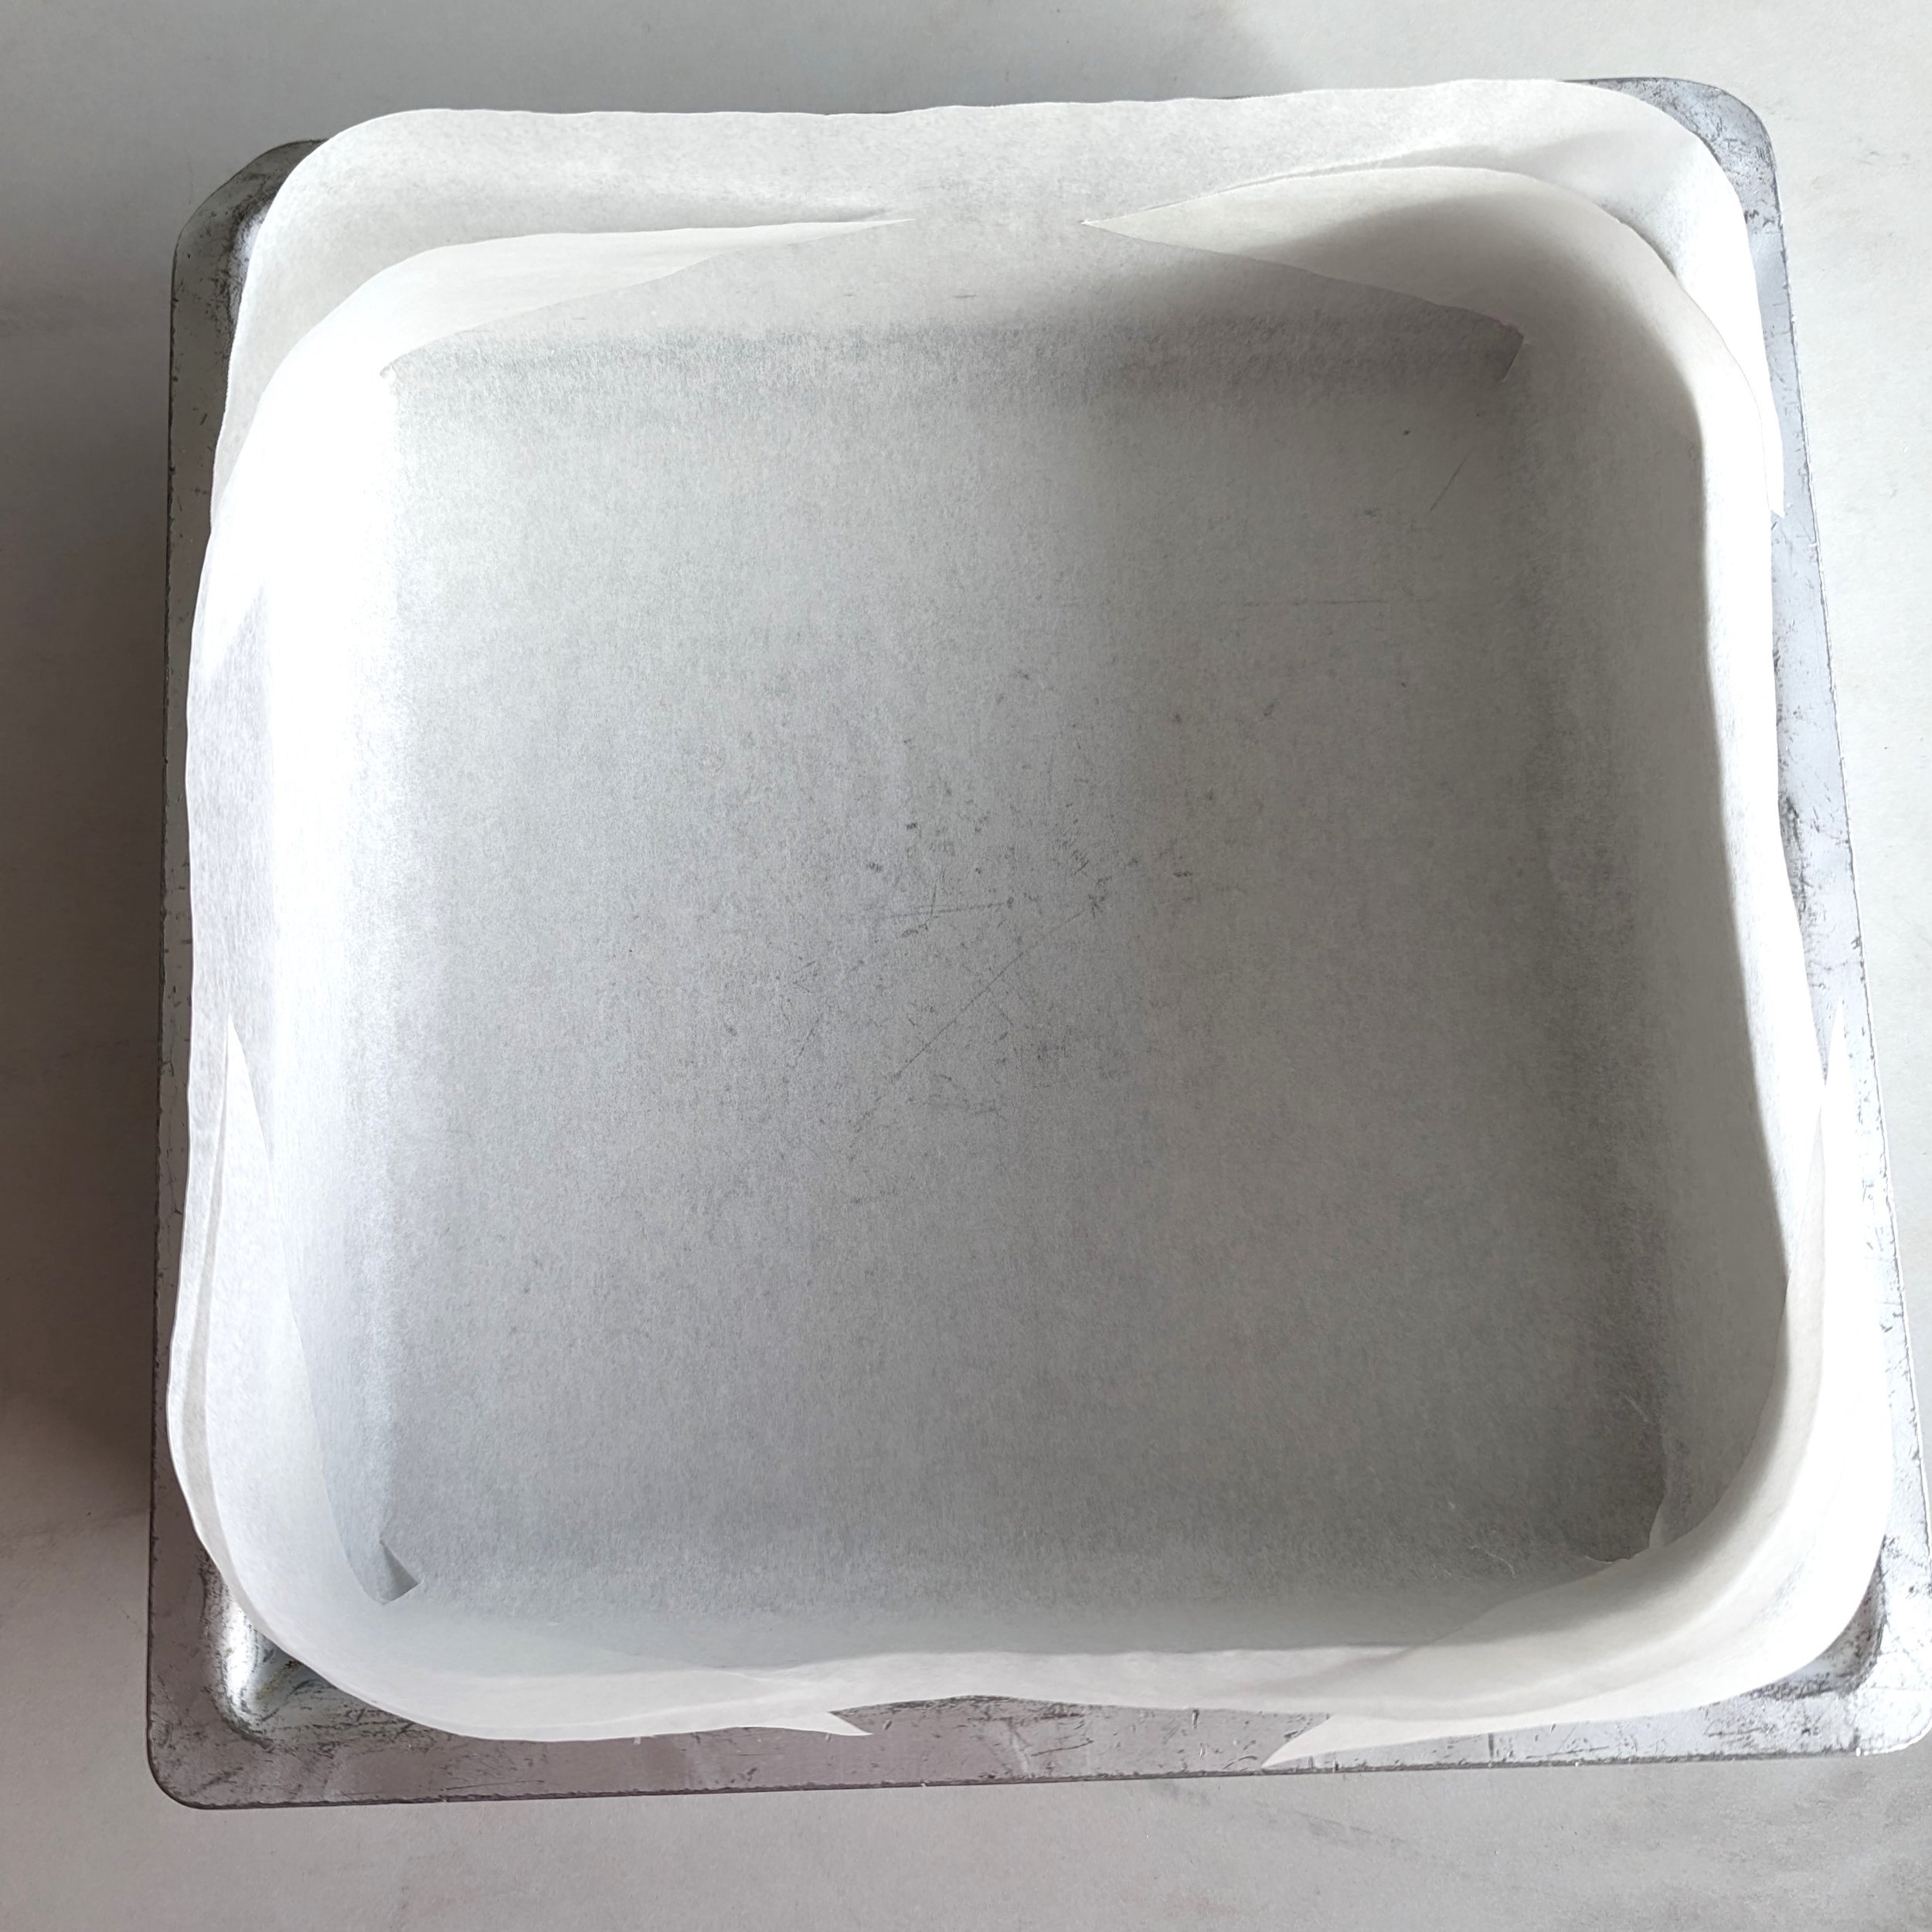
Prepare your 8 x 8 pan by lining it with parchment paper. I like to cut a piece of parchment a few inches bigger than my pan on each side, then make diagonal cuts on each corner so that it tucks nicely into my pan.
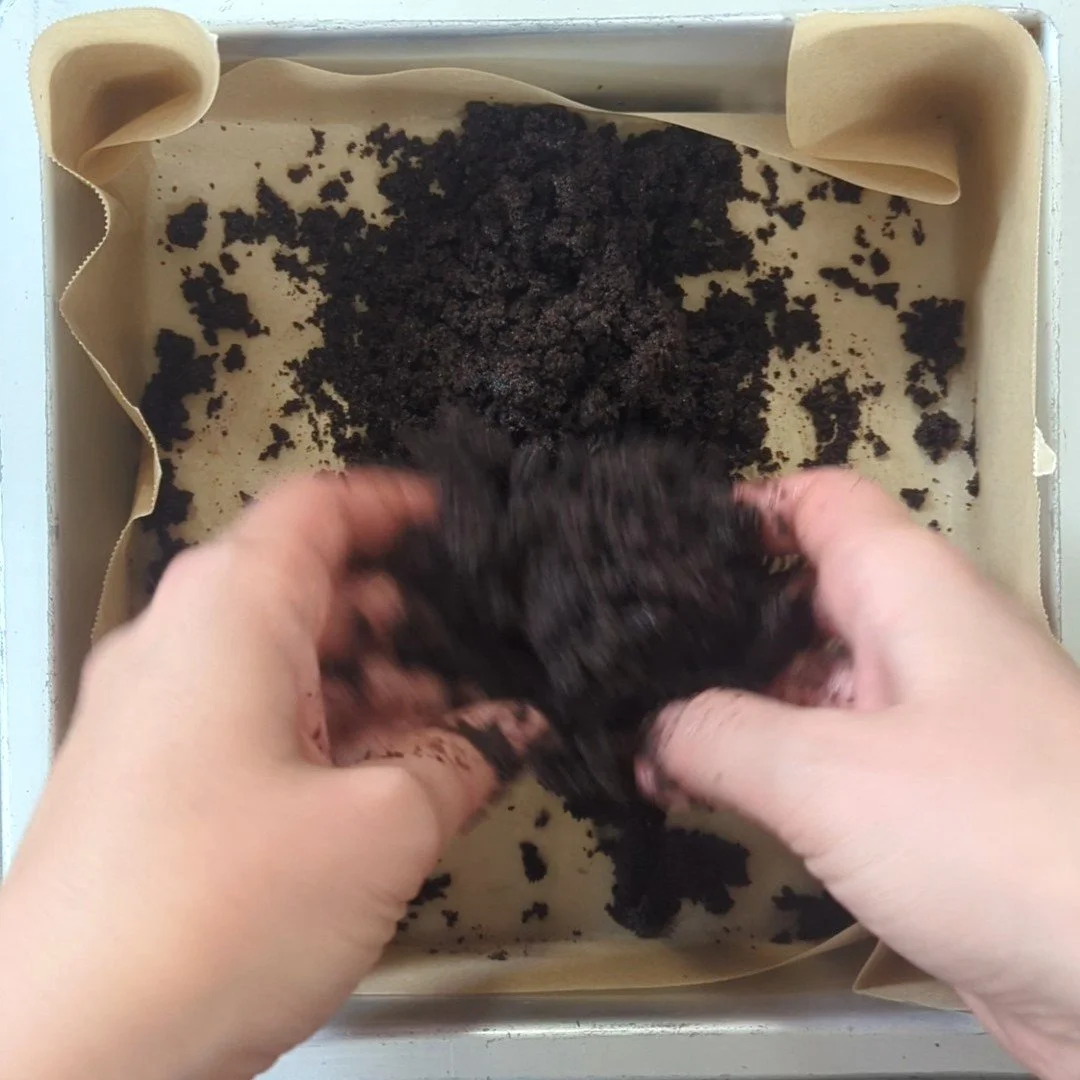
Make your crust: Put your cookie crumbs in your parchment lined pan and melt your vegan butter or coconut oil in a small bowl. Pour the butter/oil over the crumbs and mix together with your hands until the butter/oil is fully incorporated. Evenly spread out the crumbs and press them down, making sure to get them all the way to the edges and corners of the pan. Put the pan in the fridge for the crust to set while you make your filling.


While your crust is chilling, make your filling (that rhymed, ha!). Take your coconut milk out of the fridge and open the can. It should have separated with the fat solidifying at the top. Scoop out the thick white stuff at the top of the can and put it in a large bowl. Set aside the rest of the can. Add your peanut butter, vegan butter or coconut oil, salt, and vanilla. Beat with a hand mixer or in a stand mixer with the whisk attachment on medium speed until smooth and fluffy. Scoop the filling on top of your crust and spread it out evenly with a silicone spatula, smoothing out the top. Put the tray back in the fridge for the filling to set, about half an hour.


Once your filling is set, make the topping. Take the can of coconut milk that you set aside earlier and stir it really well so any of the separated stuff mixes back in with the rest. Measure out what you need into a microwave safe bowl and add your chocolate chips. Microwave for 15 seconds then stir well. Repeat until the mixture is smooth. Put a large spoonful of peanut butter in a disposable piping bag or plastic sandwich bag and cut a small hole in the tip/corner. Pour your chocolate over the chilled filling, smooth it out, then pipe lines of peanut butter on top of it. Use a toothpick or wooden skewer to make a design with the peanut butter. You can either just swirl it around for an abstract look, or you can drag your skewer through the peanut butter from left to right then right to left, alternating all the way down. Put your bars back in the fridge for the chocolate layer to set, about an hour.


Once your bars are set, you can cut them. I like to cut these into 16 triangles, but you can cut yours however you like! Make sure to wipe off your knife between each cut for clean cuts.
Store these in a single layer in an airtight container in the fridge for up to a week. These are best served chilled as they get very soft at room temperature.


Here's the recipe!

Peanut Butter Bars
A delicious no-bake treat that tastes like a peanut butter cup with a cookie crust!
Ingredients
- 150g Chocolate Cookie Crumbs
- 40g Vegan Butter or Refined Coconut Oil, melted
- 175g Natural Peanut Butter
- 135g Coconut Milk (Chilled - use the thick white stuff from the top of the can for this)
- 55g Vegan Butter or Refined Coconut Oil
- 100g Granulated Sugar
- 3 g Fine Sea Salt
- 5g (1 tsp) Vanilla Extract
- 70g Coconut Milk
- 130g Semi-Sweet Chocolate Chips
Instructions
- Before you start: Place your can of coconut milk in the fridge overnight.
- Prepare your 8 x 8 pan by lining it with parchment paper.
- Make your crust: Put your cookie crumbs in your parchment lined pan and melt your vegan butter or coconut oil in a small bowl. Pour the butter/oil over the crumbs and mix together with your hands until the butter/oil is fully incorporated. Evenly spread out the crumbs and press them down, making sure to get them all the way to the edges and corners of the pan. Put the pan in the fridge for the crust to set while you make your filling.
- While your crust is chilling, make your filling. Take your chilled can of coconut milk out of the fridge and measure what you need into a large bowl. Use ONLY the thick white stuff from the top of the can for this step. Set aside the rest of the can. Add your peanut butter, vegan butter or coconut oil, salt, and vanilla. Beat with a hand mixer or in a stand mixer with the whisk attachment on medium speed until smooth and fluffy. Scoop the filling on top of your crust and spread it out evenly with a silicone spatula, smoothing out the top. Put the tray back in the fridge for the filling to set, about half an hour.
- Once your filling is set, make the topping. Take the can of coconut milk that you set aside earlier and stir it. Measure out what you need into a microwave safe bowl and add your chocolate chips. Microwave for 15 seconds then stir well. Repeat until the mixture is smooth. Put a large spoonful of peanut butter in a disposable piping bag or plastic sandwich bag and cut a small hole in the tip/corner. Pour your chocolate over the chilled filling, smooth it out, then pipe lines of peanut butter on top of it. Use a toothpick or wooden skewer to make whatever design you'd like with the peanut butter. Put the bars back in the fridge to set, about an hour.
- Once your bars are set, you can cut them into your desired sizes. Make sure to wipe off your knife between each cut for clean cuts.
- Store these in a single layer in an airtight container in the fridge for up to a week. These are best served chilled as they get very soft at room temperature.
Notes
I find the Aroy-D brand of coconut milk works best for this recipe. If you can't find that one, just make sure to find one with no additives (gums, etc) so that it does separate when you put it in the fridge!


