Minty Mini Candy Cane Sugar Cookies
Some of the links in this post might be affiliate links. Some of the links in this post might be affiliate links. As an Amazon Associate I earn from qualifying purchases. This means I earn a small amount of money if you purchase something through the link, at no cost to you. I promise I only recommend items I love! You can read our full disclosure here.

We’re getting fancy for day 3 of cookie week!
Impress all of your friends & family when you show up to holiday parties with these cuties! They’re easier than they look, I promise.
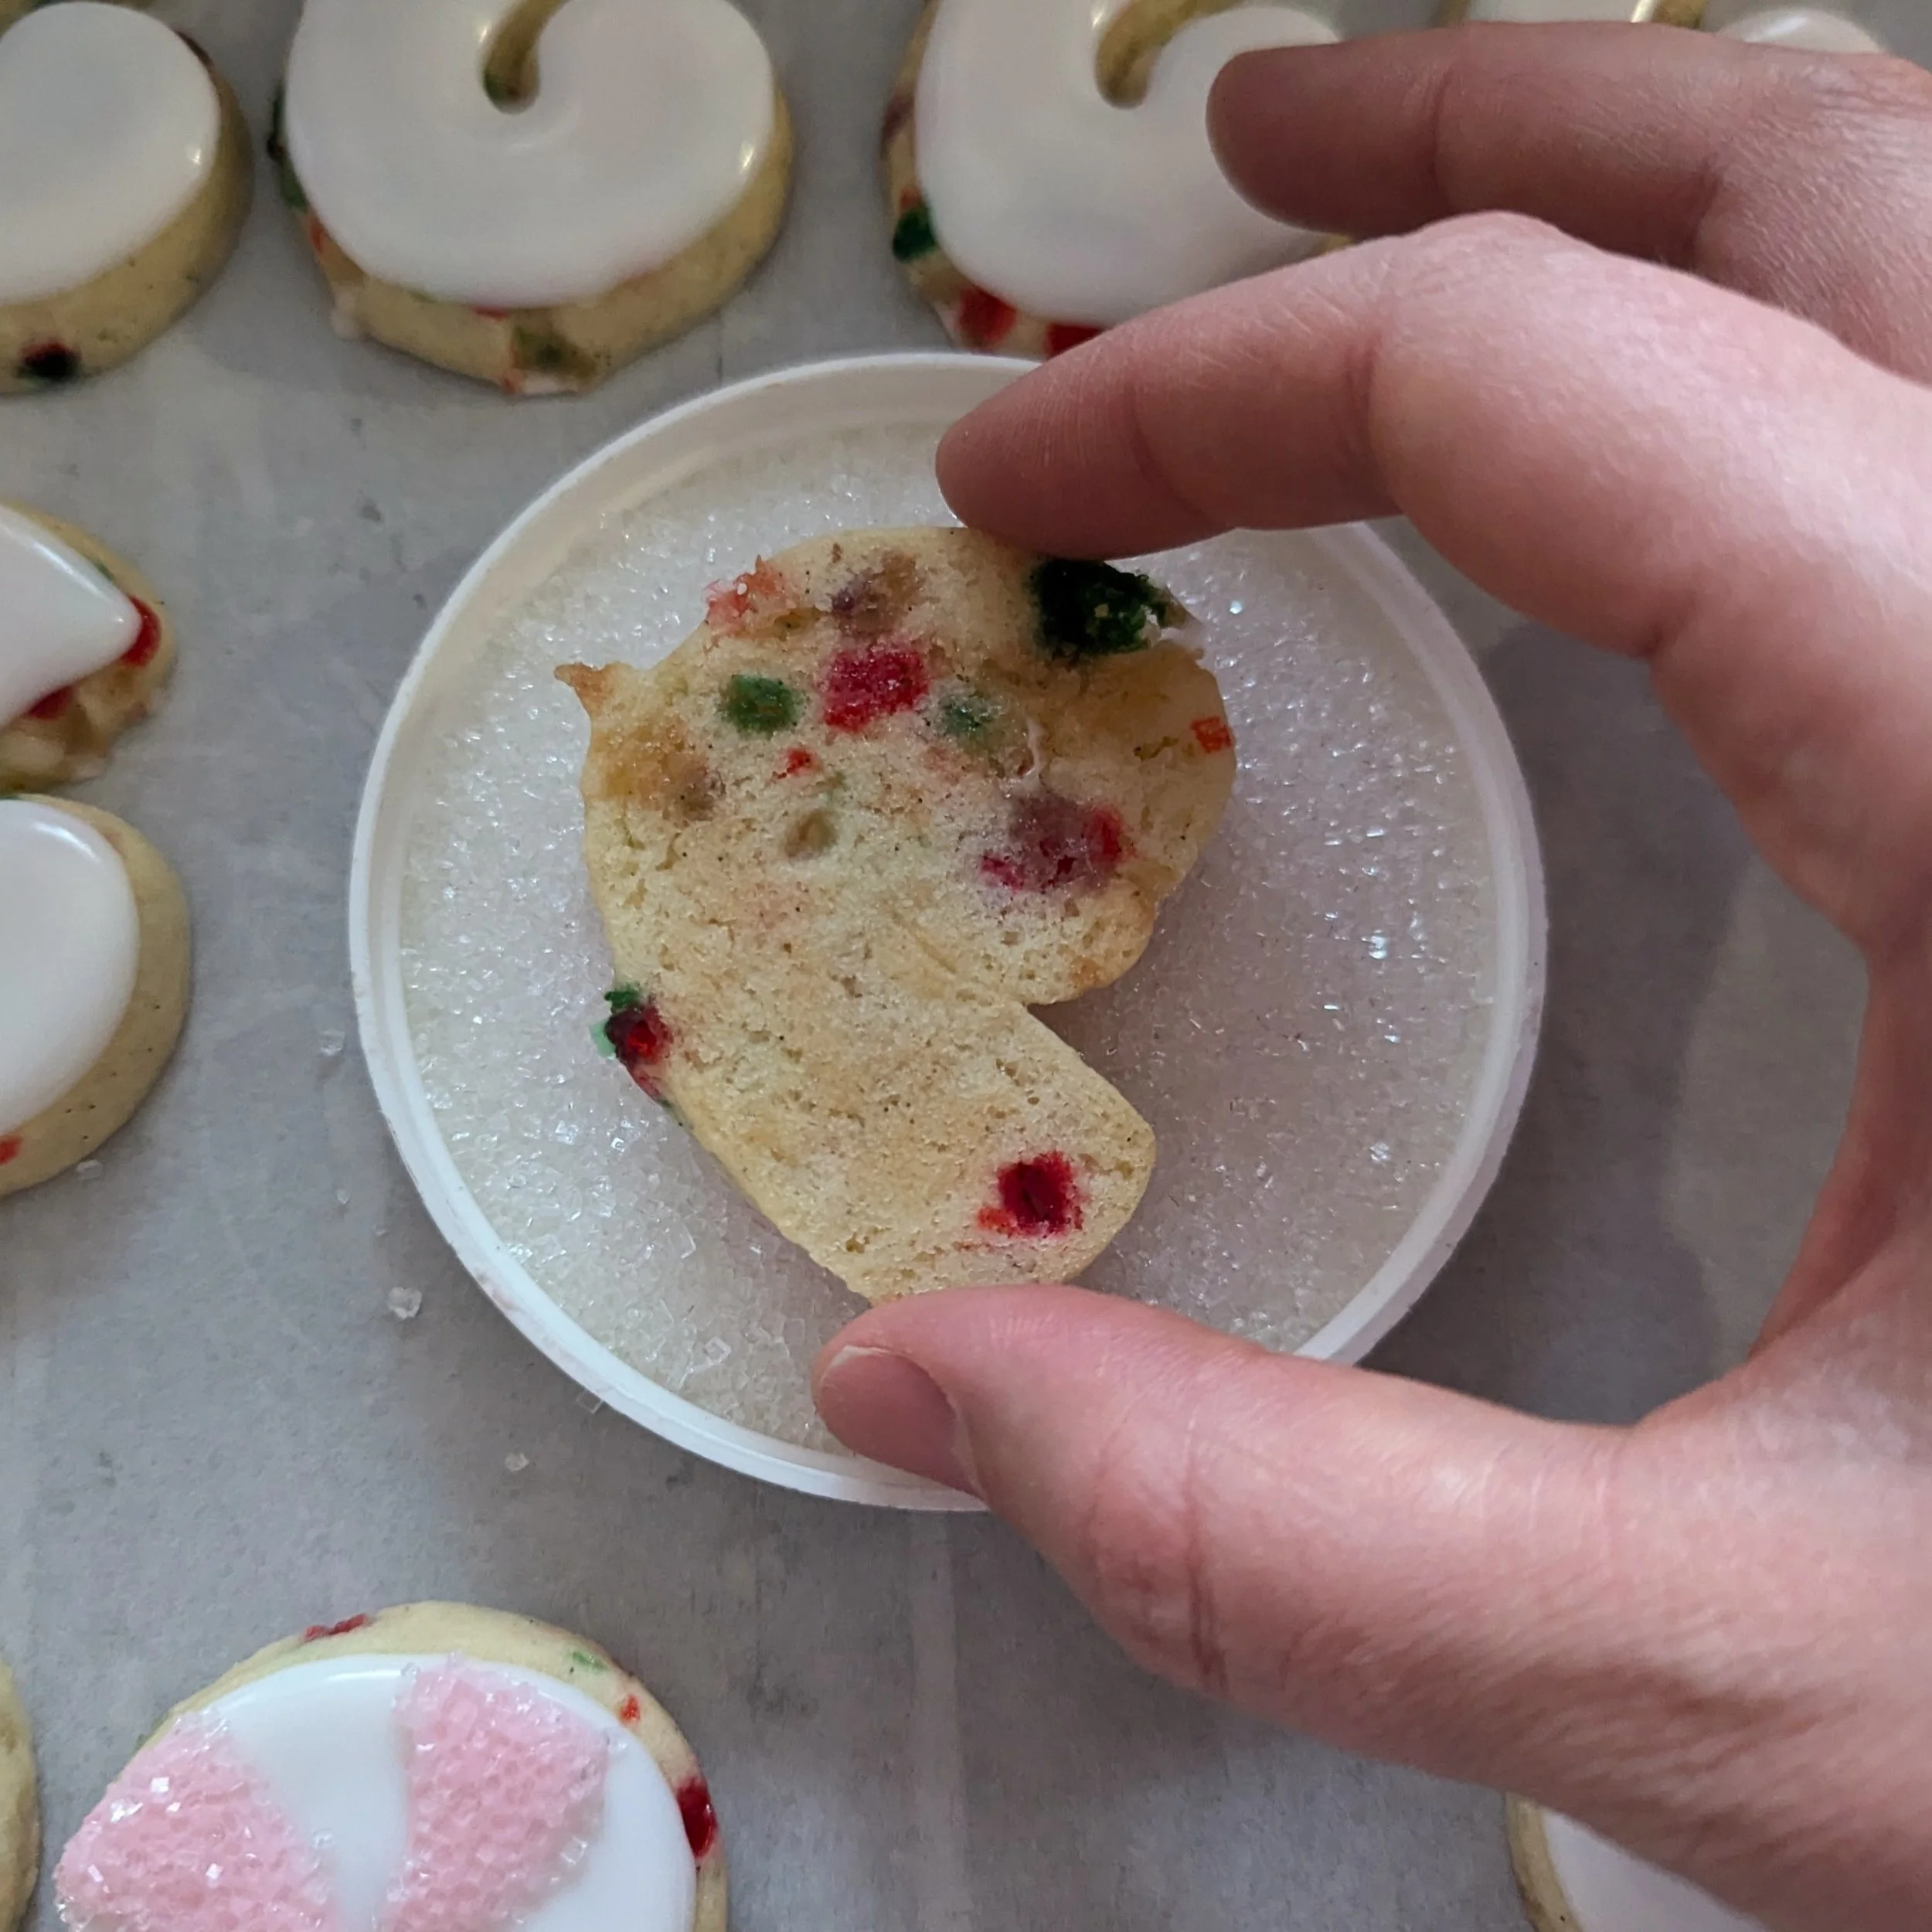
I used my classic vanilla bean sugar cookie recipe for these, but mixed in some crushed candy canes for a minty flavour. If you’re not into mint, you can leave them out.
Before you start:
-I used a 2” tall mini candy cane cookie cutter that I designed myself & 3D printed, but you can find lots of mini candy cane cookie cutters online, or at craft stores or cookie & cake decorating supply stores. You could try Bulk Barn or Michael’s if you have those in your area! It also doesn’t have to be a mini candy cane - you can use the same technique on a big candy cane cookie too.
-You will need 1/2 a batch of sugar cookie dough & 1/2 a batch of glaze icing
-Here is my sugar cookie recipe to make your own cookies, or buy pre-made dough if you prefer to make these even easier! Add 2 TBSP of crushed candy canes to your dough right at the end and very gently mix them in.
-Here is my go-to recipe for glaze sugar cookie icing
Here’s all the supplies you’ll need to decorate:
2 piping bags (8” or 10”, re-useable or disposable)*
Pink gel food colour (I used Americolor Dusty Rose)
White gel food colour (this will go in your glaze icing - I use Americolor Bright White)
White Sanding sugar
Small paintbrush
*If you are using re-useable bags, you will also need 2 standard size couplers, 1 round #2 size piping tip, and one round #3 or #4 size piping tip. If you are using tipless disposable bags, you do not need piping tips or couplers.
Ready to make them?
First, bake your cookies!
Preheat your oven to 400 F & line a baking sheet or two with parchment paper.
Don’t forget to add 2 TBSP of crushed candy cane pieces to your dough if you want your cookies to be minty!
Roll out your cookie dough to just over 1/4” thick. (I have lots of tips for rolling out cookie dough in my Sugar Cookie Recipe post if you need them!)
Cut out your candy cane shapes. I got about 30 from my 1/2 batch of dough, but you might get a different number if your cutter is bigger or smaller than mine was.
Place your candy canes on your baking tray, leaving about an inch between each cookie. Bake for 4-6 minutes, until the edges just barely start to brown.
When your cookies come out of the oven, use a fondant smoother or the bottom of a measuring cup to gently press down on each cookie so you have a perfectly flat surface to decorate on.
Let your cookies cool completely on the baking tray on top of a wire rack.
Now, let’s decorate!
Get one of your piping bags and fit it with a coupler & a #3 or #4 round tip (if you are using tipless bags cut approximately a 2-3mm hole in the tip. Make sure the seam is facing up when you cut the hole)
Add a couple scoops of white glaze to your piping bag.
Outline your cookie with the white glaze, then fill it in with the piping bag. Use the tip of your bag to help spread out the icing as you fill in. Repeat with all of your cookies.
Let your white glaze dry for at least 2 hours.
Fit a second piping bag with a coupler and a #2 tip. If you are using tipless bags cut approximately a 1.5mm hole in the tip. Scoop a big spoonful of glaze into a small bowl and color it light pink with your gel food colouring, then scoop it into your piping bag.
Pour some sanding sugar into a small shallow bowl that is wider than the widest point of your cookies.
Make stripes on your candy canes by outlining each stripe then filling it in. Make sure you spread your icing thinly when filling in your stripe or the double layer of icing might not dry properly. After every 2-3 cookies (before your icing dries) dip the candy canes into the bowl of sanding sugar gently. Dust off any excess sanding sugar gently with your paintbrush.
Let your cookies dry overnight.


Ta-dah! You made some adorable little candy cane cookies! You can store them in an airtight container at room temperature for up to 3 days or in the freezer for several months. Store them with sheets of parchment paper between each layer.
Happy decorating!