
Double Raspberry Hand Pies
Some of the links in this post might be affiliate links. As an Amazon Associate I earn from qualifying purchases. This means I earn a small amount of money if you purchase something through the link, at no cost to you. I promise I only recommend items I love! You can read our full disclosure here.
What’s a hand pie you ask?
It’s a pie that you can hold in your hand of course! Also known as a Pop Tart, but these are better, as everything homemade always is.
We’re in the thick of raspberry season where I live right now and I cannot keep up! We are eating raspberries by the handful, freezing them for later, and making jam.
I made a big batch of raspberry jam last week and thought that it would be perfect as a hand pie filling. If you don’t want to make your own jam, feel free to use storebought. If you do want to make your own jam, I love any jam recipe by Marisa at Food in Jars. These hand pies have raspberry jam in the middle AND a raspberry glaze on top.
You can also use storebought pie crust for this recipe if you want, though this recipe comes together super fast in the food processor.
Though this recipe has several components, it’s a pretty simple recipe. Also, as I mentioned above, you can use storebought jam and/or pie crust to make it even easier.
Note that the pie dough for this recipe will need to chill in the fridge for at least an hour so plan accordingly!
What do I need to make them?
Here’s your grocery list:
-Raspberry Jam (homemade or storebought)
-All Purpose Flour
-Fine Sea Salt
-Salted Butter
-Granulated Sugar
-1 Egg
-Icing Sugar
-Milk
-Freeze Dried Raspberry Powder
You will also need a kitchen scale, a food processor, a large cookie cutter (i used a 4” heart, but a circle or rectangle would also work) some bowls and whisks and spatulas, a baking sheet, a pastry brush, a fork, and parchment paper.
Here’s how to make them:
First, make your pie dough. Add your flour, sugar, and salt to a food processor and pulse a couple times to mix them. Then, add your cold cubed butter and pulse until the mixture looks sandy. Last, add 1 TBSP of ice water at a time and pulse a couple of times after each addition, adding 1 more TBSP at a time until your dough just comes together. Pull your dough out of the food processor, form it into a flat-ish disc or rectangle and place in an airtight container in the fridge. Let your dough chill for 1 hour or overnight.
Once your dough is chilled, preheat your oven to 375F. Line a baking sheet with parchment paper (you may need two baking sheets depending on the size of your sheets).
Lightly dust a clean countertop with flour and roll out your pie dough to approximately 1/8”. Cut out your shapes with your cookie cutter, making sure to cut them out as close to each other as possible so you have less pie dough waste. Once you’ve cut out as many as you can, gaher your scraps up and gently squish them together. You can re-roll them once, but be very gentle. The second round of shapes might shrink a bit when baked from the extra gluten formed when re-rolling the dough. You should get about 20 shapes, which will make 10 pies.


Place half of your shapes on your parchment lined baking tray, then put a spoonful of raspberry jam on top of each. I used about 15g of jam per pie. Spread the jam out a little bit, making sure to keep about 1/2” away from the edge so the filling doesn’t leak out when you put the top shape on.
Next, crack your egg into a small bowl and add about 1 tsp of water. Whisk it with a fork, then brush a little bit of the egg wash around the edges of all of the shapes with jam on them. Put a pie dough shape on top of each jam-covered shape and lightly press down around the edges, then go around the edges again with the tines of a fork. Lightly brush the tops of each pie with egg wash and bake for 15-20 minutes, until golden brown and puffy.
Take your tray out of the oven and place it on a cooling rack. Let cool completely.


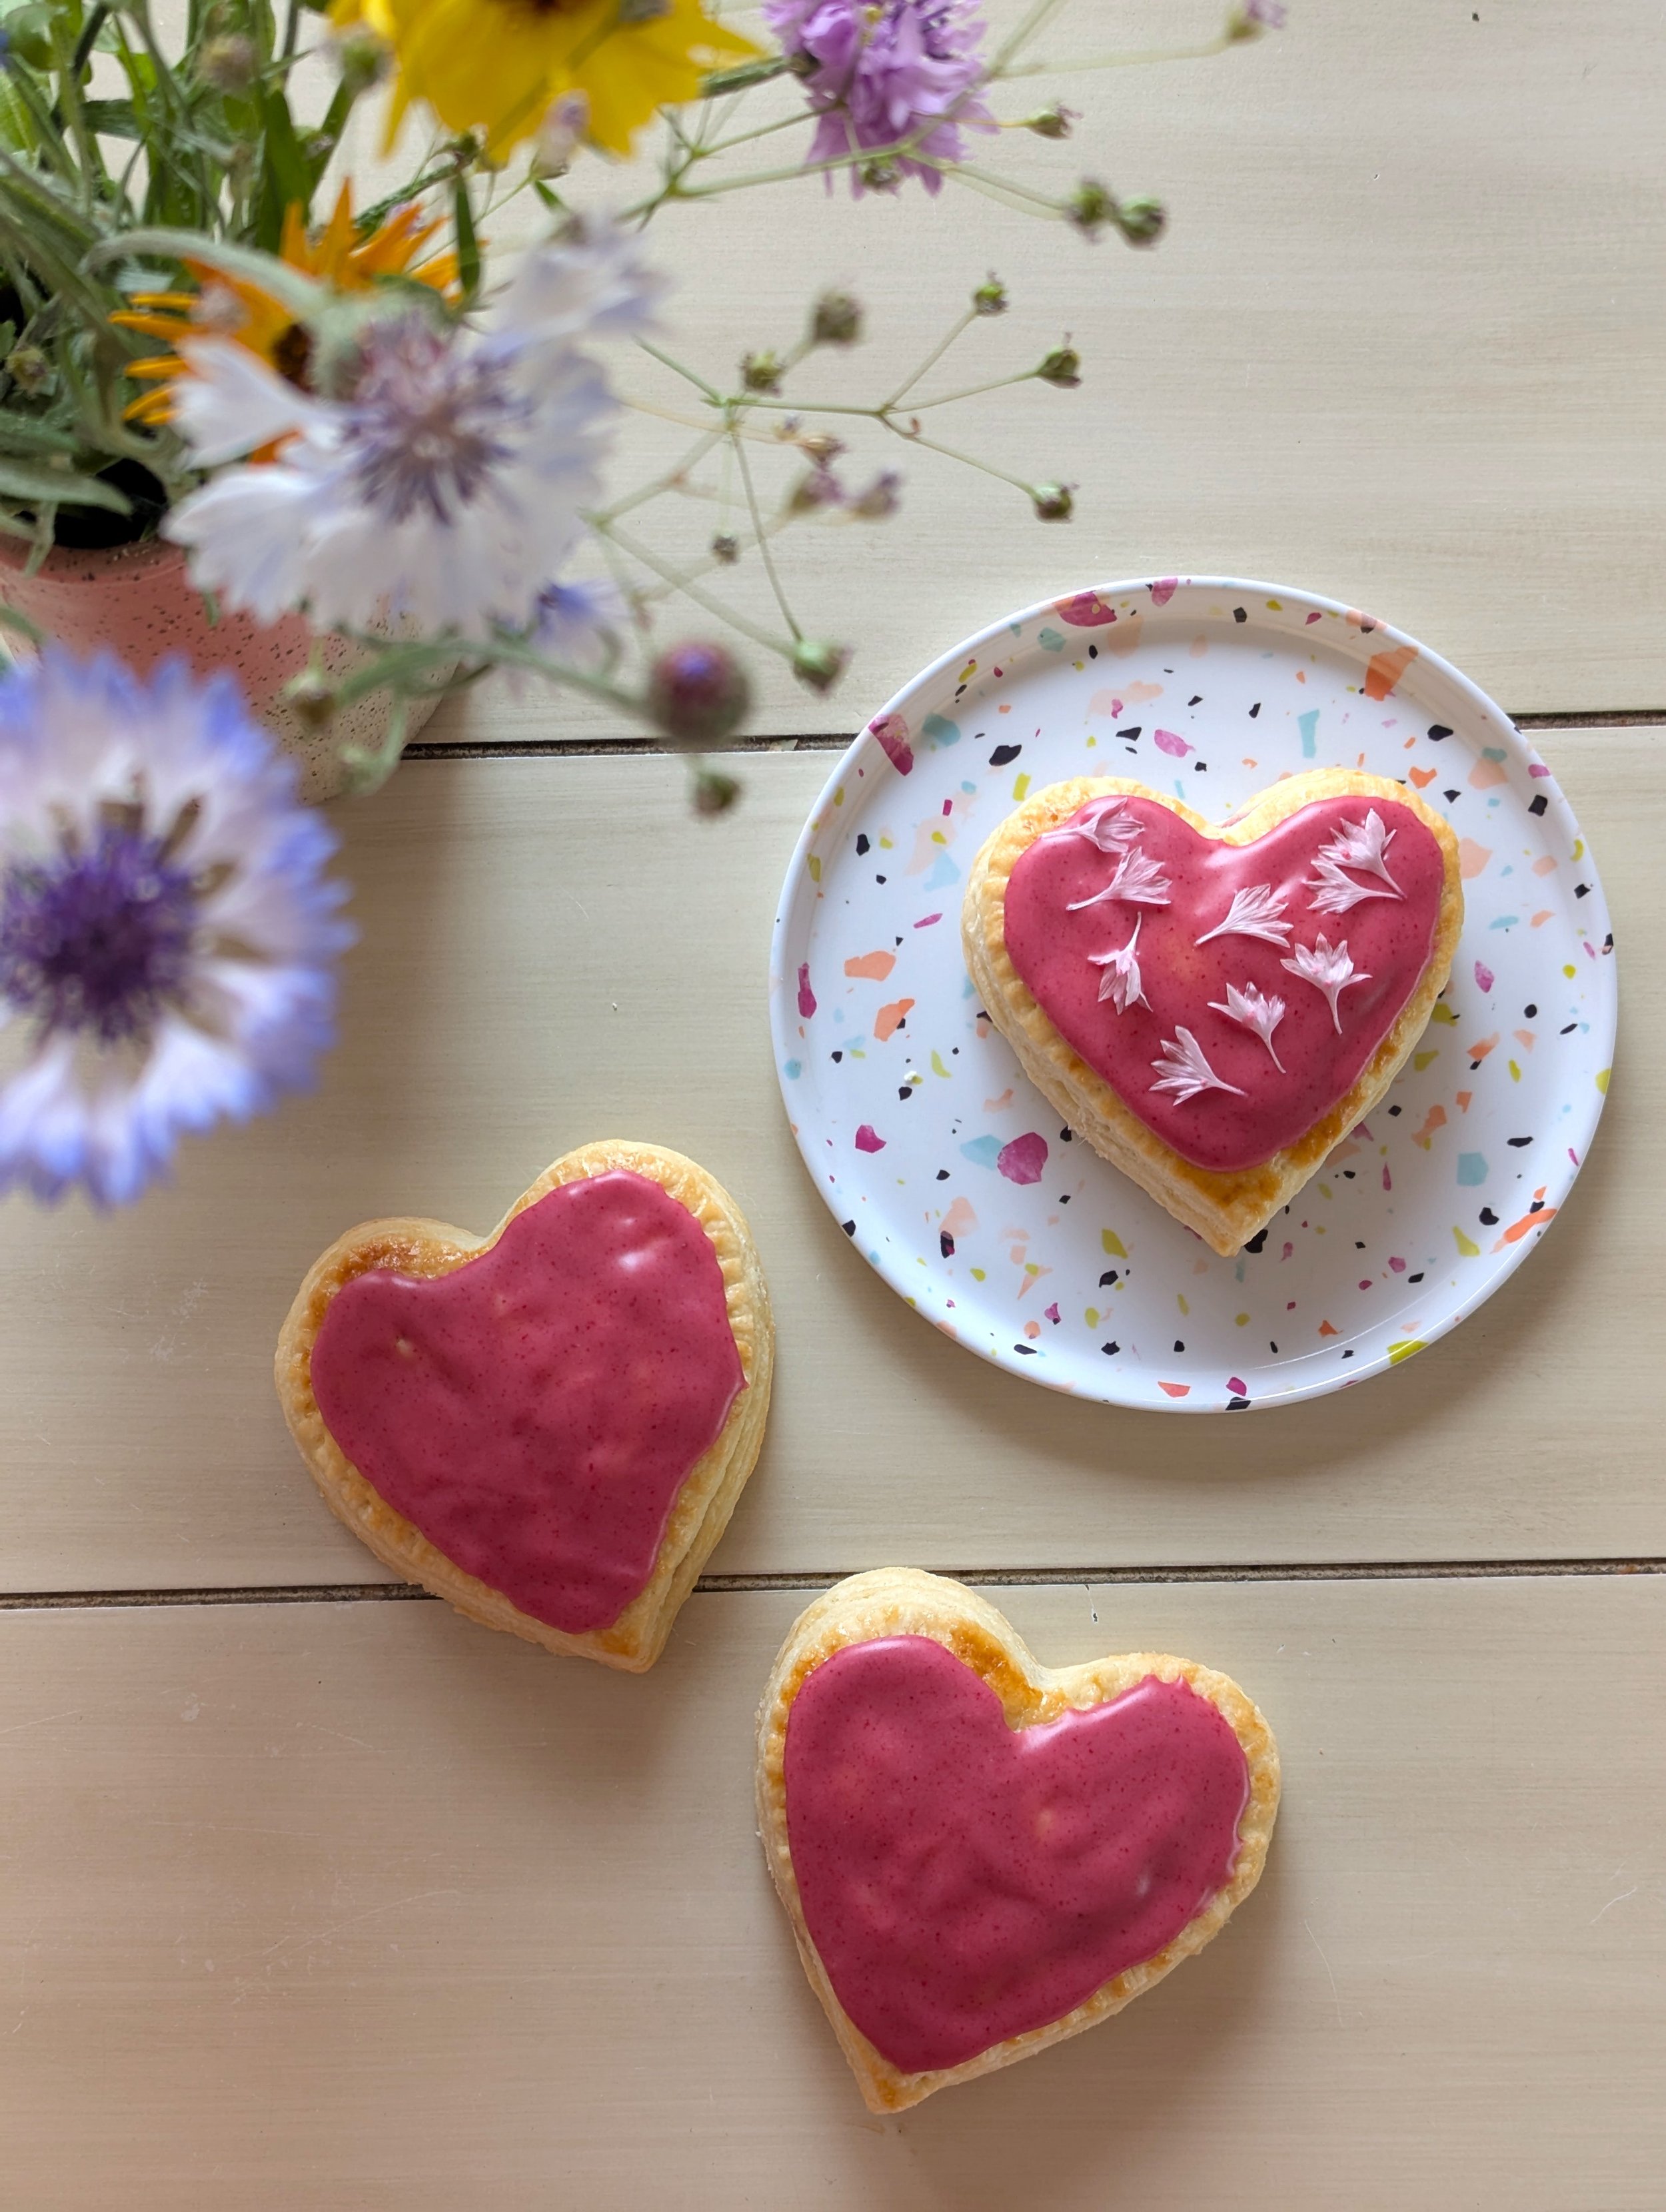
When your pies are almost cool, you can make your glaze. Stir together the icing sugar, milk, and freeze dried raspberry powder in a small bowl. Put a spoonful on each cooled pie and spread it out gently. I added some edible flower petals to mine for fun but those are completely optional! You could also add sprinkles if you want.
If you can’t find freeze dried raspberry powder, these would still be delicious with just a vanilla glaze - just add a tsp of vanilla to the glaze instead of the freeze dried raspberry powder.
Let the glaze dry and enjoy! These are best enjoyed the day they are made, but they can be stored at room temperature in an airtight container for up to two days.


Here's the recipe!

Double Raspberry Hand Pies
Flaky pie dough filled with homemade raspberry jam & covered in raspberry glaze!
Ingredients
- 320g All Purpose Flour
- 13g (1 TBSP) Granulated Sugar
- 1/4 tsp Sea Salt
- 225g Salted Butter (cold, cubed)
- 3-4 TBSP Ice Cold Water
- 150g Raspberry Jam
- 1 Large Egg
- 60g Icing Sugar
- 15g (1 TBSP) Milk (any kind)
- 1tsp Freeze Dried Raspberry Powder
Instructions
- First, make your pie dough. Add your flour, sugar, and salt to a food processor and pulse a couple times to mix them. Then, add your cold cubed butter and pulse until the mixture looks sandy. Last, add 1 TBSP of ice water at a time and pulse a couple of times after each addition, adding 1 more TBSP at a time until your dough just comes together. Pull your dough out of the food processor, form it into a flat-ish disc or rectangle and place in an airtight container in the fridge. Let your dough chill for 1 hour or overnight.
- Once your dough is chilled, preheat your oven to 375F. Line a baking sheet with parchment paper.
- Lightly dust a clean countertop with flour and roll out your pie dough to approximately 1/8”. Cut out your shapes with your cookie cutter (I used a 4" heart shaped cutter, but a circle or rectangle will work as well), making sure to cut them out as close to each other as possible so you have less pie dough waste. Once you’ve cut out as many as you can, gaher your scraps up and gently squish them together. You can re-roll them once, but be very gentle. The second round of shapes might shrink a bit when baked from the extra gluten formed when re-rolling the dough. You should get about 20 shapes total, which will make 10 pies.
- Place half of your shapes on your parchment lined baking tray, then put a spoonful of raspberry jam on top of each. I used about 15g of jam per pie. Spread the jam out a little bit, making sure to keep about 1/2” away from the edge so the filling doesn’t leak out when you put the top shape on.
- Next, crack your egg into a small bowl and add about 1 tsp of water. Whisk it with a fork, then brush a little bit of the egg wash around the edges of all of the shapes with jam on them. Put a pie dough shape on top of each jam-covered shape and lightly press down around the edges, then go around the edges again with the tines of a fork. Lightly brush the tops of each pie with egg wash and bake for 15-20 minutes, until golden brown and puffy.
- Take your tray out of the oven and place it on a cooling rack. Let cool completely.
- When your pies are almost cool, you can make your glaze. Stir together the icing sugar, milk, and freeze dried raspberry powder in a small bowl. Put a spoonful on each cooled pie and spread it out gently.
- Let the glaze dry and enjoy! These are best enjoyed the day they are made, but they can be stored at room temperature in an airtight container for up to two days.
Notes
-I added some edible flower petals on top of my pies just for fun, but that is completely optional! You could also add sprinkles if you want.
-If you can't find or don't want to buy freeze dried raspberry powder, you can just make a vanilla glaze by adding 1 tsp vanilla extract or vanilla paste to the icing sugar & milk instead of the freeze dried raspberry powder
-It's best to match the re-rolled shapes with the other re-rolled shapes because they will shrink more than the ones from the first roll-out


